Passthrough Usage
Cutter Setup
To activate passthrough, first set up the cutter to let objects pass through it.
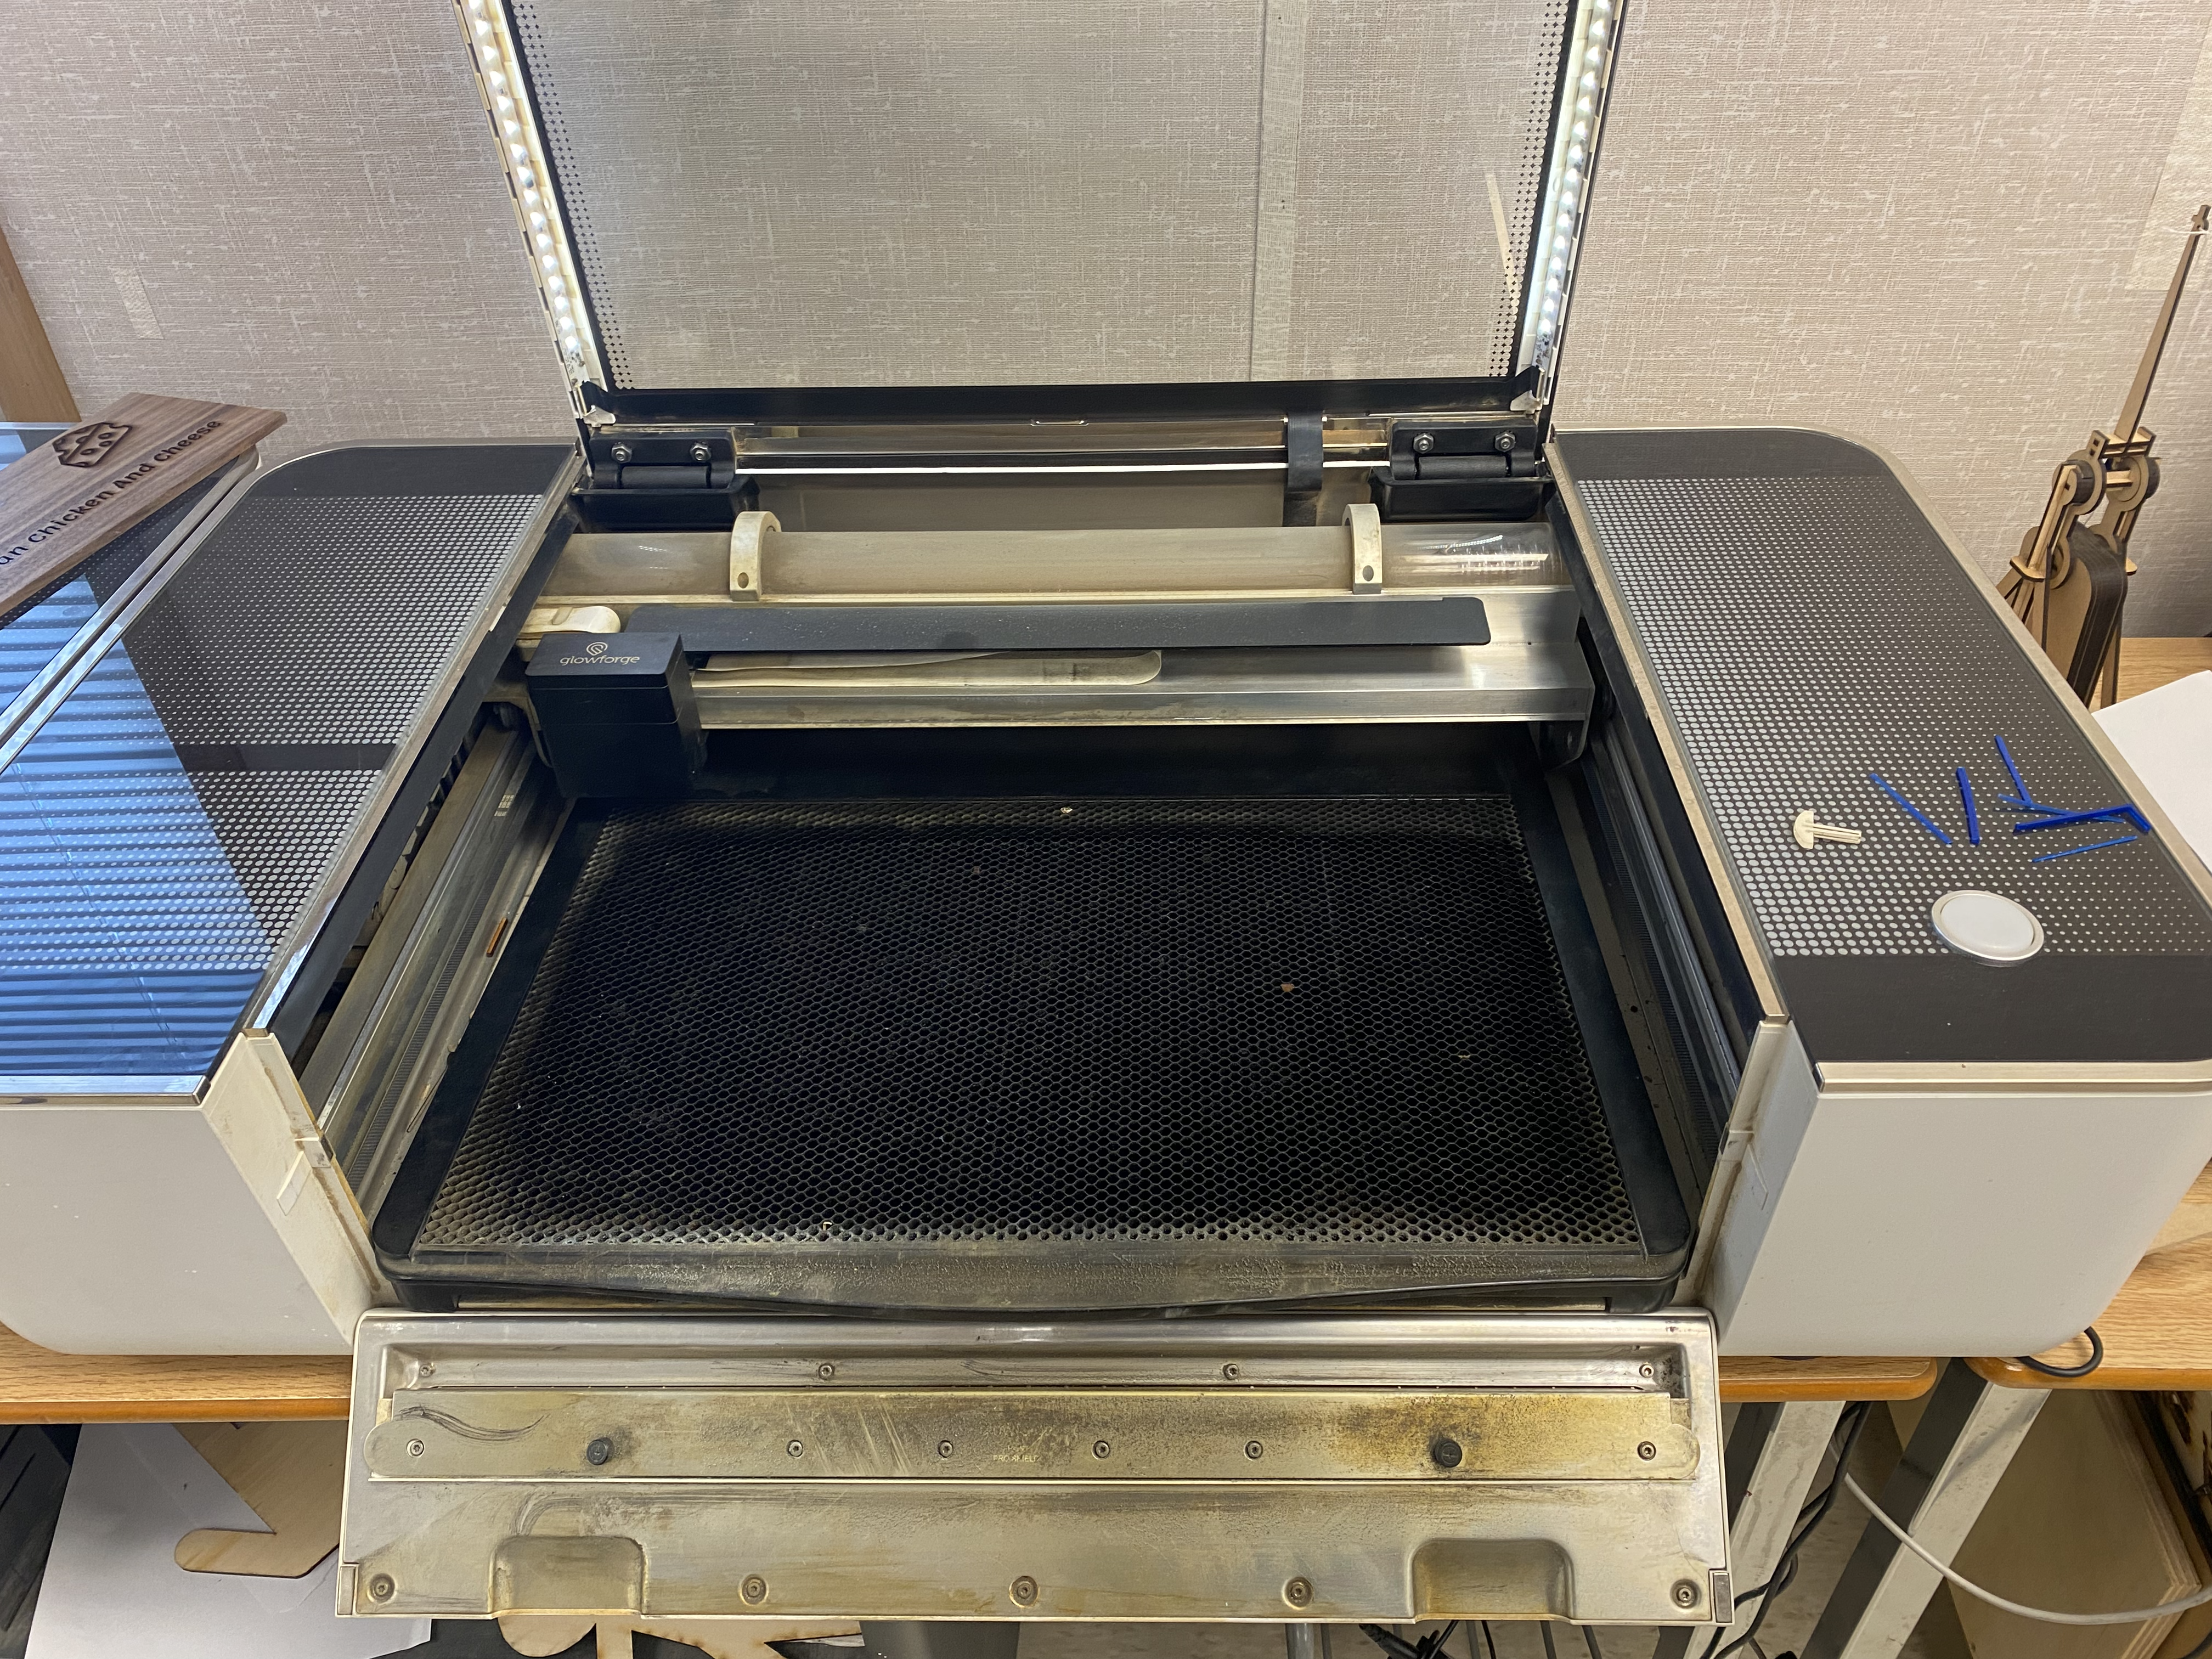
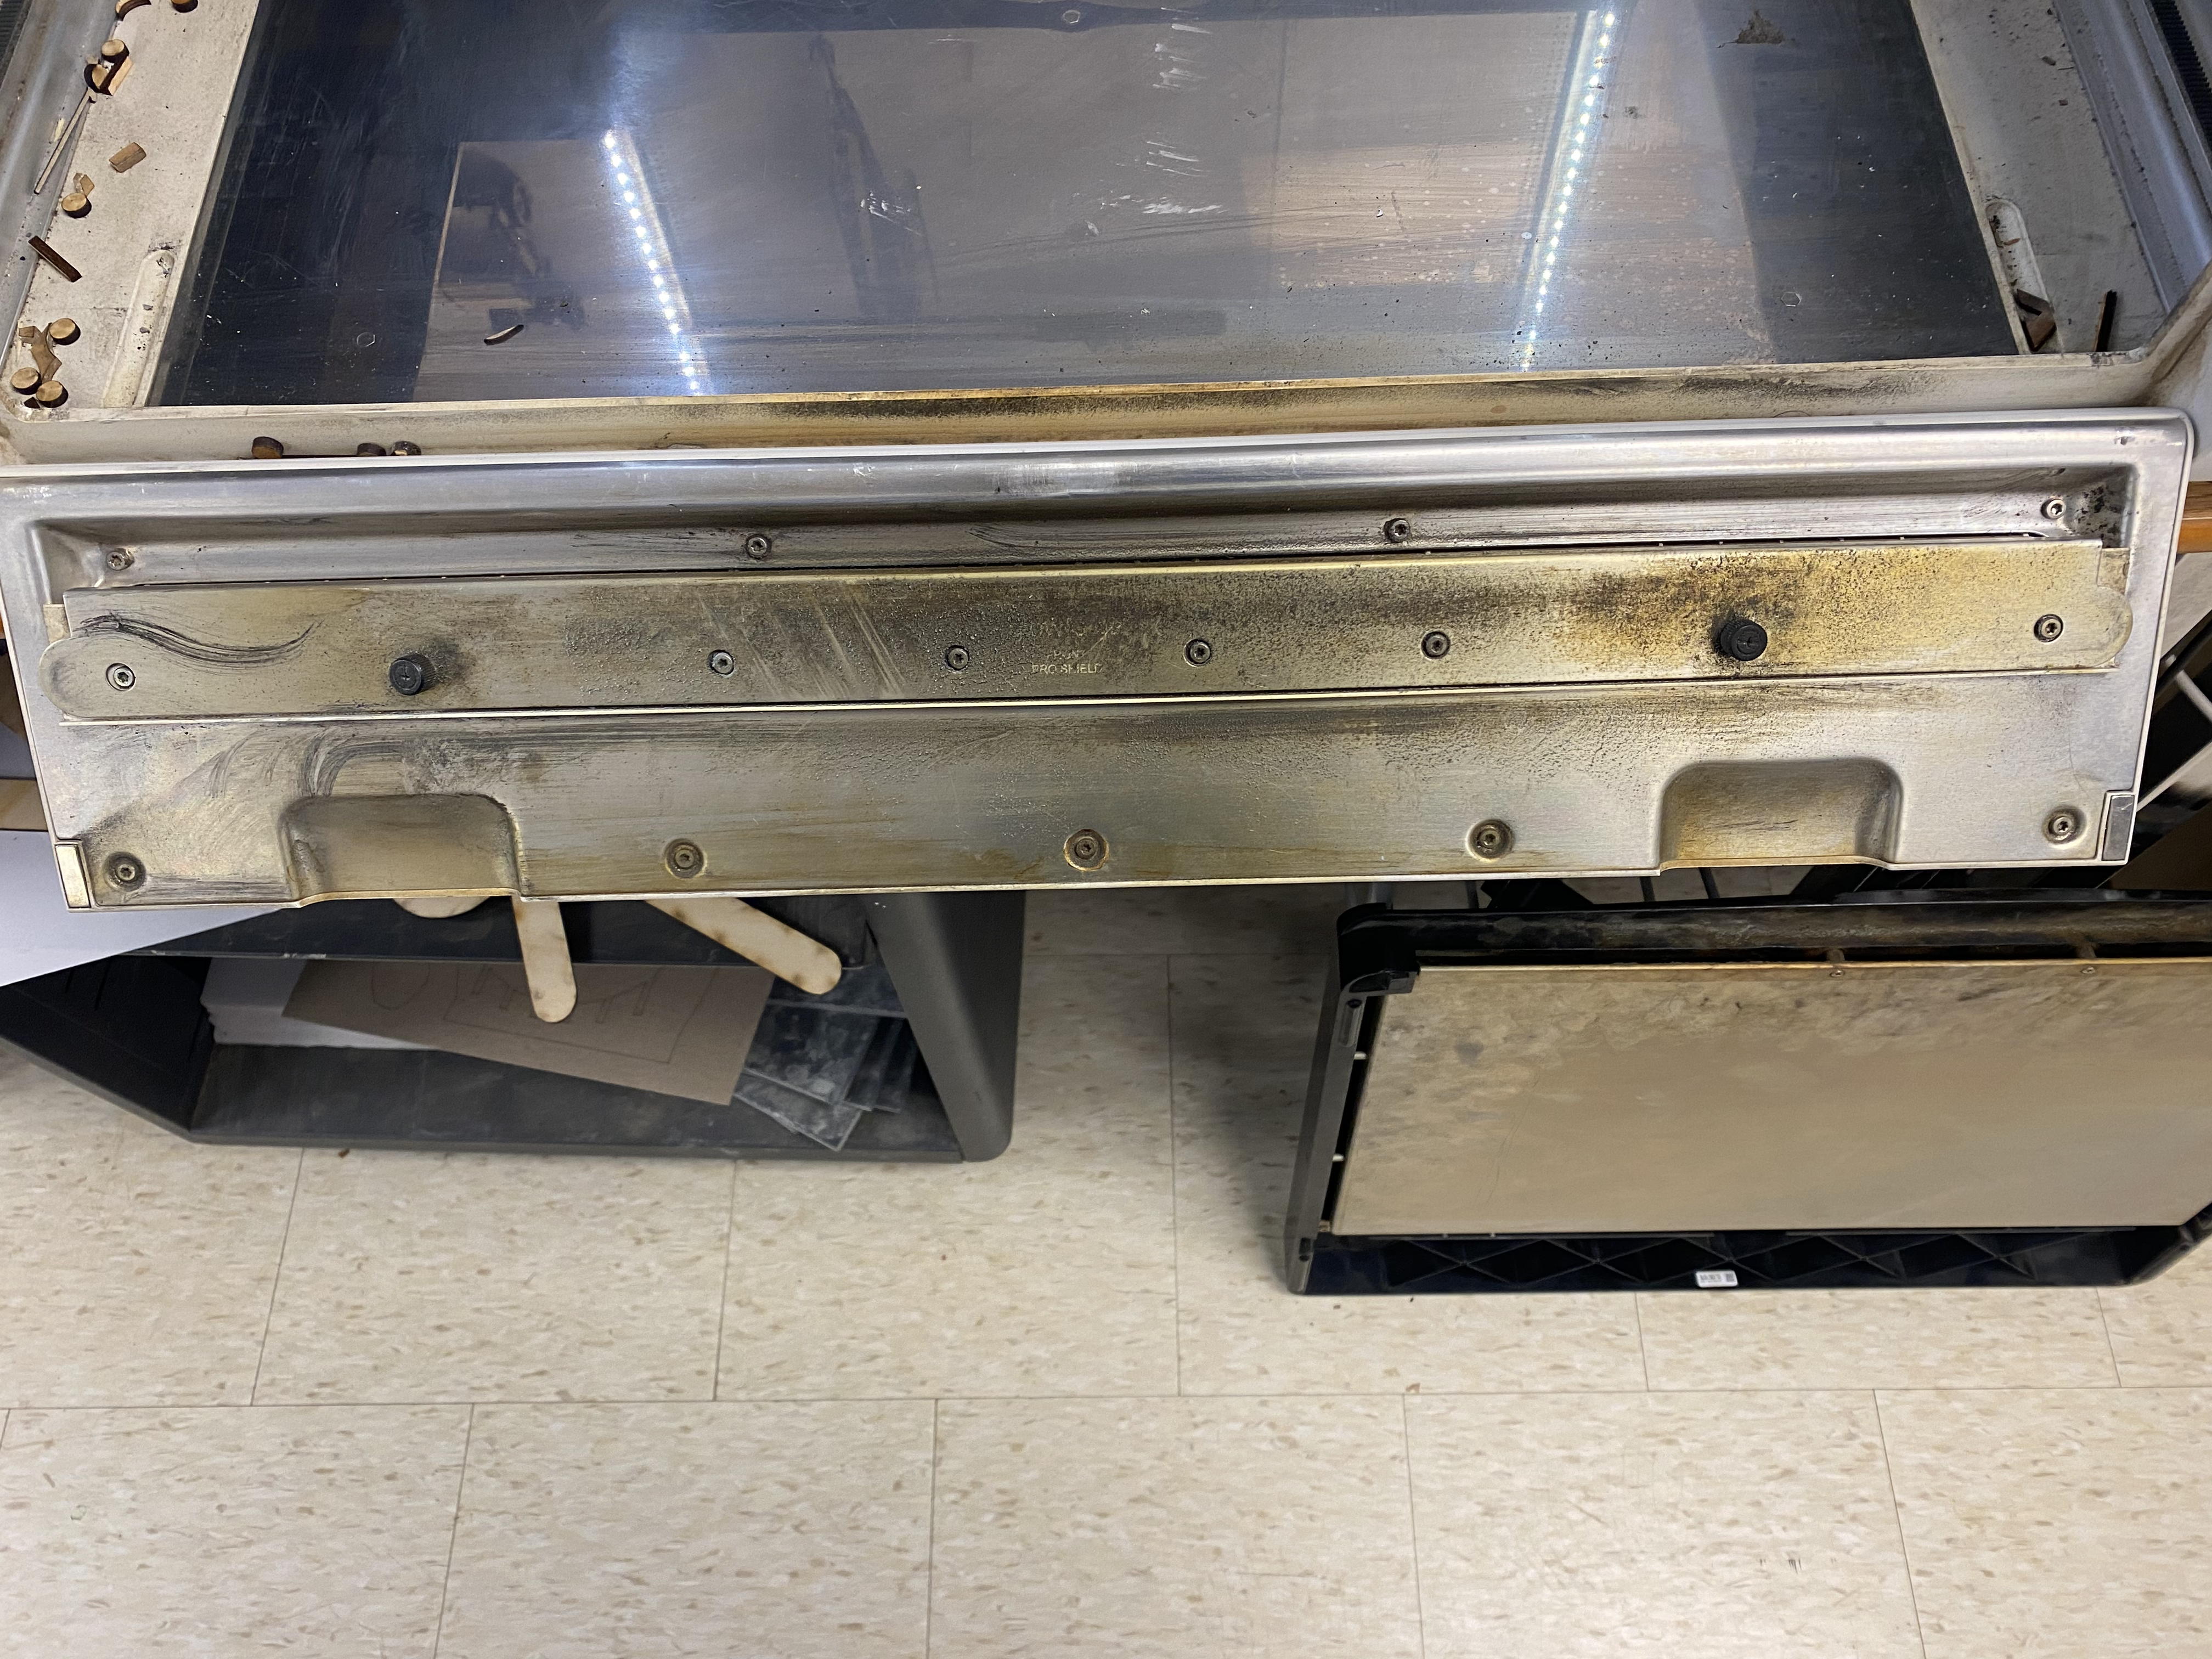
To do this, first open the lid, open the front compartment, and pull out the black tray.
You will then see in the front and back 2 black screws.
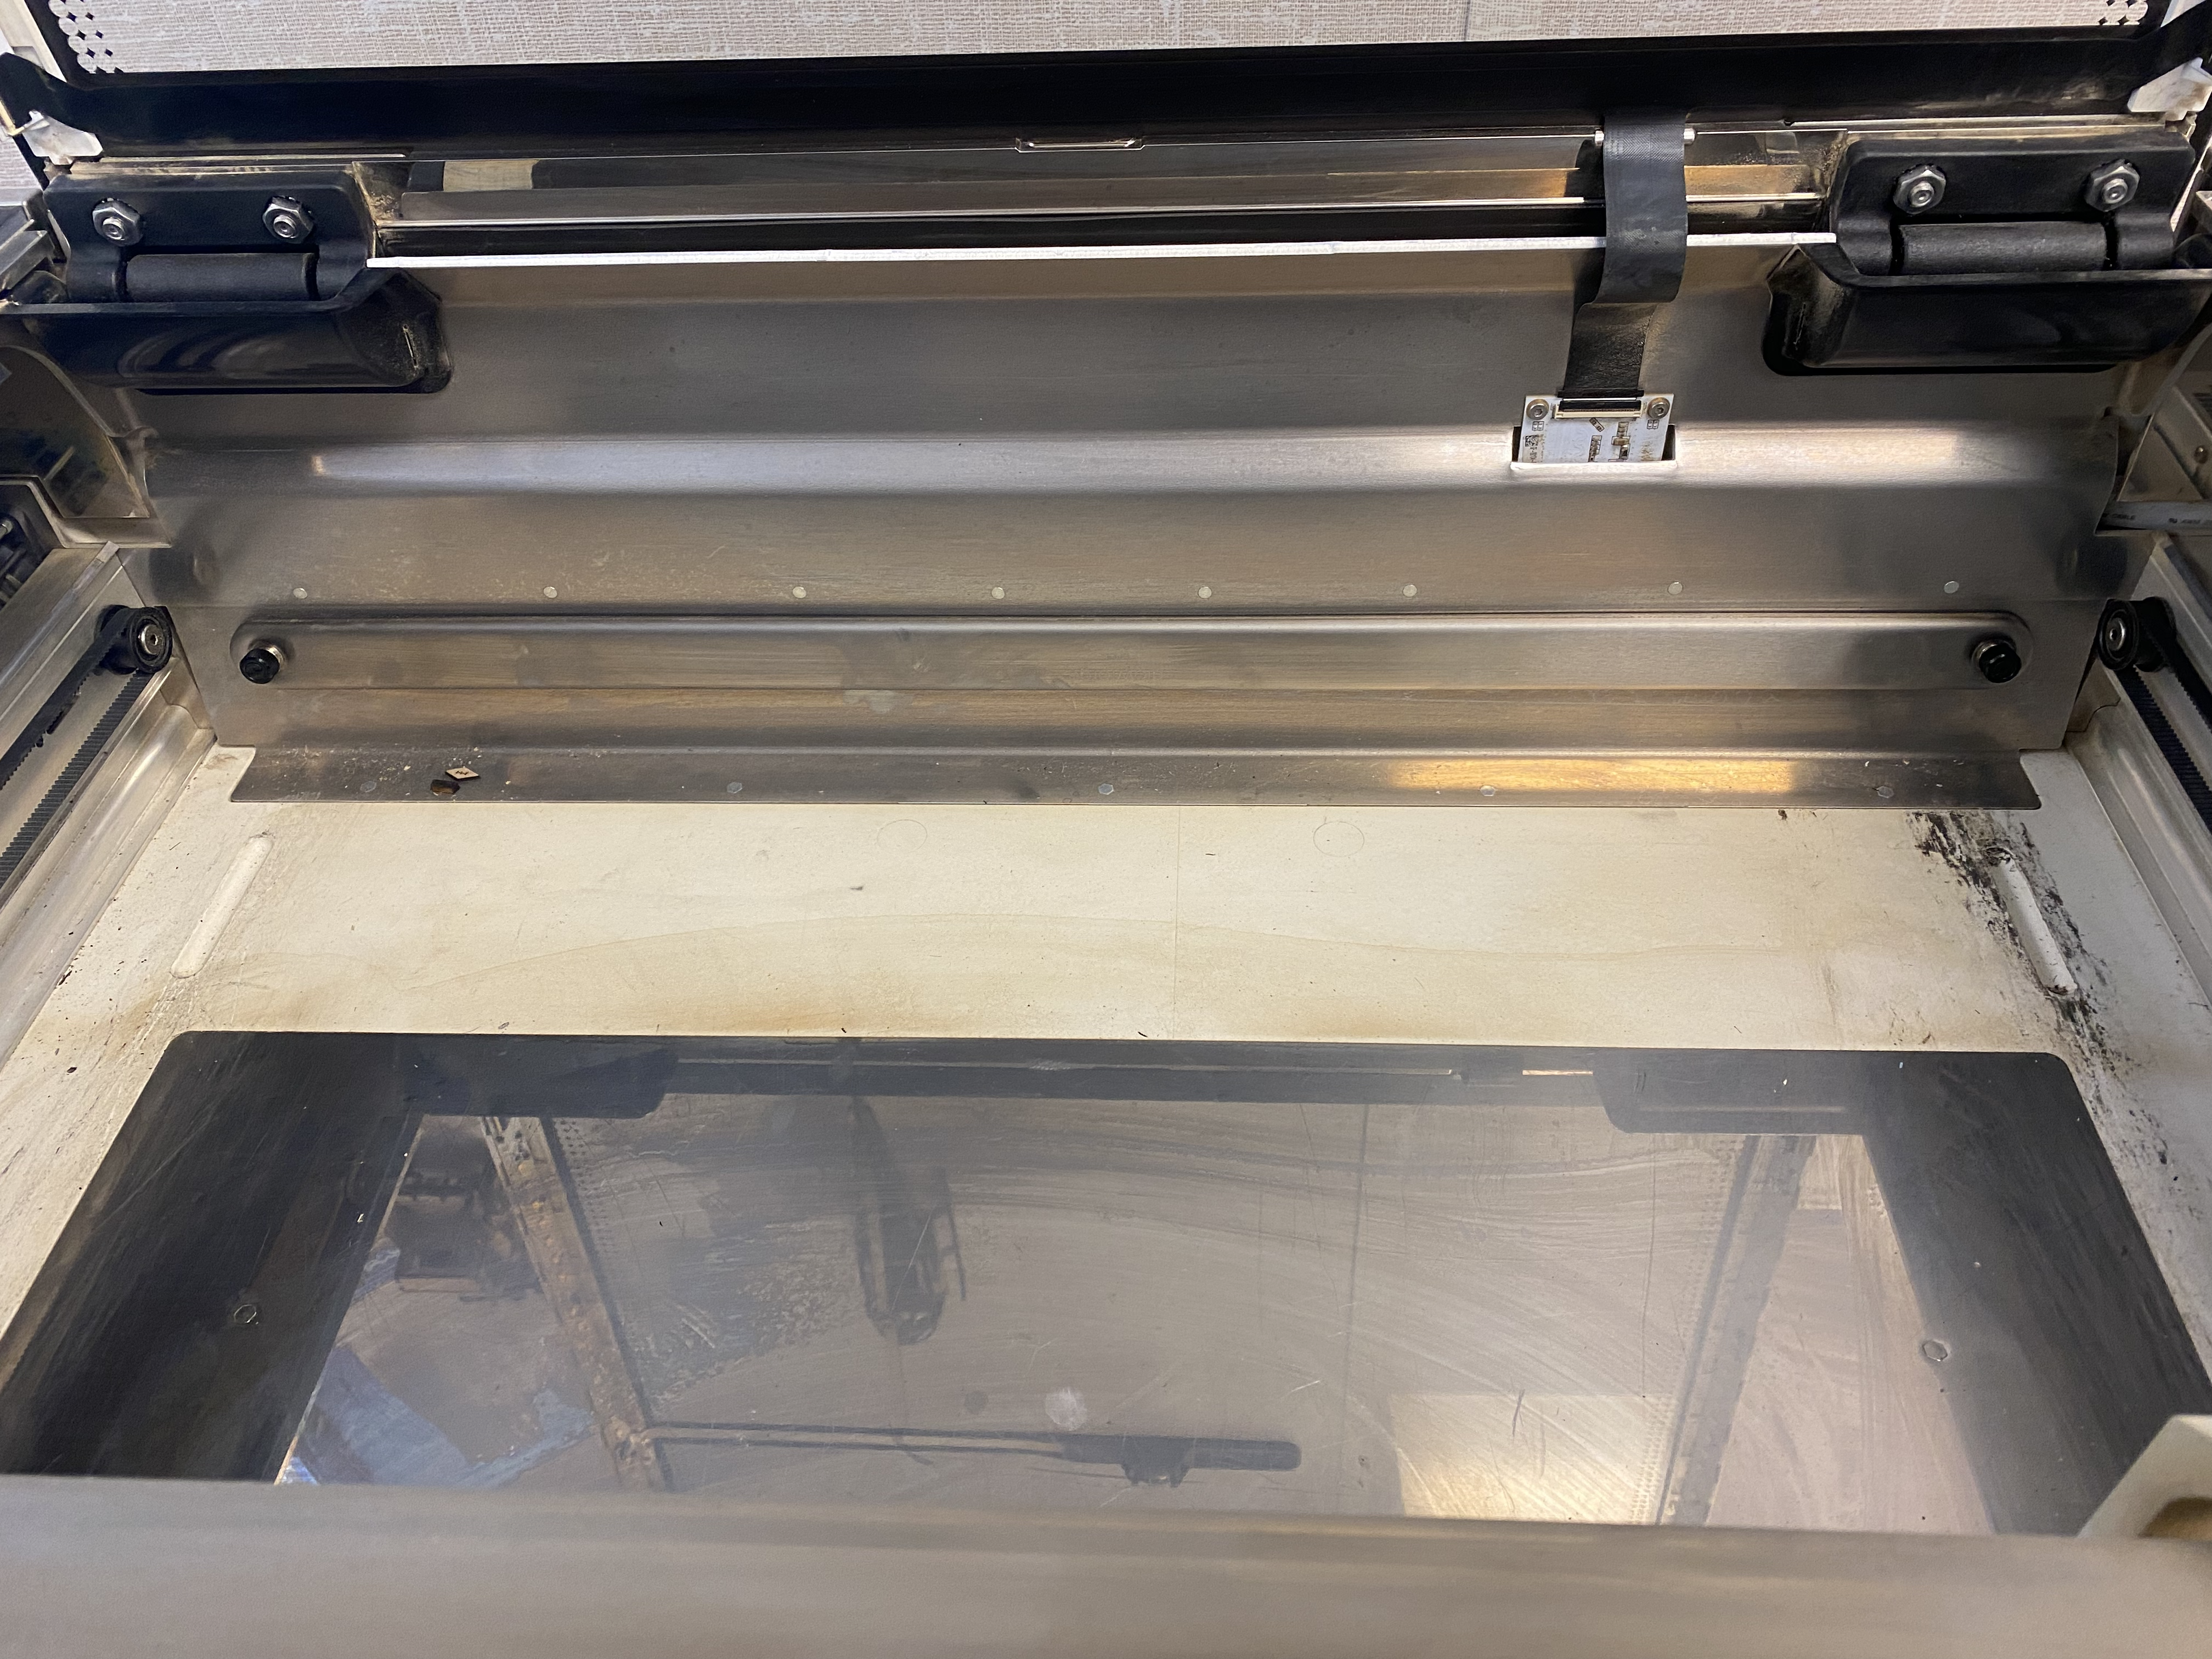
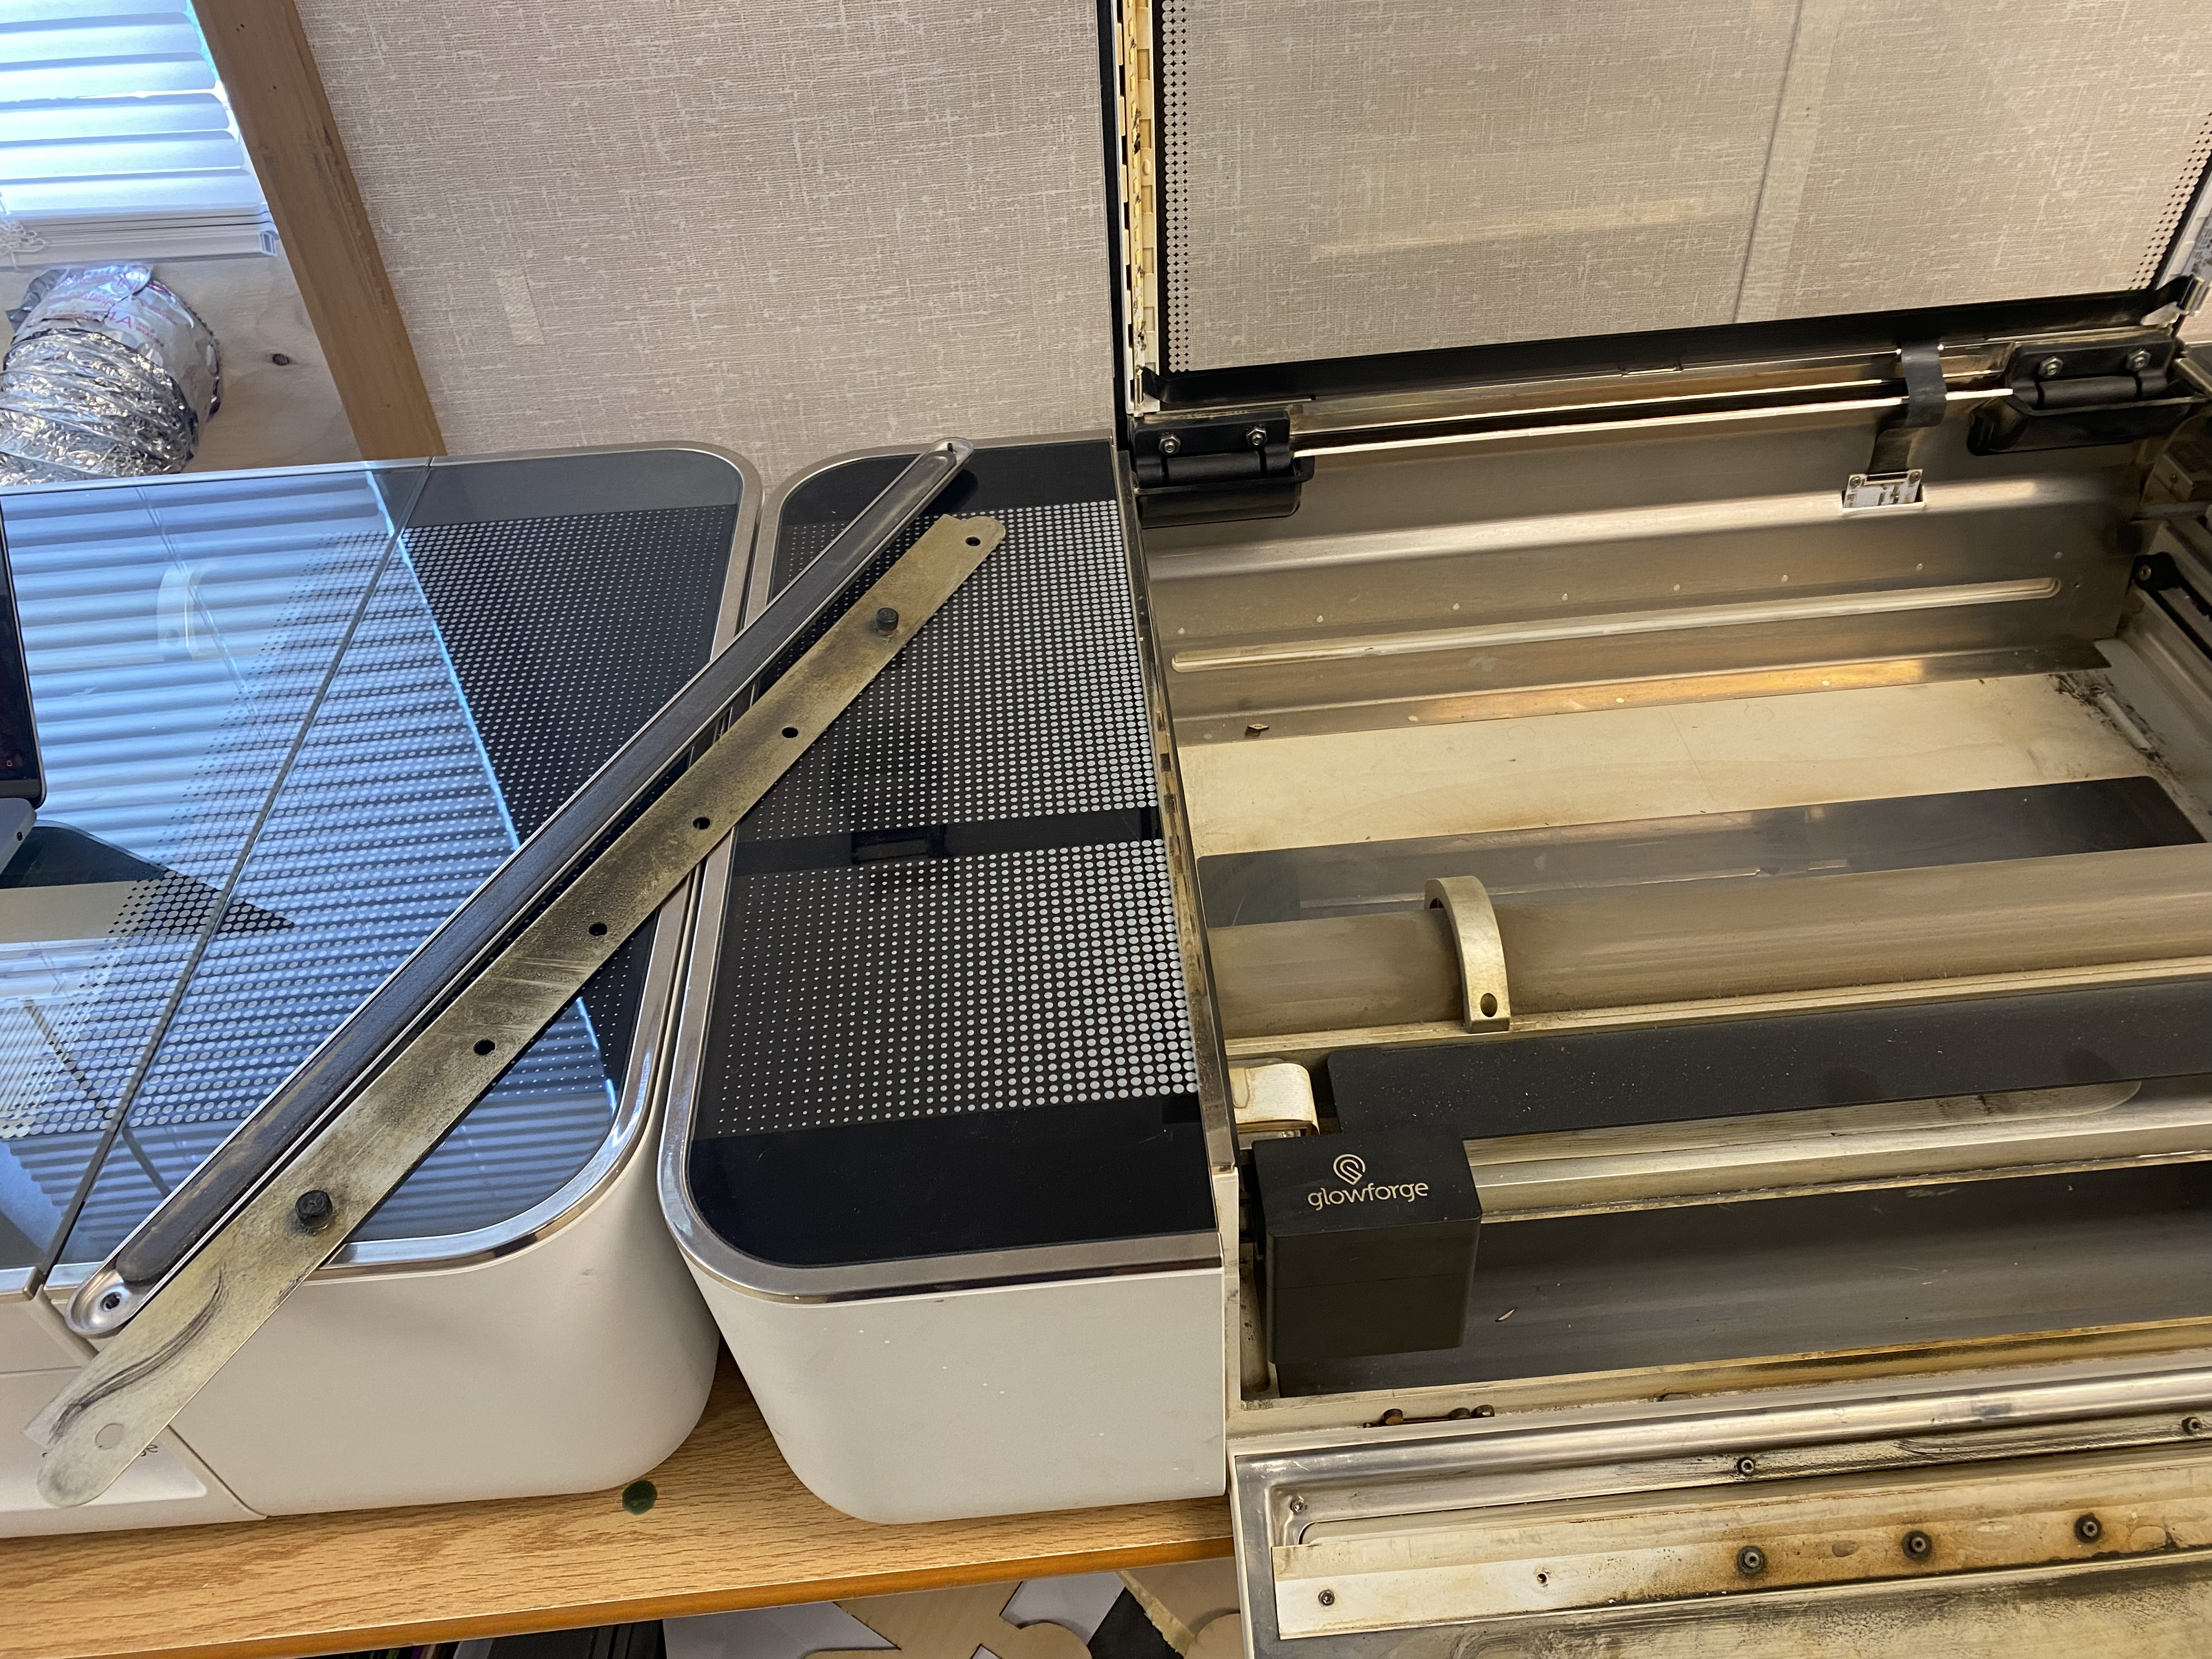
Twist these to remove them and the attached bar, and set them aside somewhere safe.
You can then place the tray back in, and close the front and the lid.
Now insert your material so that the closest edge to you is lined up with the front of the black tray, and the back sticks out through the back flap on the cutter.
Software Setup
Open a workspace on the computer and click the (
 ) icon on the top bar, then select the Pro Passthrough option. This will extend the workspace upwards as far as you want. Now simply create your extra long design, following the other steps as you normally would.
Printing
Hit the Print button as you would for any print and start the print.
Once it finishes it will show a new menu as it scans your cut so far.
Then once it has finished a new menu will appear. Simply pull your print forwards about 8 inches, then hit continue.
The print will re-scan and then continue with your design. Hit the button once it begins glowing.
If your design takes more than two prints, repeat the last 2 steps until you have finished your design.


