Slice Files
Once you have set up your print how you want it, press the Slice button in the bottom right.
insert 
Once you do this, you will se a new tab appear, Preview. This allows you to look at the exact printing path of the printer.
insert 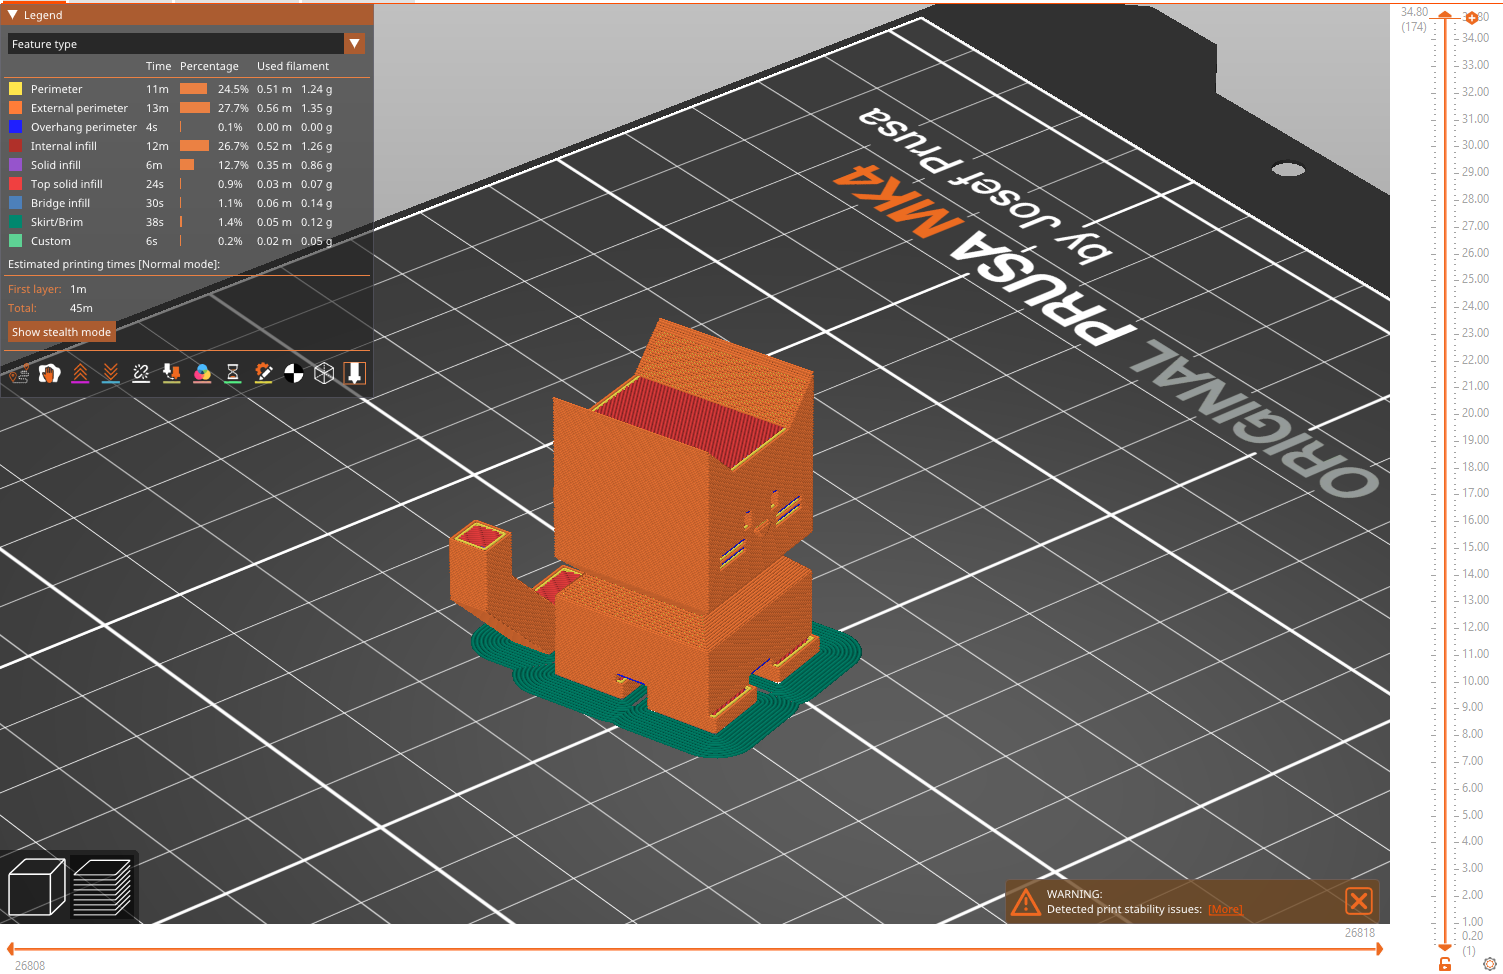
Here you can use the slider on the right to move up and down the layers, showing each layer path individually, and then use the bottom slider to watch the exact movement path for that layer.
Adding breaks
You can add breaks, custom g-code, and filament swaps into your print from here, by sliding the slider on the right to where you want and either clicking the ( ) icon to add a color swap, or right clicking to choose between pause, custom g-code, and color swaps.
Pauses will stop the print and let you either add parts into the print or check the print, and resume when you press a button on the printer. Add custom g-code will have the printer run a set custom g-code file. Color swap will do the same as regular clicking.
If you choose to do a filament swap, make sure you are using the same type of filament.
View Settings
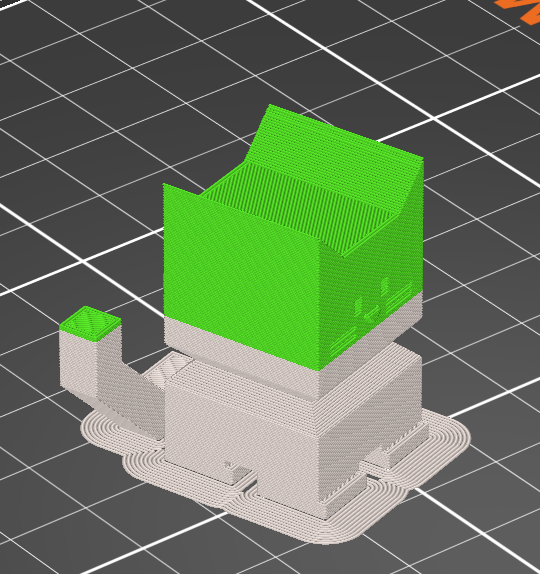
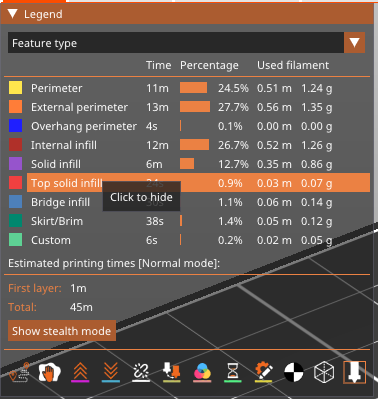
You can also see specific parts of the print broken down by type of print and shaded different colors, as well as a menu of options at the bottom. This lets you view more specific information about the print.
Once you have done this, move to the Transferring to Printer section.