Cutting
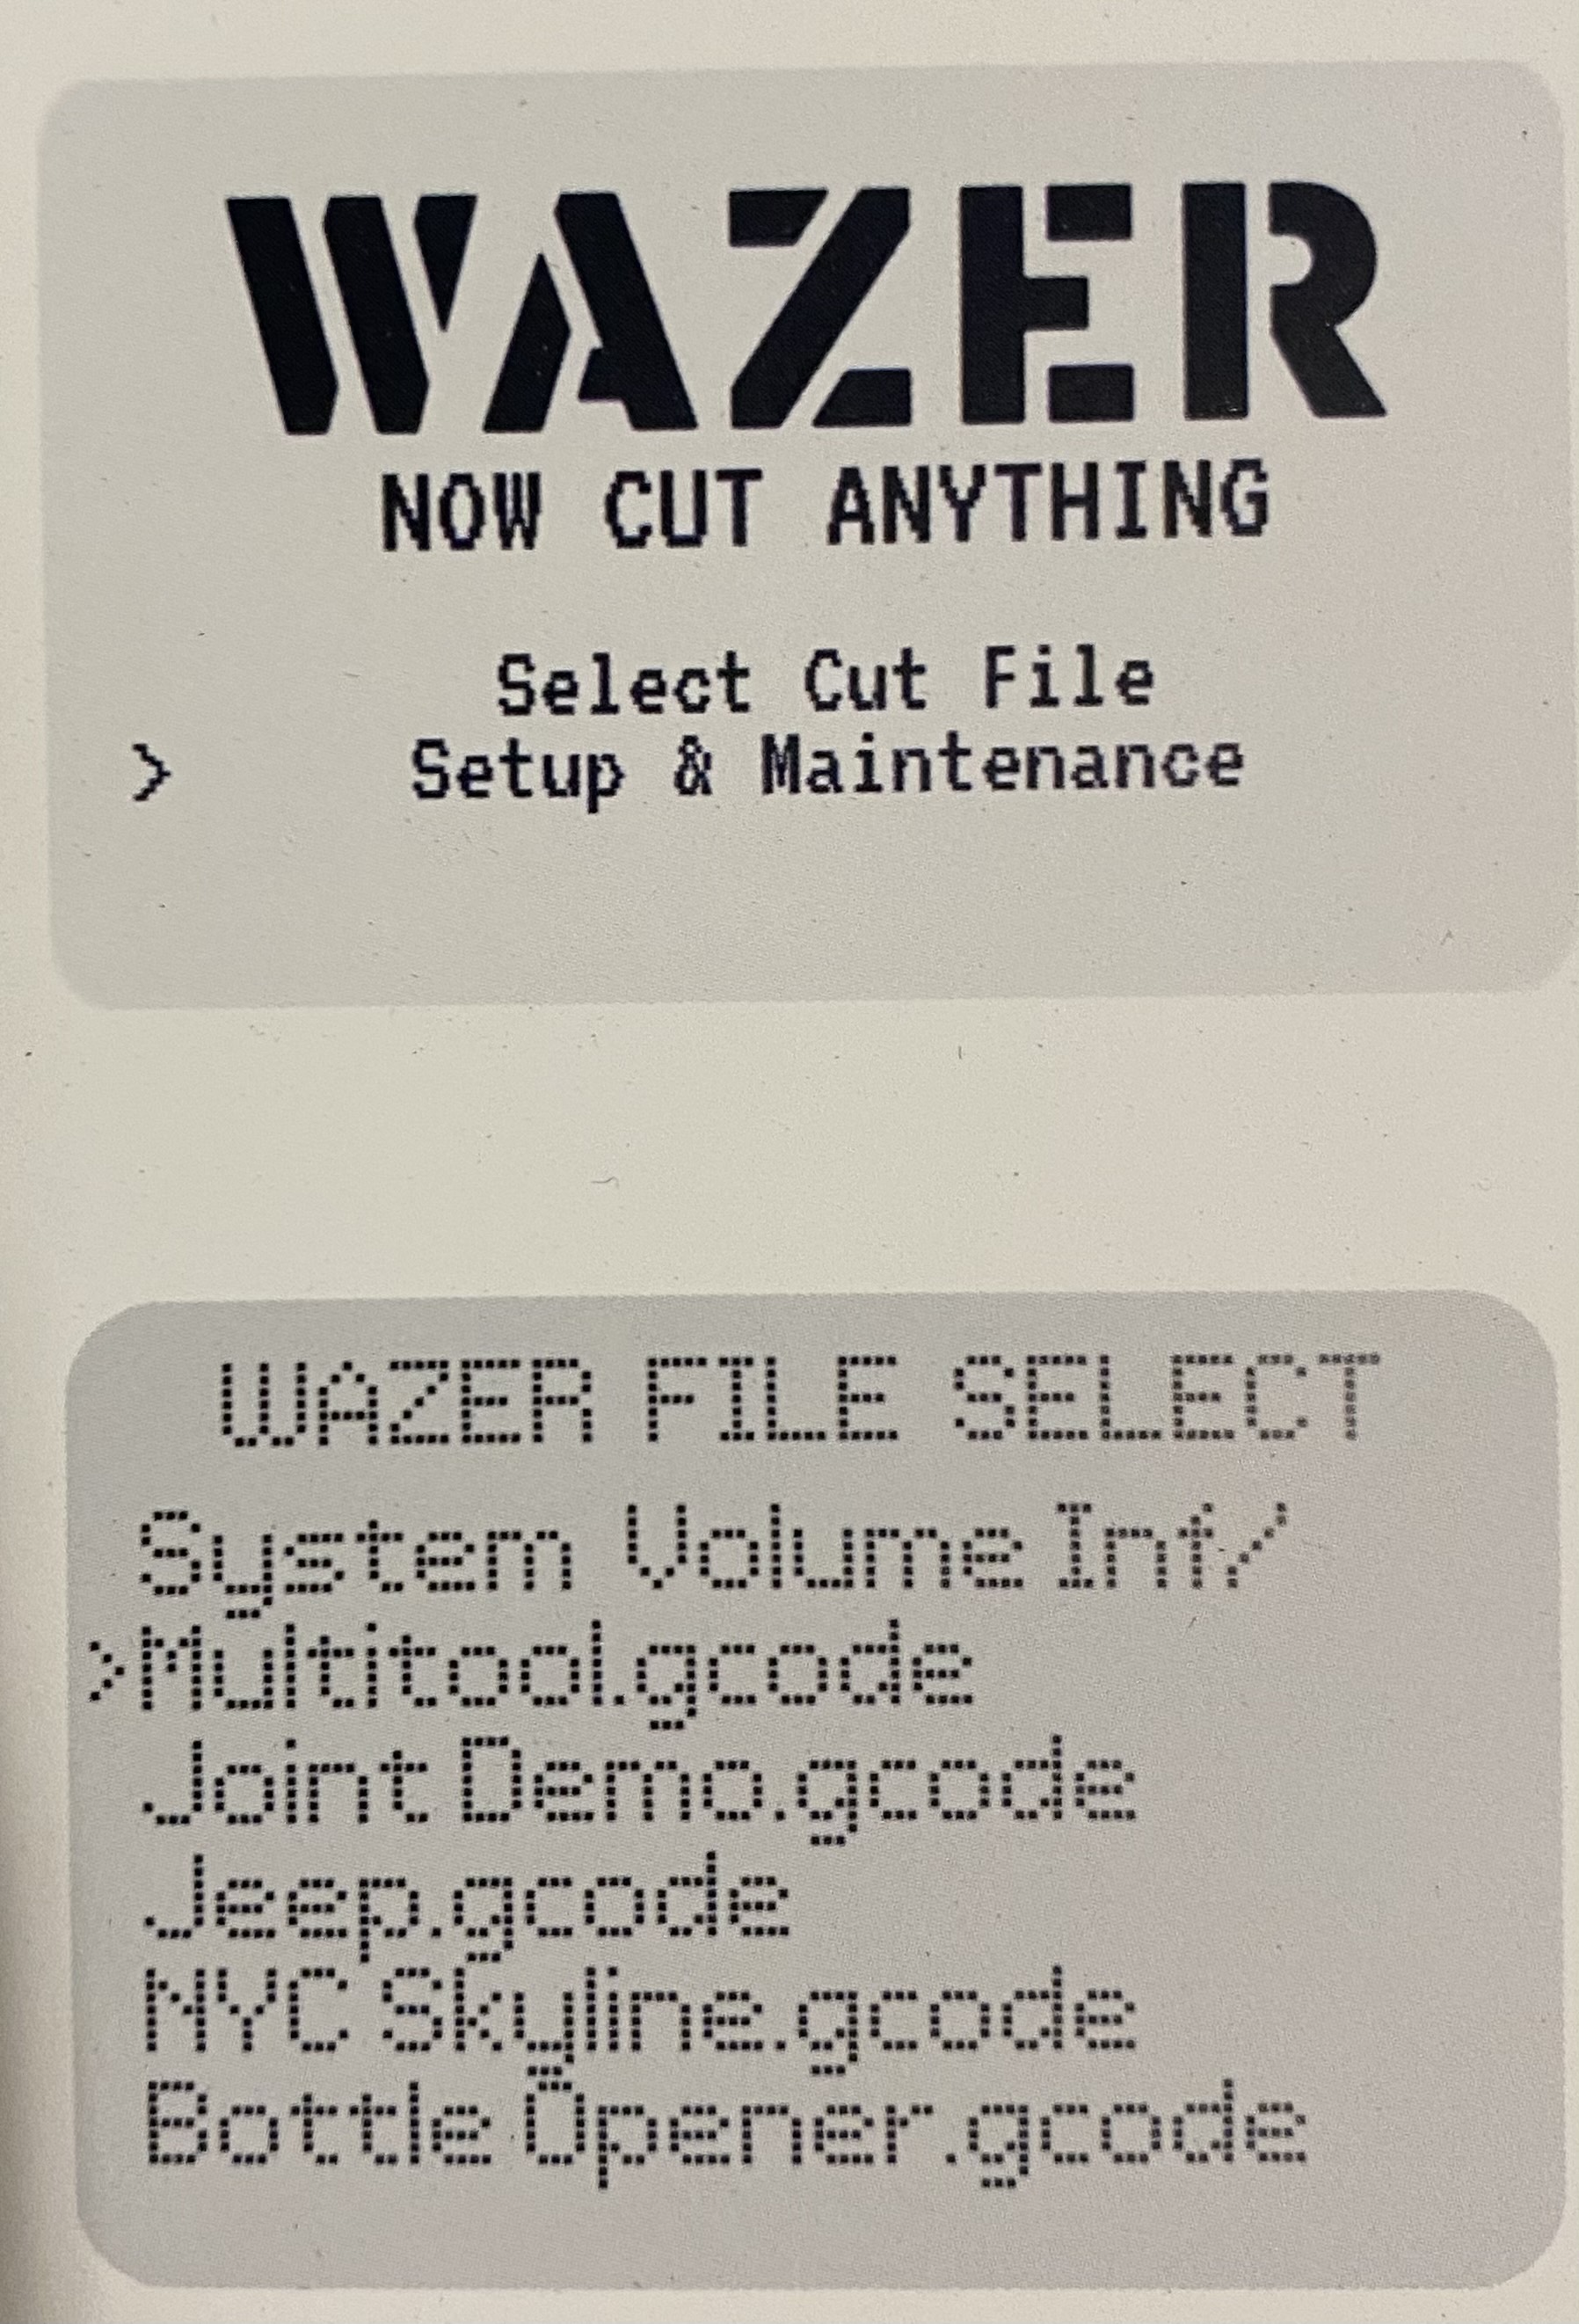
Once you have your file created, remove the SD card from the Wazer and plug it into your computer. Drag your file onto the SD card, eject it, and plug it back into the machine. Turn the machine on and use the keypad to navigate to select cut file. From there, select the file you wish to cut.
You will then be prompted to lift the nozzle when a screen pops up.
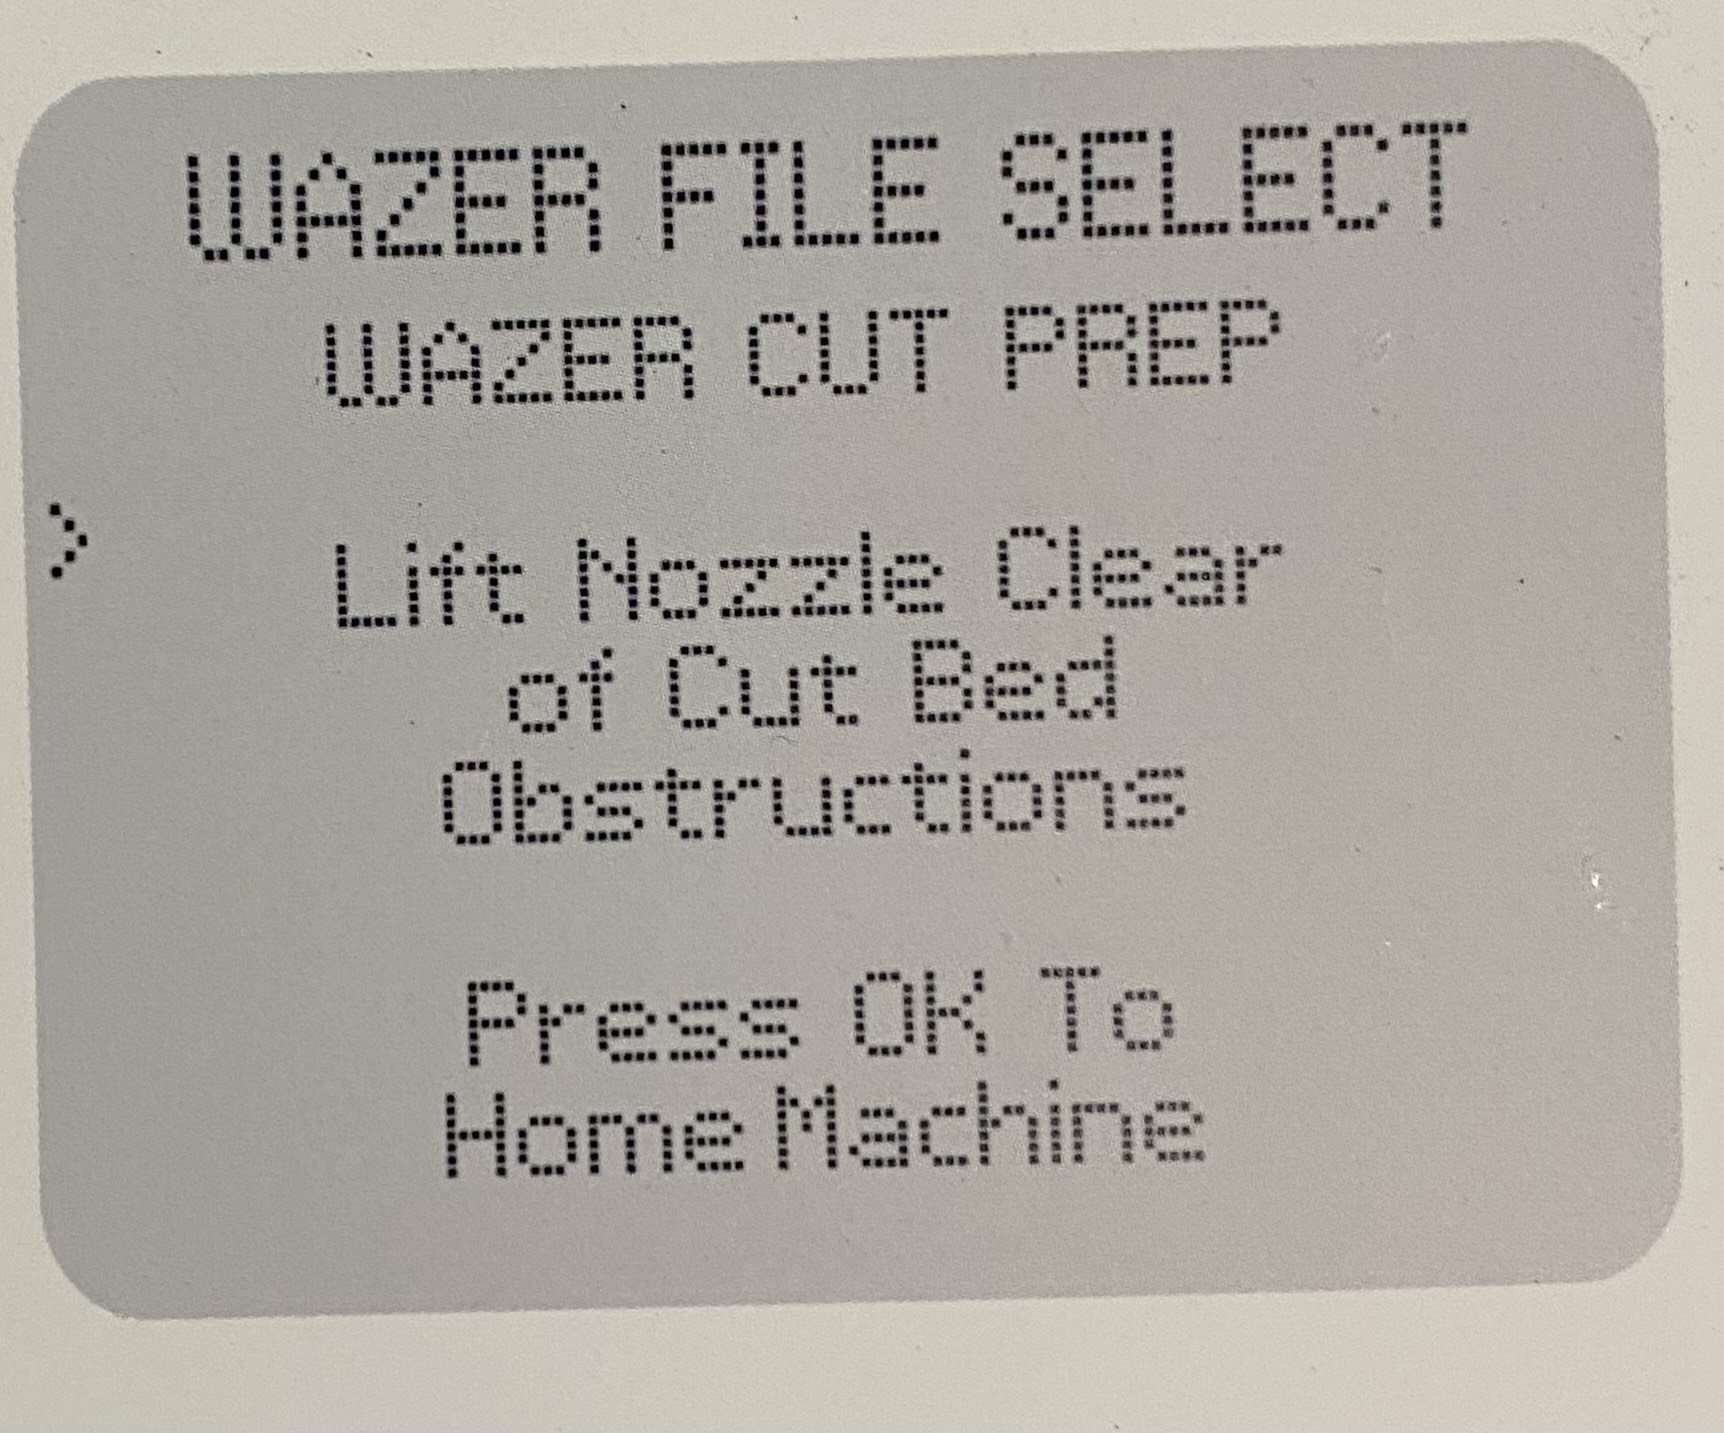
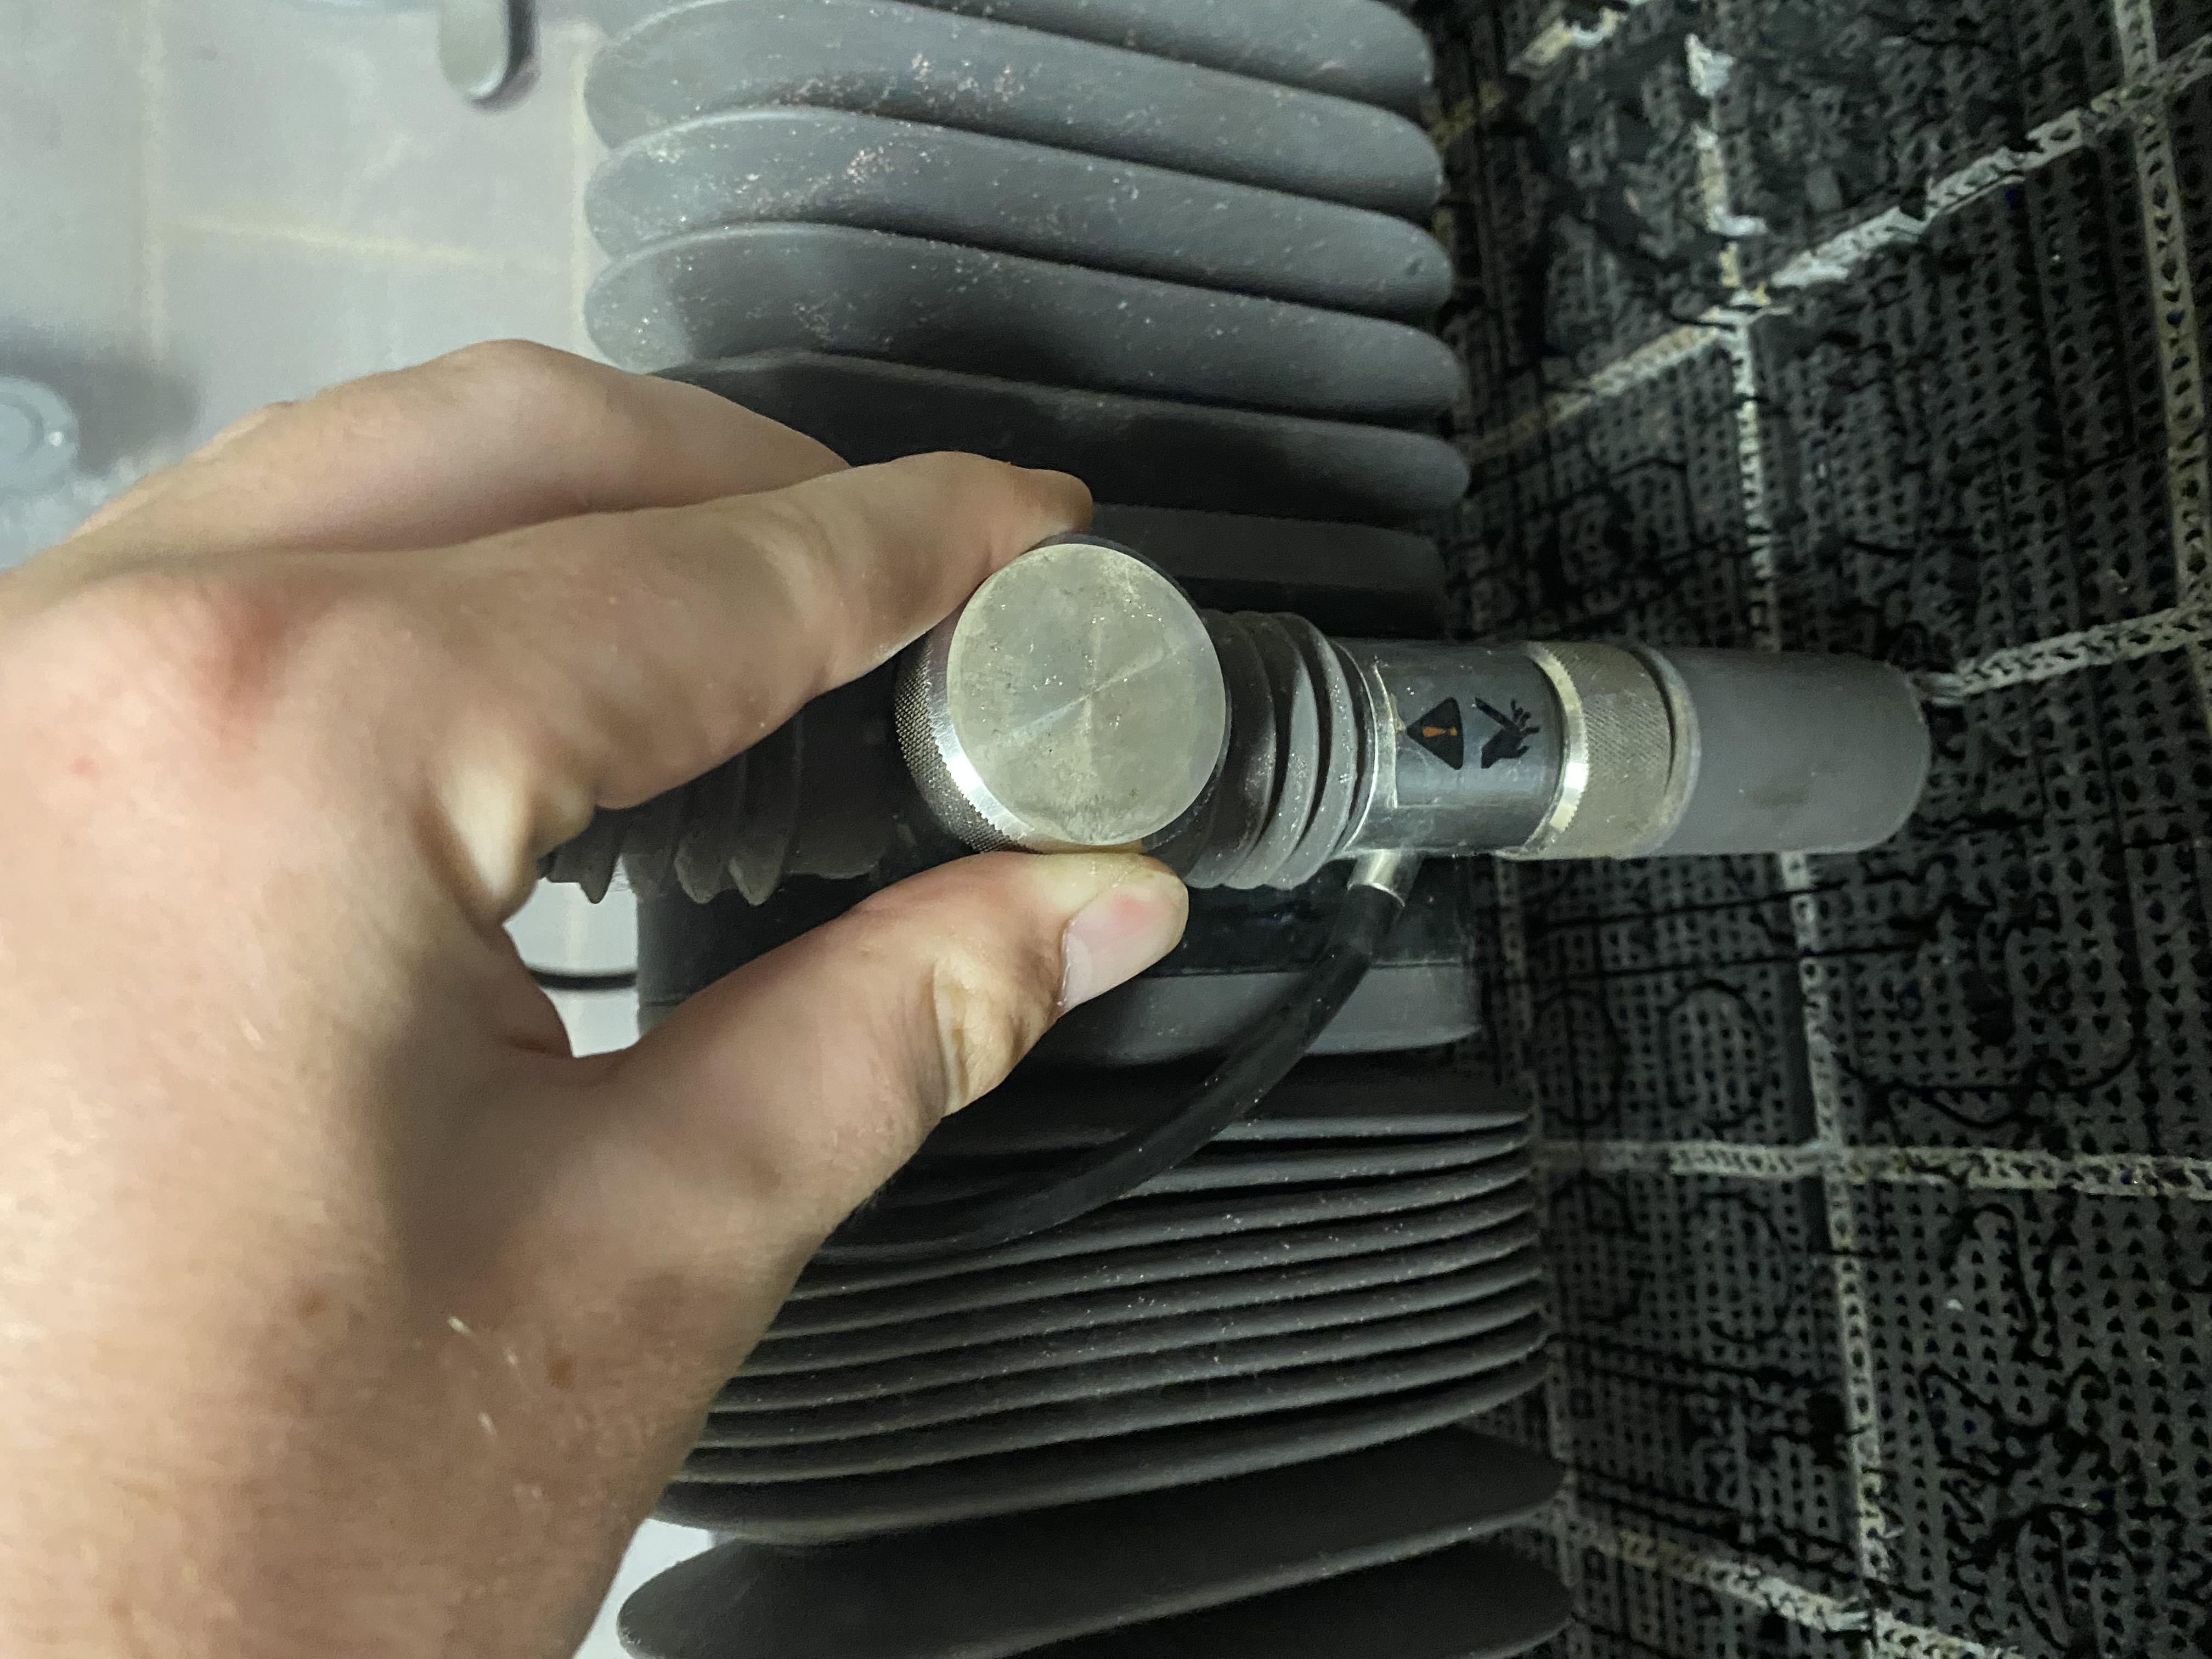
Loosen the silver knob on the cut head and lift up the nozzle.
Once you are done that, hit OK.
The nozzle will then move to the top left corner of the bed.
The cutter will then ask you to setup the sediment and water, and fasten your material to the bed. Do that now if you haven’t already.
The screen will then prompt you to set the nozzle height.
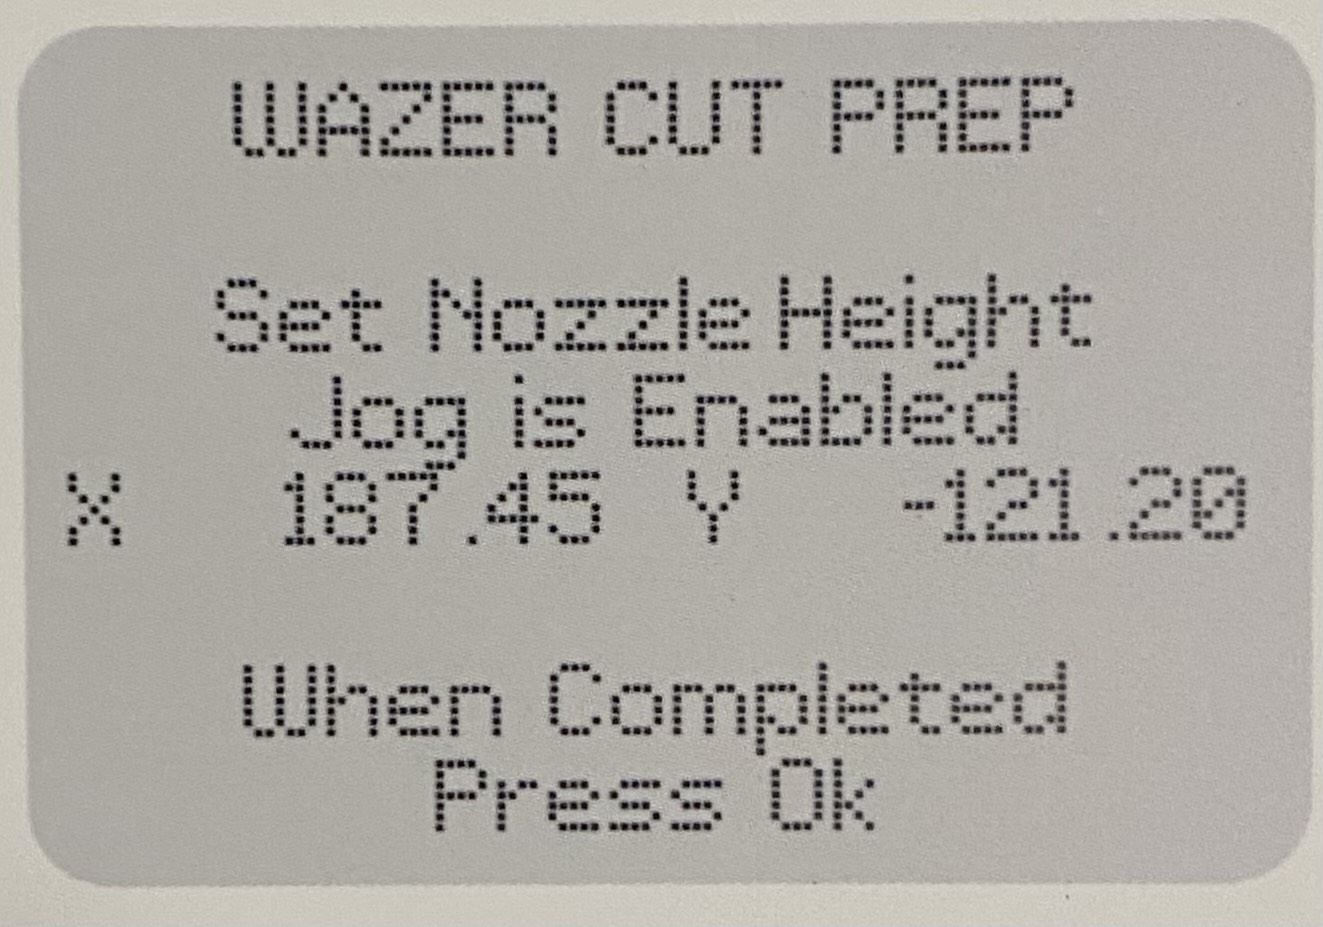
Use the arrow keys to move the nozzle head above your material and loosen the silver knob again. Then remove the black cap and place it with the tab under the nozzle.
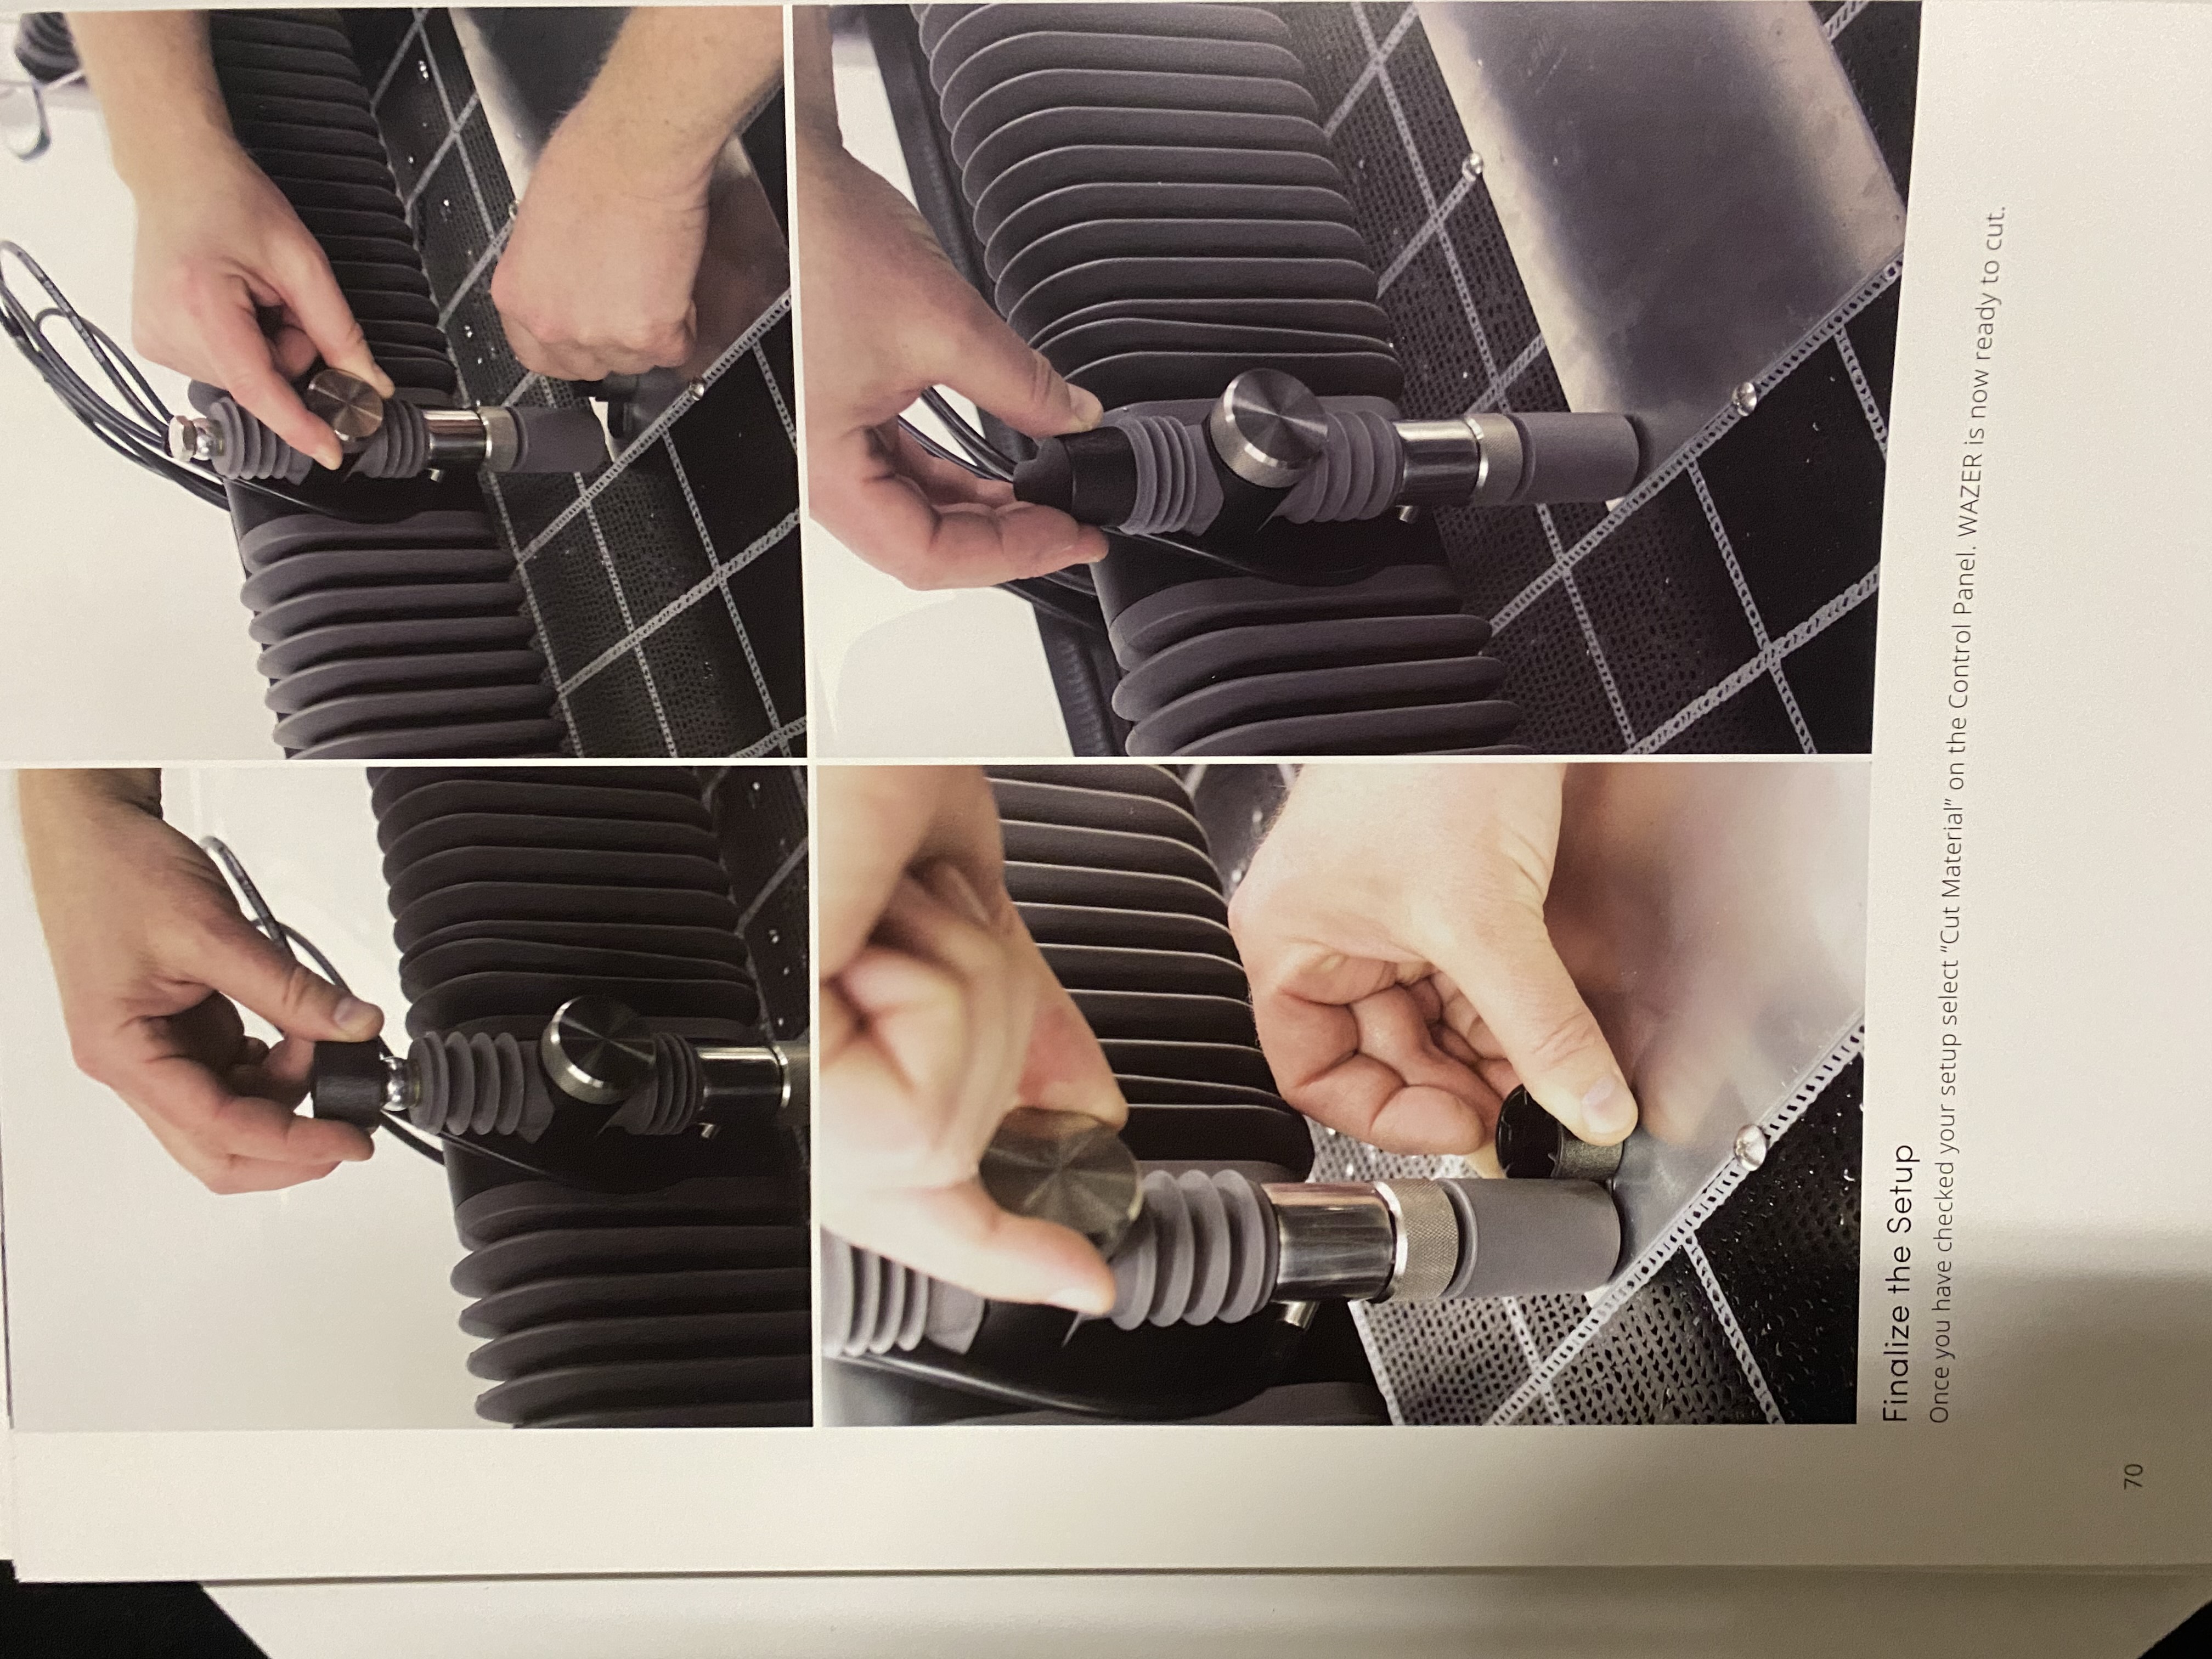
Finally lower the nozzle until it rests on the tab, and tighten the silver knob, and place the black cap back on top. Hit OK to proceed.
Finally the cut menu will appear. First select move origin. You will then be able to move the nozzle and place it where the top left corner of your file will start cutting.
Once you have done that it is recommended to hit check cut extents. This will trace out the boundary of the cut to make sure you won’t hit any screws or go over any preexisting holes in the material.
Finally once you are satisfied with the setup, close the lid and hit start cut.
If something seems weird or goes wrong with the print, pause the print by hitting start/stop and get a CID co-director to help you.