Uploading Files
To upload files to the FormLabs printer first open the PreForm application.

Then drag and drop your intended file into the work area of the window
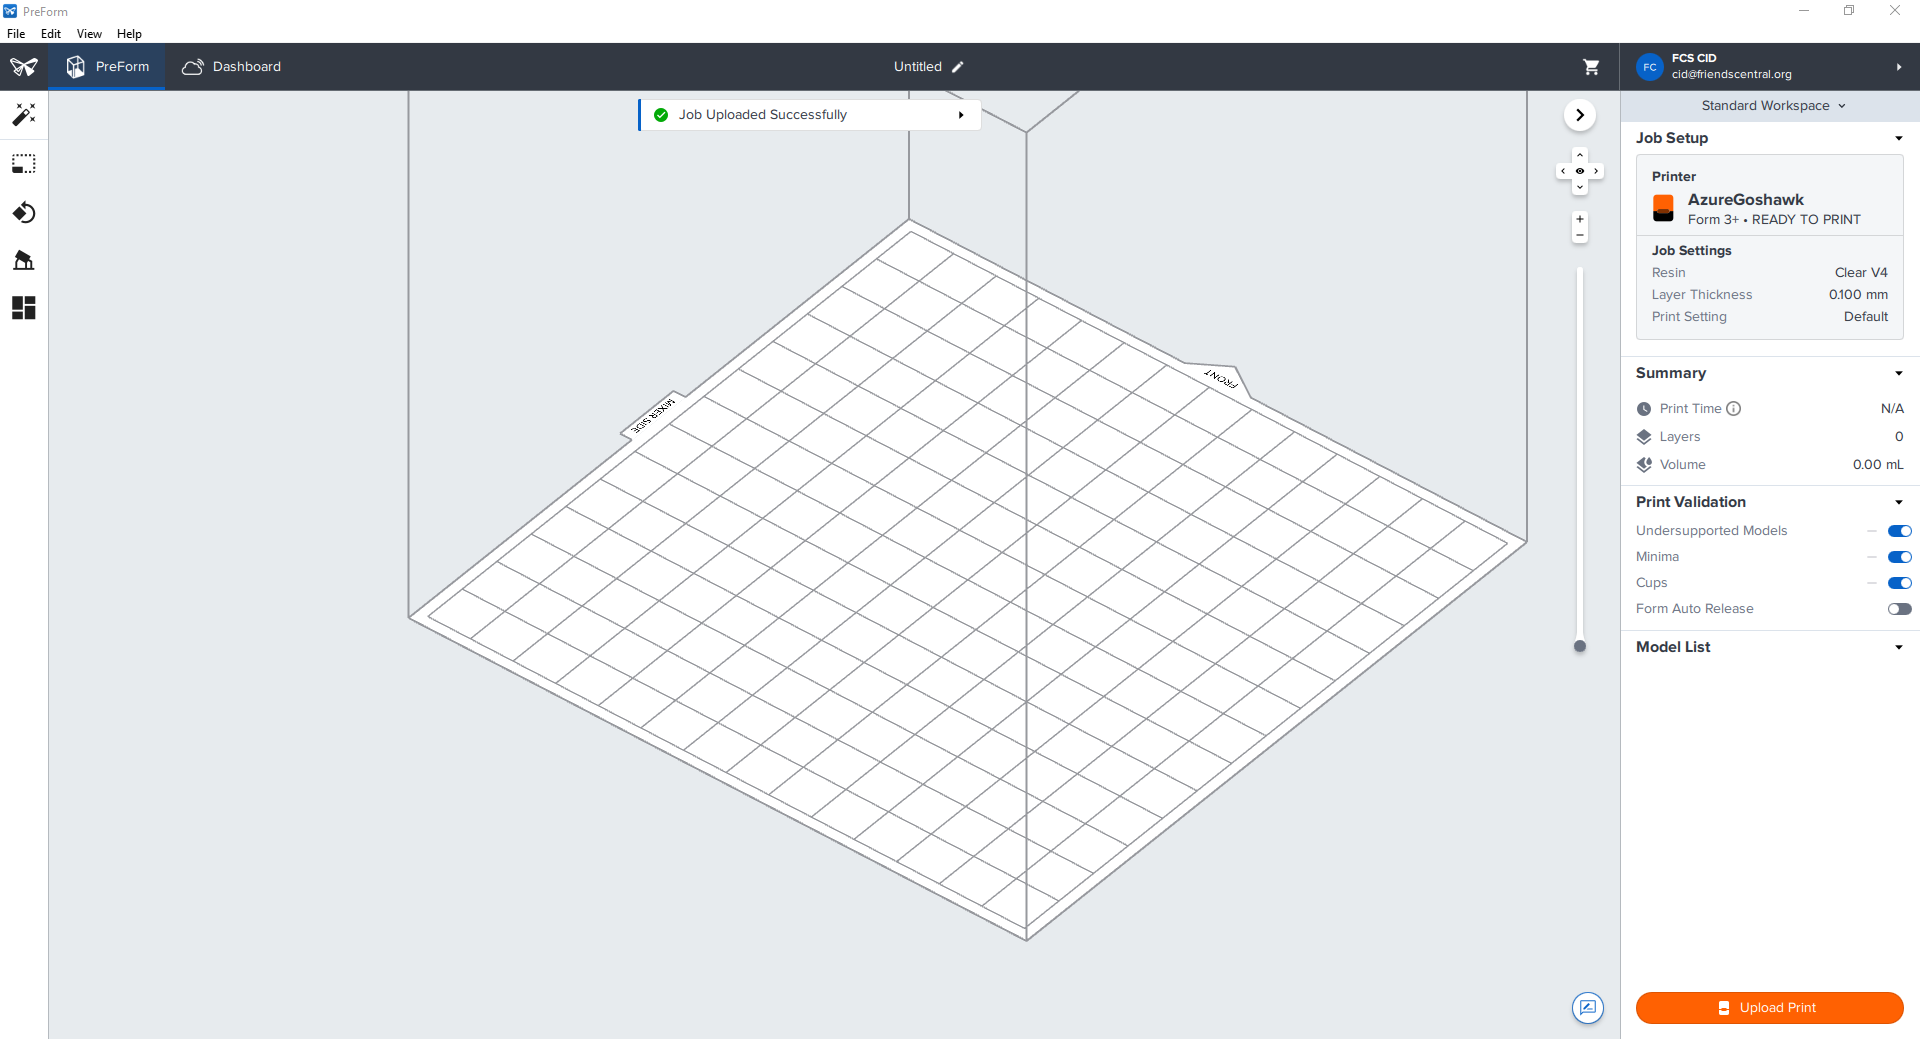
From here you have a few options about how to set up your print.
One Click Print
The simplest is to hit the ( ) icon and use
 One Click Print
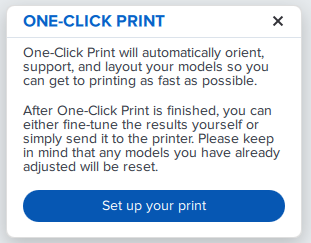
Hit the Set Up Your Print button and the app will automatically rotate your model and add supports for the best print generation.
It will also pop up the printing menu, which we will discuss in the Printing section.
Manual Setup
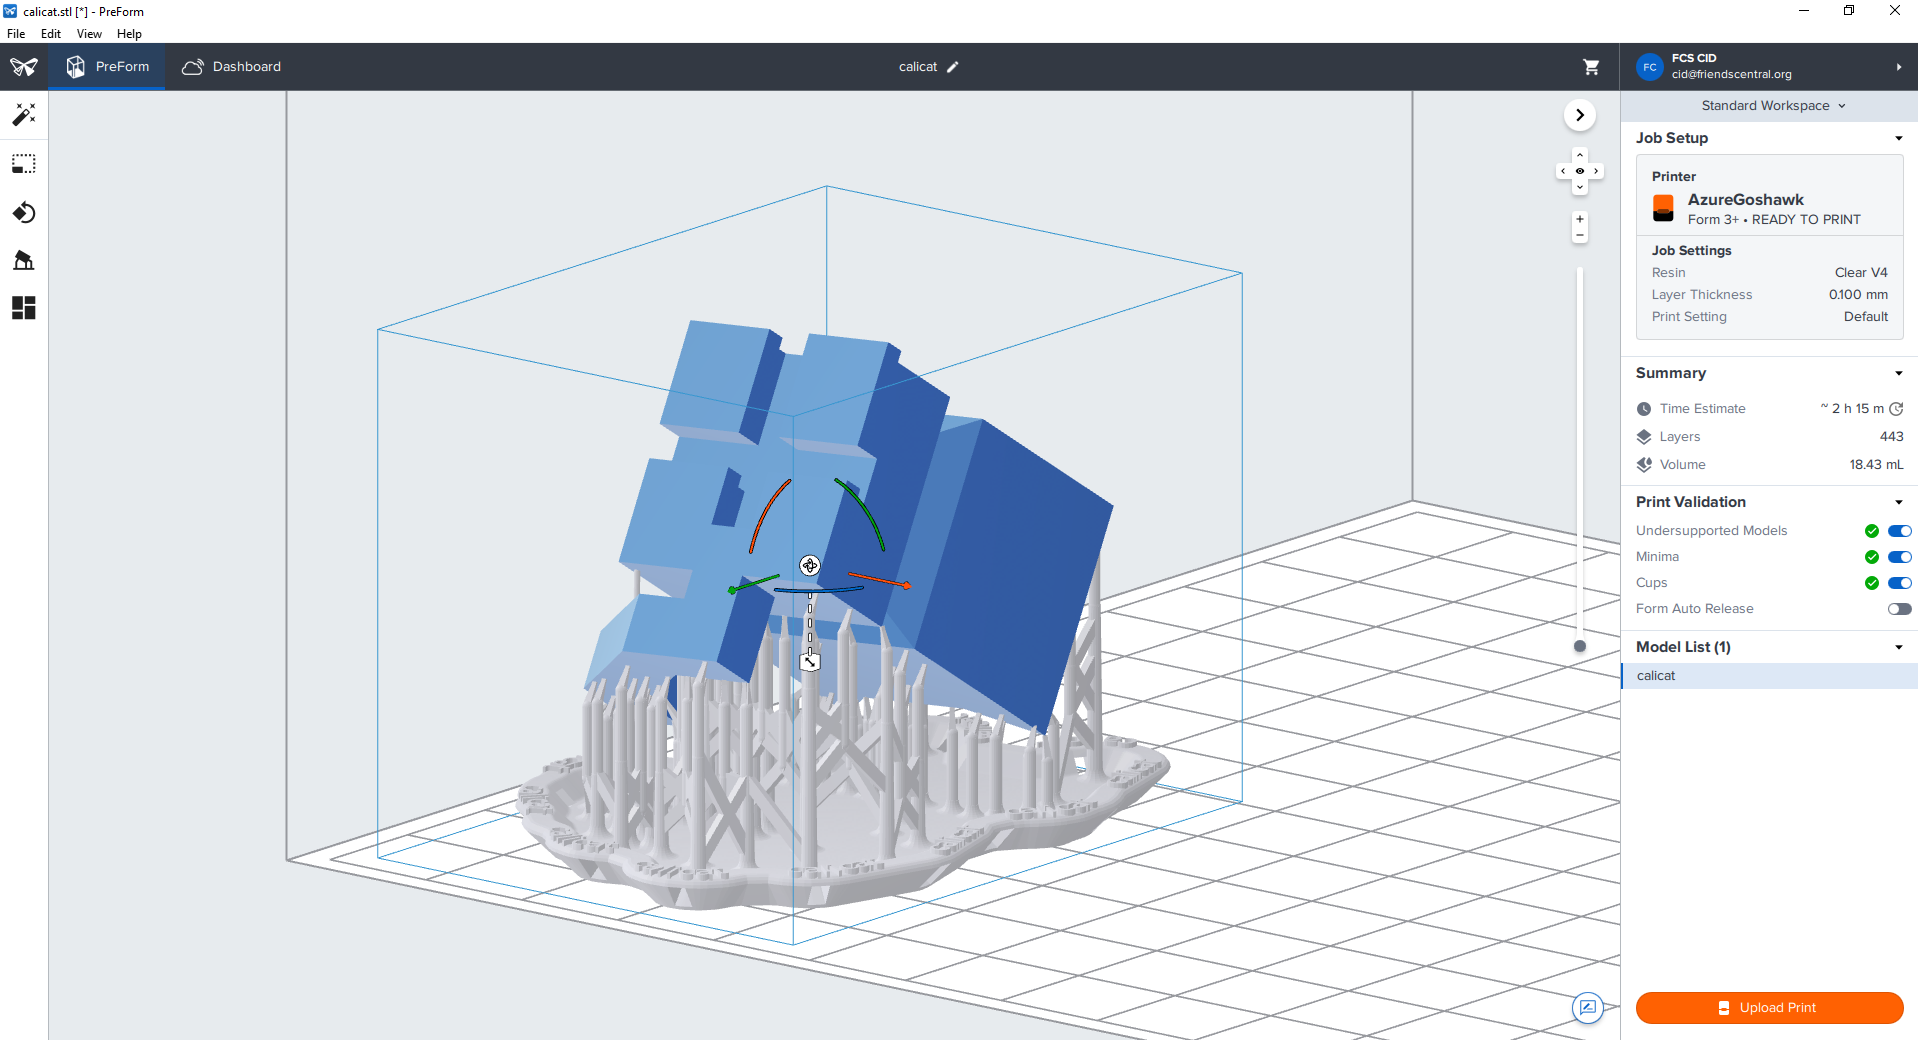
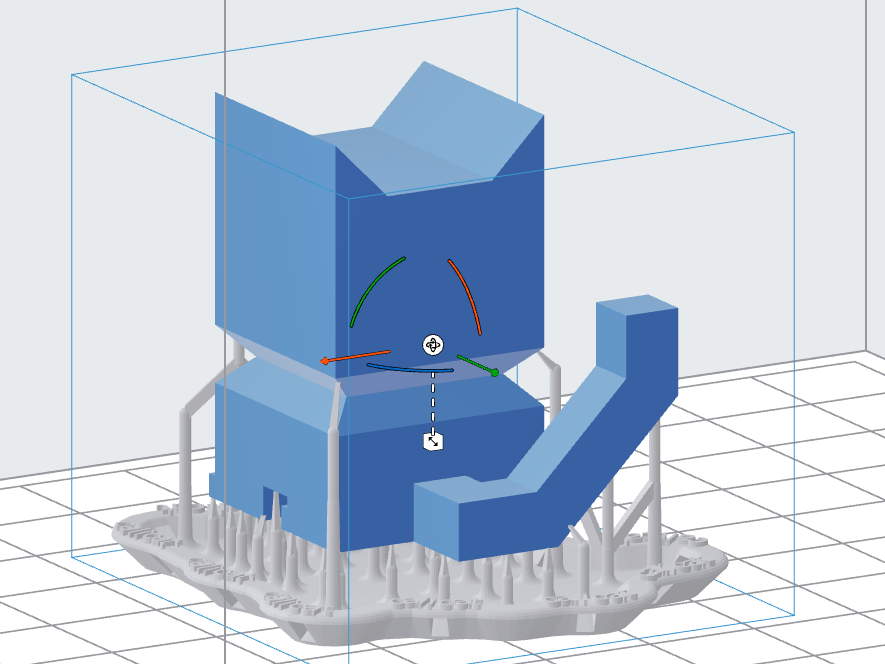
Moving and Rotation
To move the print around the print bed, first click the item you wish to move, and you will see two arrows pop up around your shape, as well as 3 quarter rings.
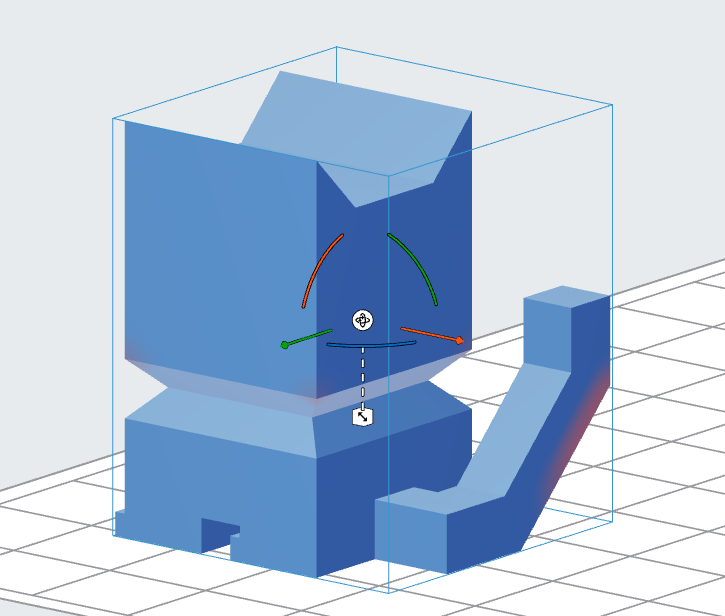
Once that happens you can either move it on the main axis by dragging those arrows, or just grab and drag the object to wherever you want it.
You can also rotate it by grabbing and dragging the quarter rings or the ( ) icon.
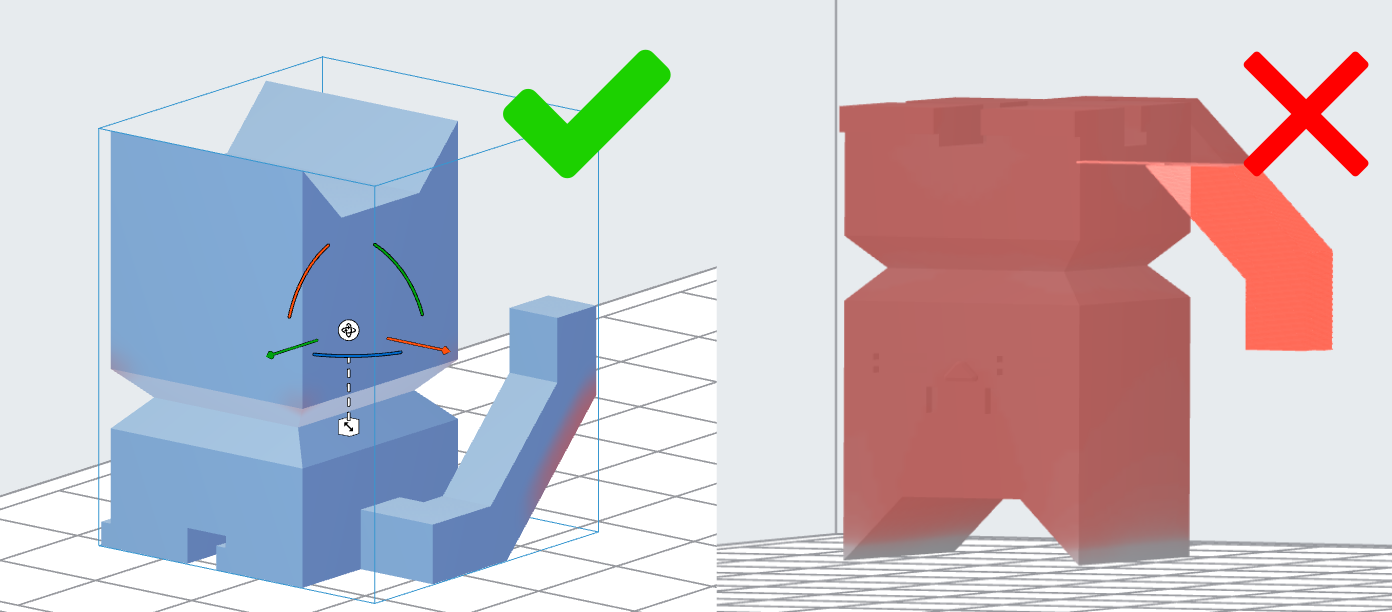
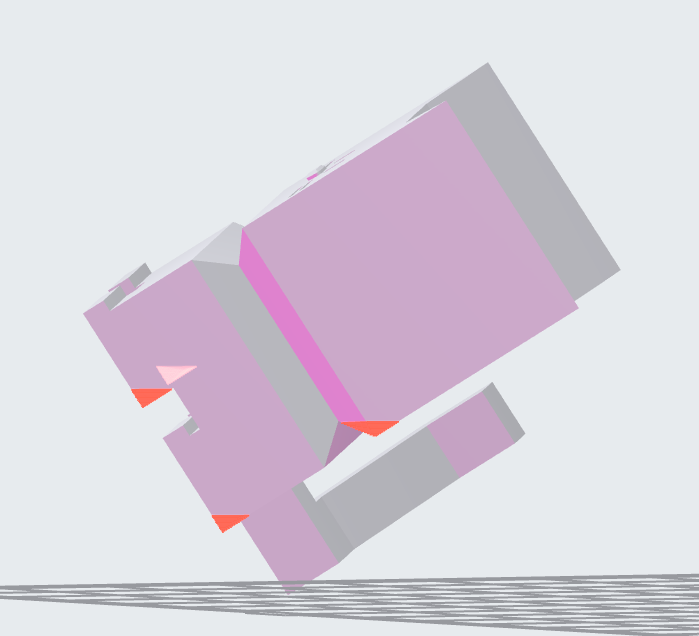
It is recommended to rotate the object so that the least amount of overhang is achieved:

And there are no shapes that create cups:
Again a menu with certain options will also appear next to the ( ) icon.
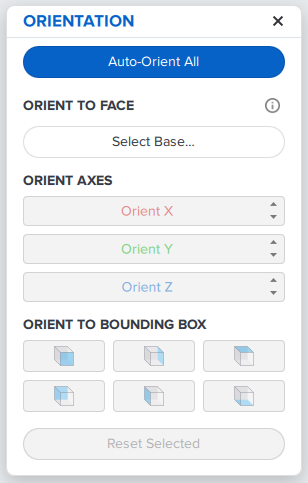
The Auto-Orient Selected will rotate the object to have the optimal setup.
The Orient To Face button will allow you to click on a face of the print and the program will lay it flat against the print bed such that the arrow that appears will point straight down into the bed.
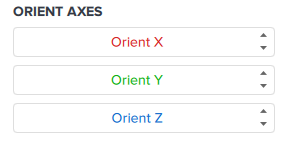
You can also edit its rotation more precisely by clicking the arrows next to Orient X, Orient Y, and Orient Z to rotate it around those axes.
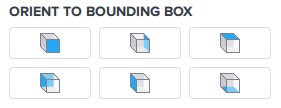
There also is a handful of options labeled Orient To Bounding Box. This will lay the face of the rectangular box around the object flat against the bed.
Finally the Reset Selected button will return the object to it’s original orientation.
Scaling
To scale your object, select the object, then select the ( ) icon. A menu will appear next to the icon.
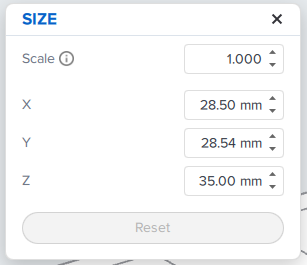
The text boxes allow you to set the scale of the object by a multiple of it’s current size and scale it evenly across all axis, or scale the axis separately to the size you specify.
The Reset button will set the object to its original dimensions.
Alternatively, when you select the object you can grab and drag the ( ) icon to scale it evenly.
Layout
To manage the layout of the bed, select your object and hit the ( ) icon. A menu will then appear.
Auto Layout
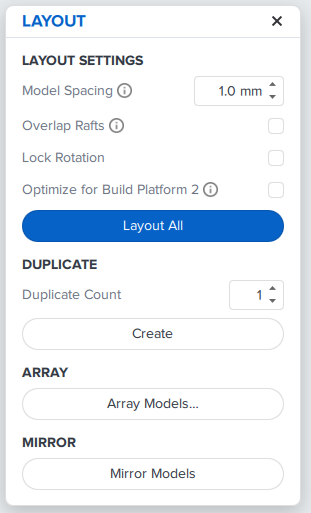
To automatically layout your objects, you can change the Model Spacing and choose whether to select Overlap Rafts and Lock Rotation. Then hit the Layout All button.
Model Spacing Will dictate how close the pieces end up after placement.

Overlap Rafts dictates if the support rafts can overlap.
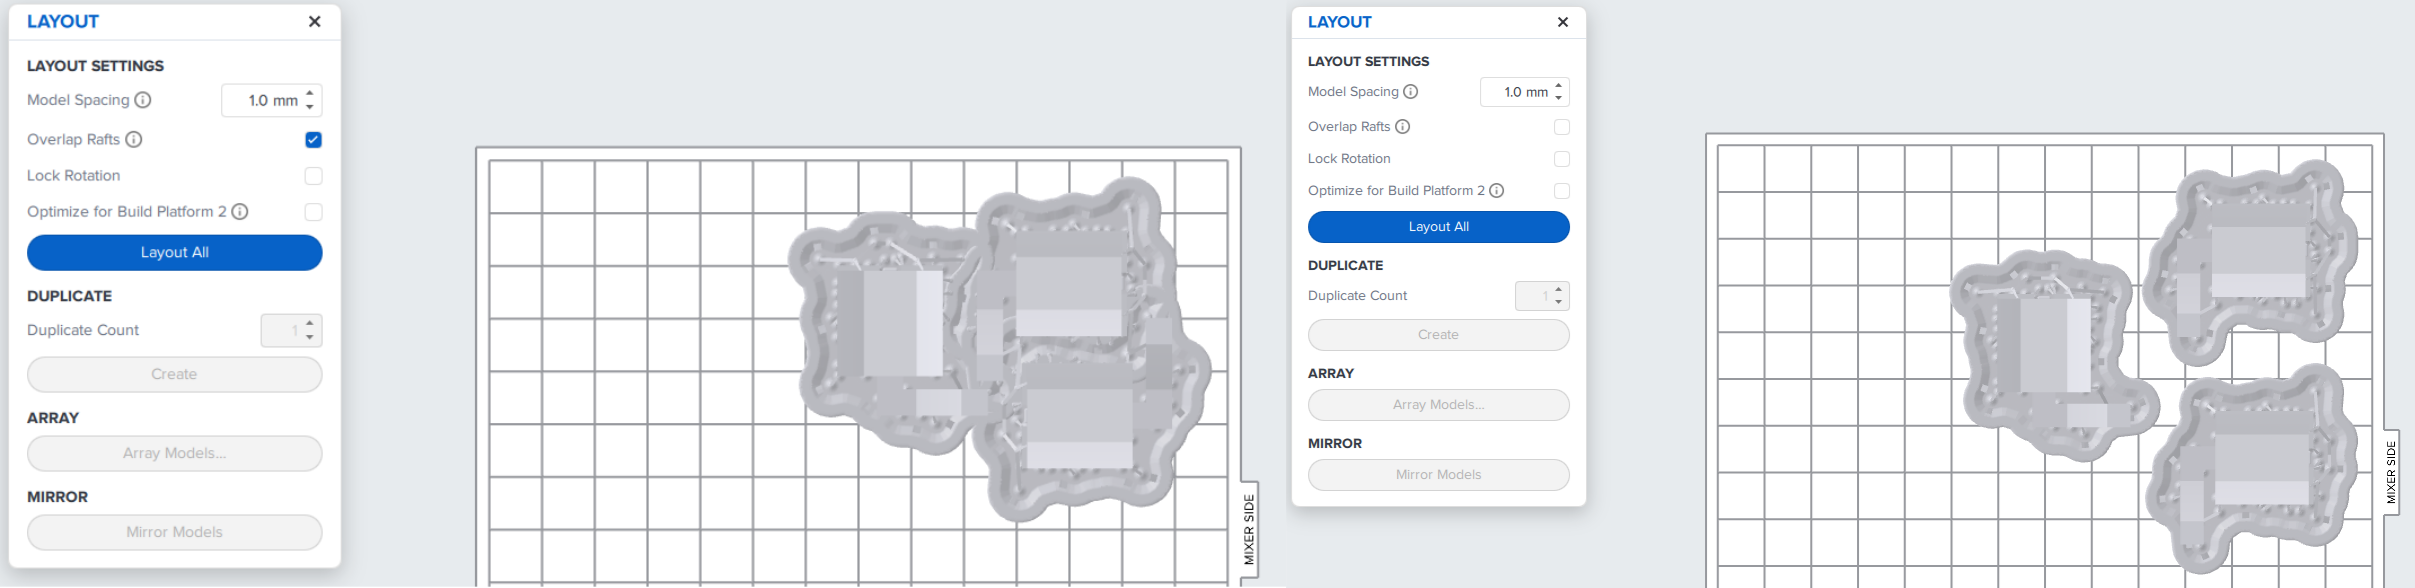
Lock Rotation stops the program from rotating the models while arranging them.
Duplication
To duplicate your model, first select how many copies you want, then hit the Create button.
Array
Array will duplicate your models in a regular pattern, with a specified number of rows and columns and specified spacing.
Mirroring
Hit the Mirror Models button to mirror all selected models.
Supports
To generate supports for your model, hit the ( ) icon and a menu will appear. If you select an object or objects, you can generate supports only for the selected objects, or alternatively generate supports for all objects by not selecting any one particular object.

Firstly, you can automatically generate the supports by hitting the Auto-Generate All button.
You can paint on supports by hitting the Edit button, but the details of that will not be covered here. It is recommended to use the Auto-Generate option instead.
You can edit the way supports generate in the Basic Settings section.
Raft Type will change how the support raft generates, either Full Rafts, Mini Rafts, or None.

Raft Label will place the name of the object on the rim of the raft.
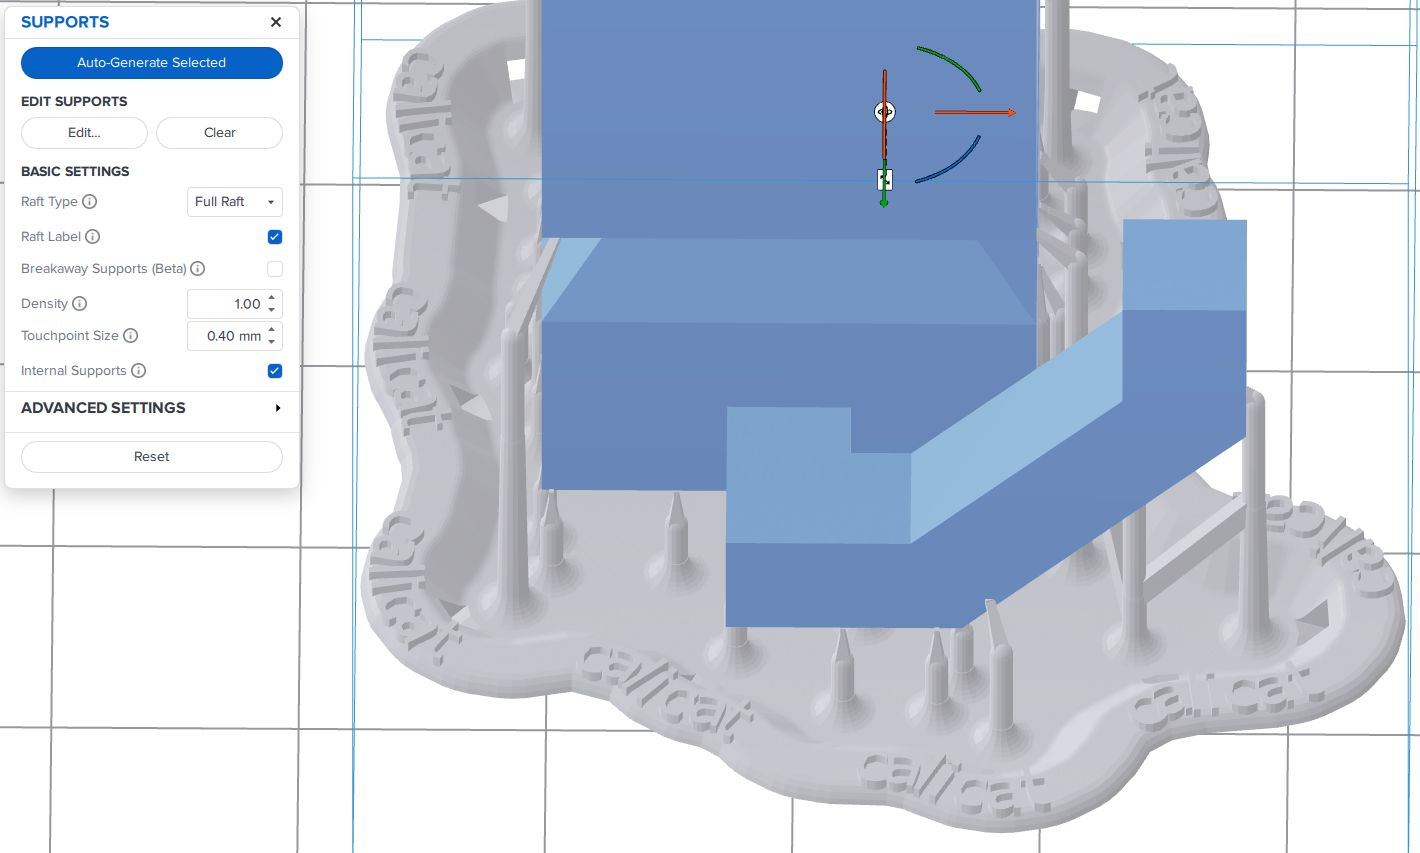
Density Changes how often the supports will be placed.
Touchpoint Size changes the area of the contact between the support and the object.
Internal Supports will generate supports between different layers of the object.
Advanced Settings has more particular details but will not be covered on this guide.
Hitting the Reset button will reset the objects completely.
Once you are happy with the object and support placement, move to the Printer Settings section.