Chapter 4
Wazer
The wazer is a very powerful tool, used mostly for cutting metal this machine is a little harder to use but very effective, and less dangerous and easy to break than the CNC. To use this machine, follow these guides:
The wazer is a very powerful tool, used mostly for cutting metal this machine is a little harder to use but very effective, and less dangerous and easy to break than the CNC. To use this machine, follow these guides:
To cut a file on the water cutter, first open up https://wam.wazer.com.
There you will need to sign in, get an adult to sign into the website for you.
Once you sign in, the workspace will open up automatically.
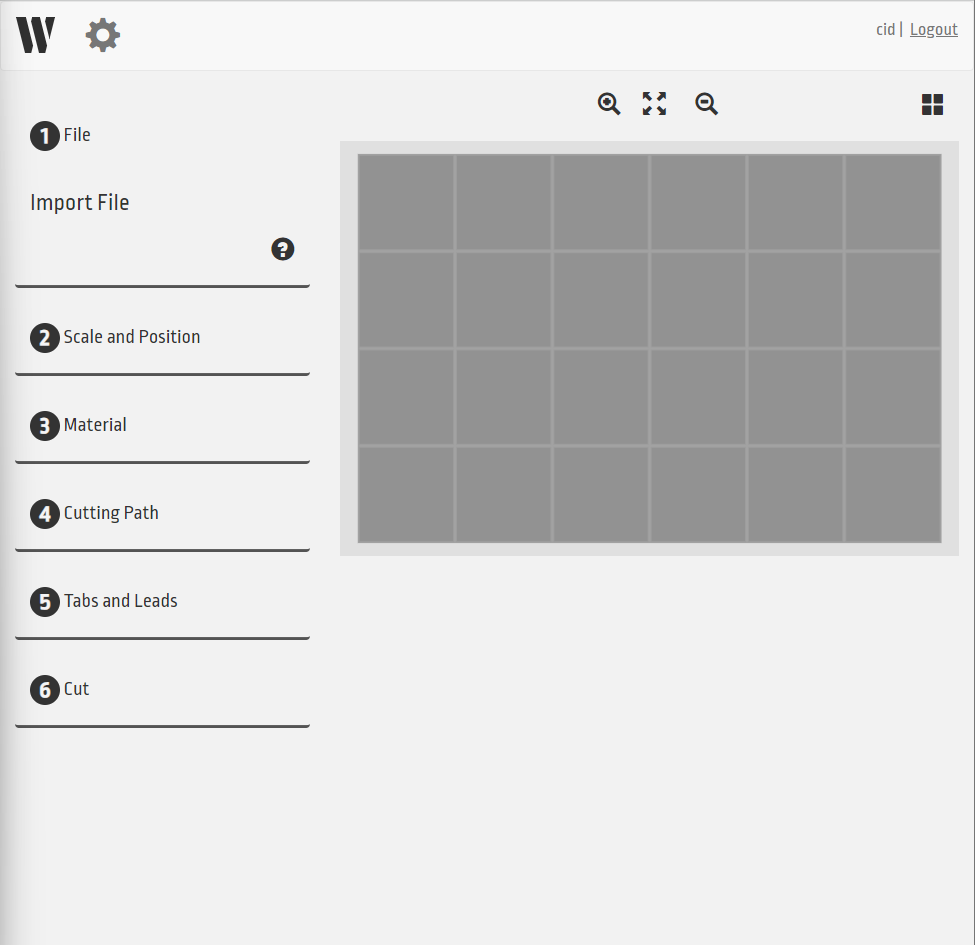
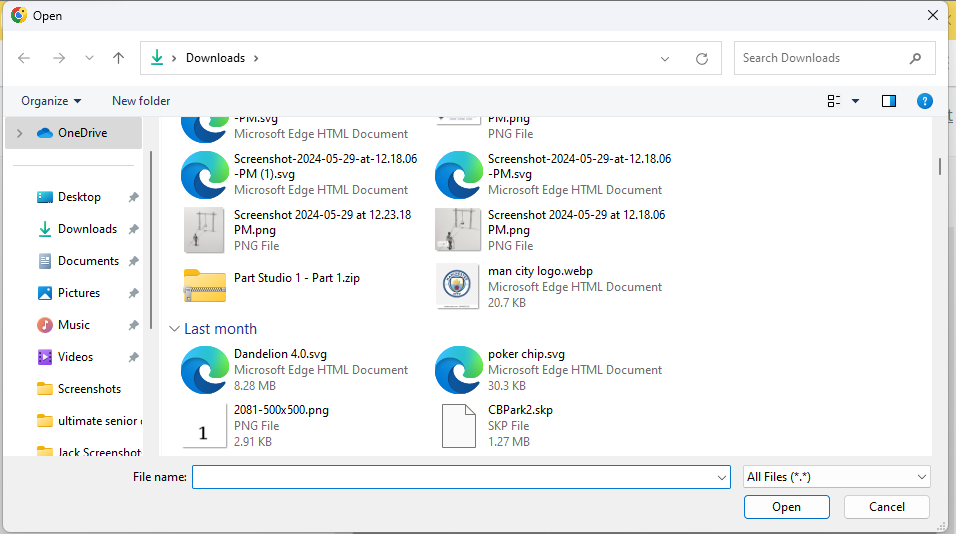
To upload your file click Import File and select your SVG or DXF file.
Once you have done that, you will see the name of your part, as well as some options.
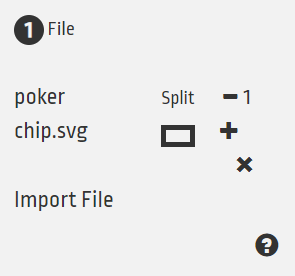
You can add or subtract copies by hitting the + or - buttons, or split a file into it’s individual components by hitting the rectangle under Split.
You can also import another file by clicking Import File again.
To scale and position your file, click Scale and Position and then click the object you wish to manipulate.
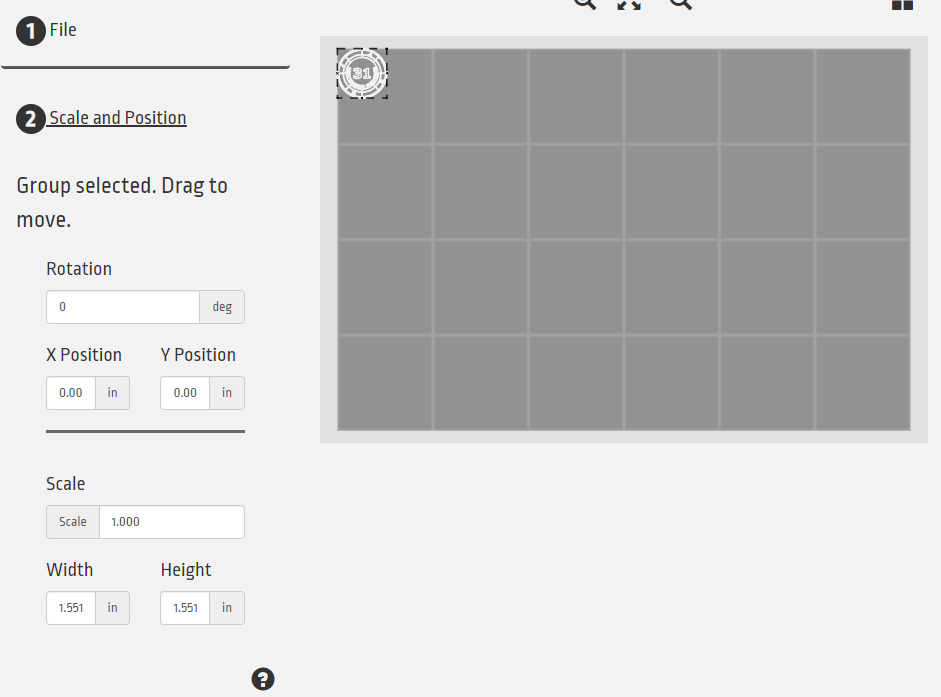
A menu will pop up wil a few options.
Firstly, you can drag the object around the bed to position it or use the X Position and Y Position boxes to move it to a specific location.
You can rotate it with the Rotation box by inputting how many degrees you want to rotate it.
You can scale it to a percentage of the original size with the Scale box or set a certain width or height with the Width and Height box. The object will retain the same proportions so width and height will scale regularly.
Once you are happy with the positioning, move to the Cut Settings page.
Once your file is set up properly, we will now set up the machine to cut it.
First click the tab labeled Material.
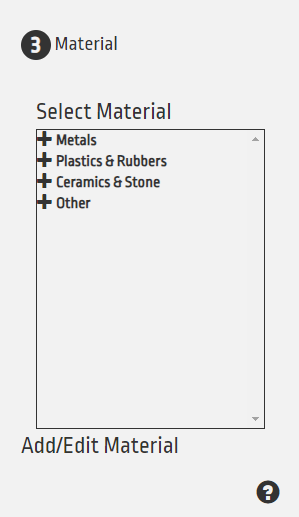
Then select the material currently loaded in the Water Cutter.
Next select Cutting Path.
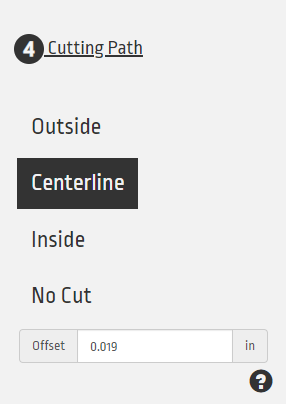
This will show the exact way that the cutter will cut your file. if you want to keep the piece outside of your file select inside, and if you want to keep the piece inside of your file select outside. Otherwise hit centerline.
Offset will dedicate how far the cut line will be outside or inside the file line.
Select Tabs and Leads next.
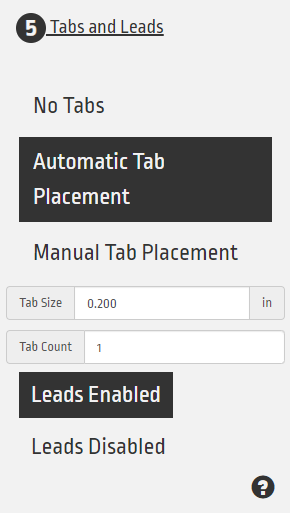
Tabs will be little bits of material that keep the material steady while cutting. You can either choose to manually place tabs by clicking along your path, or choose a number of tabs in the Tab count box and click Automatic Tab Placement.
Leads will tell the machine to stray off the cut path to make more precise cuts and eliminate the bits leftover from removing tabs. Only use this if you only care about one of the two pieces you will cut.
FInally select Cut.
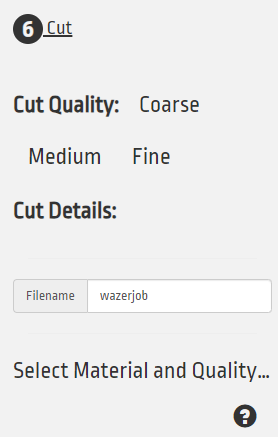
There you can select the quality of your cut, where higher quality takes more time and sediment.
Finally type the name of the file for identification on the machine.
Once you are done that, hit Generate Job File and the g-code will download to your computer.
Once you have done this, move to the Securing Material section.
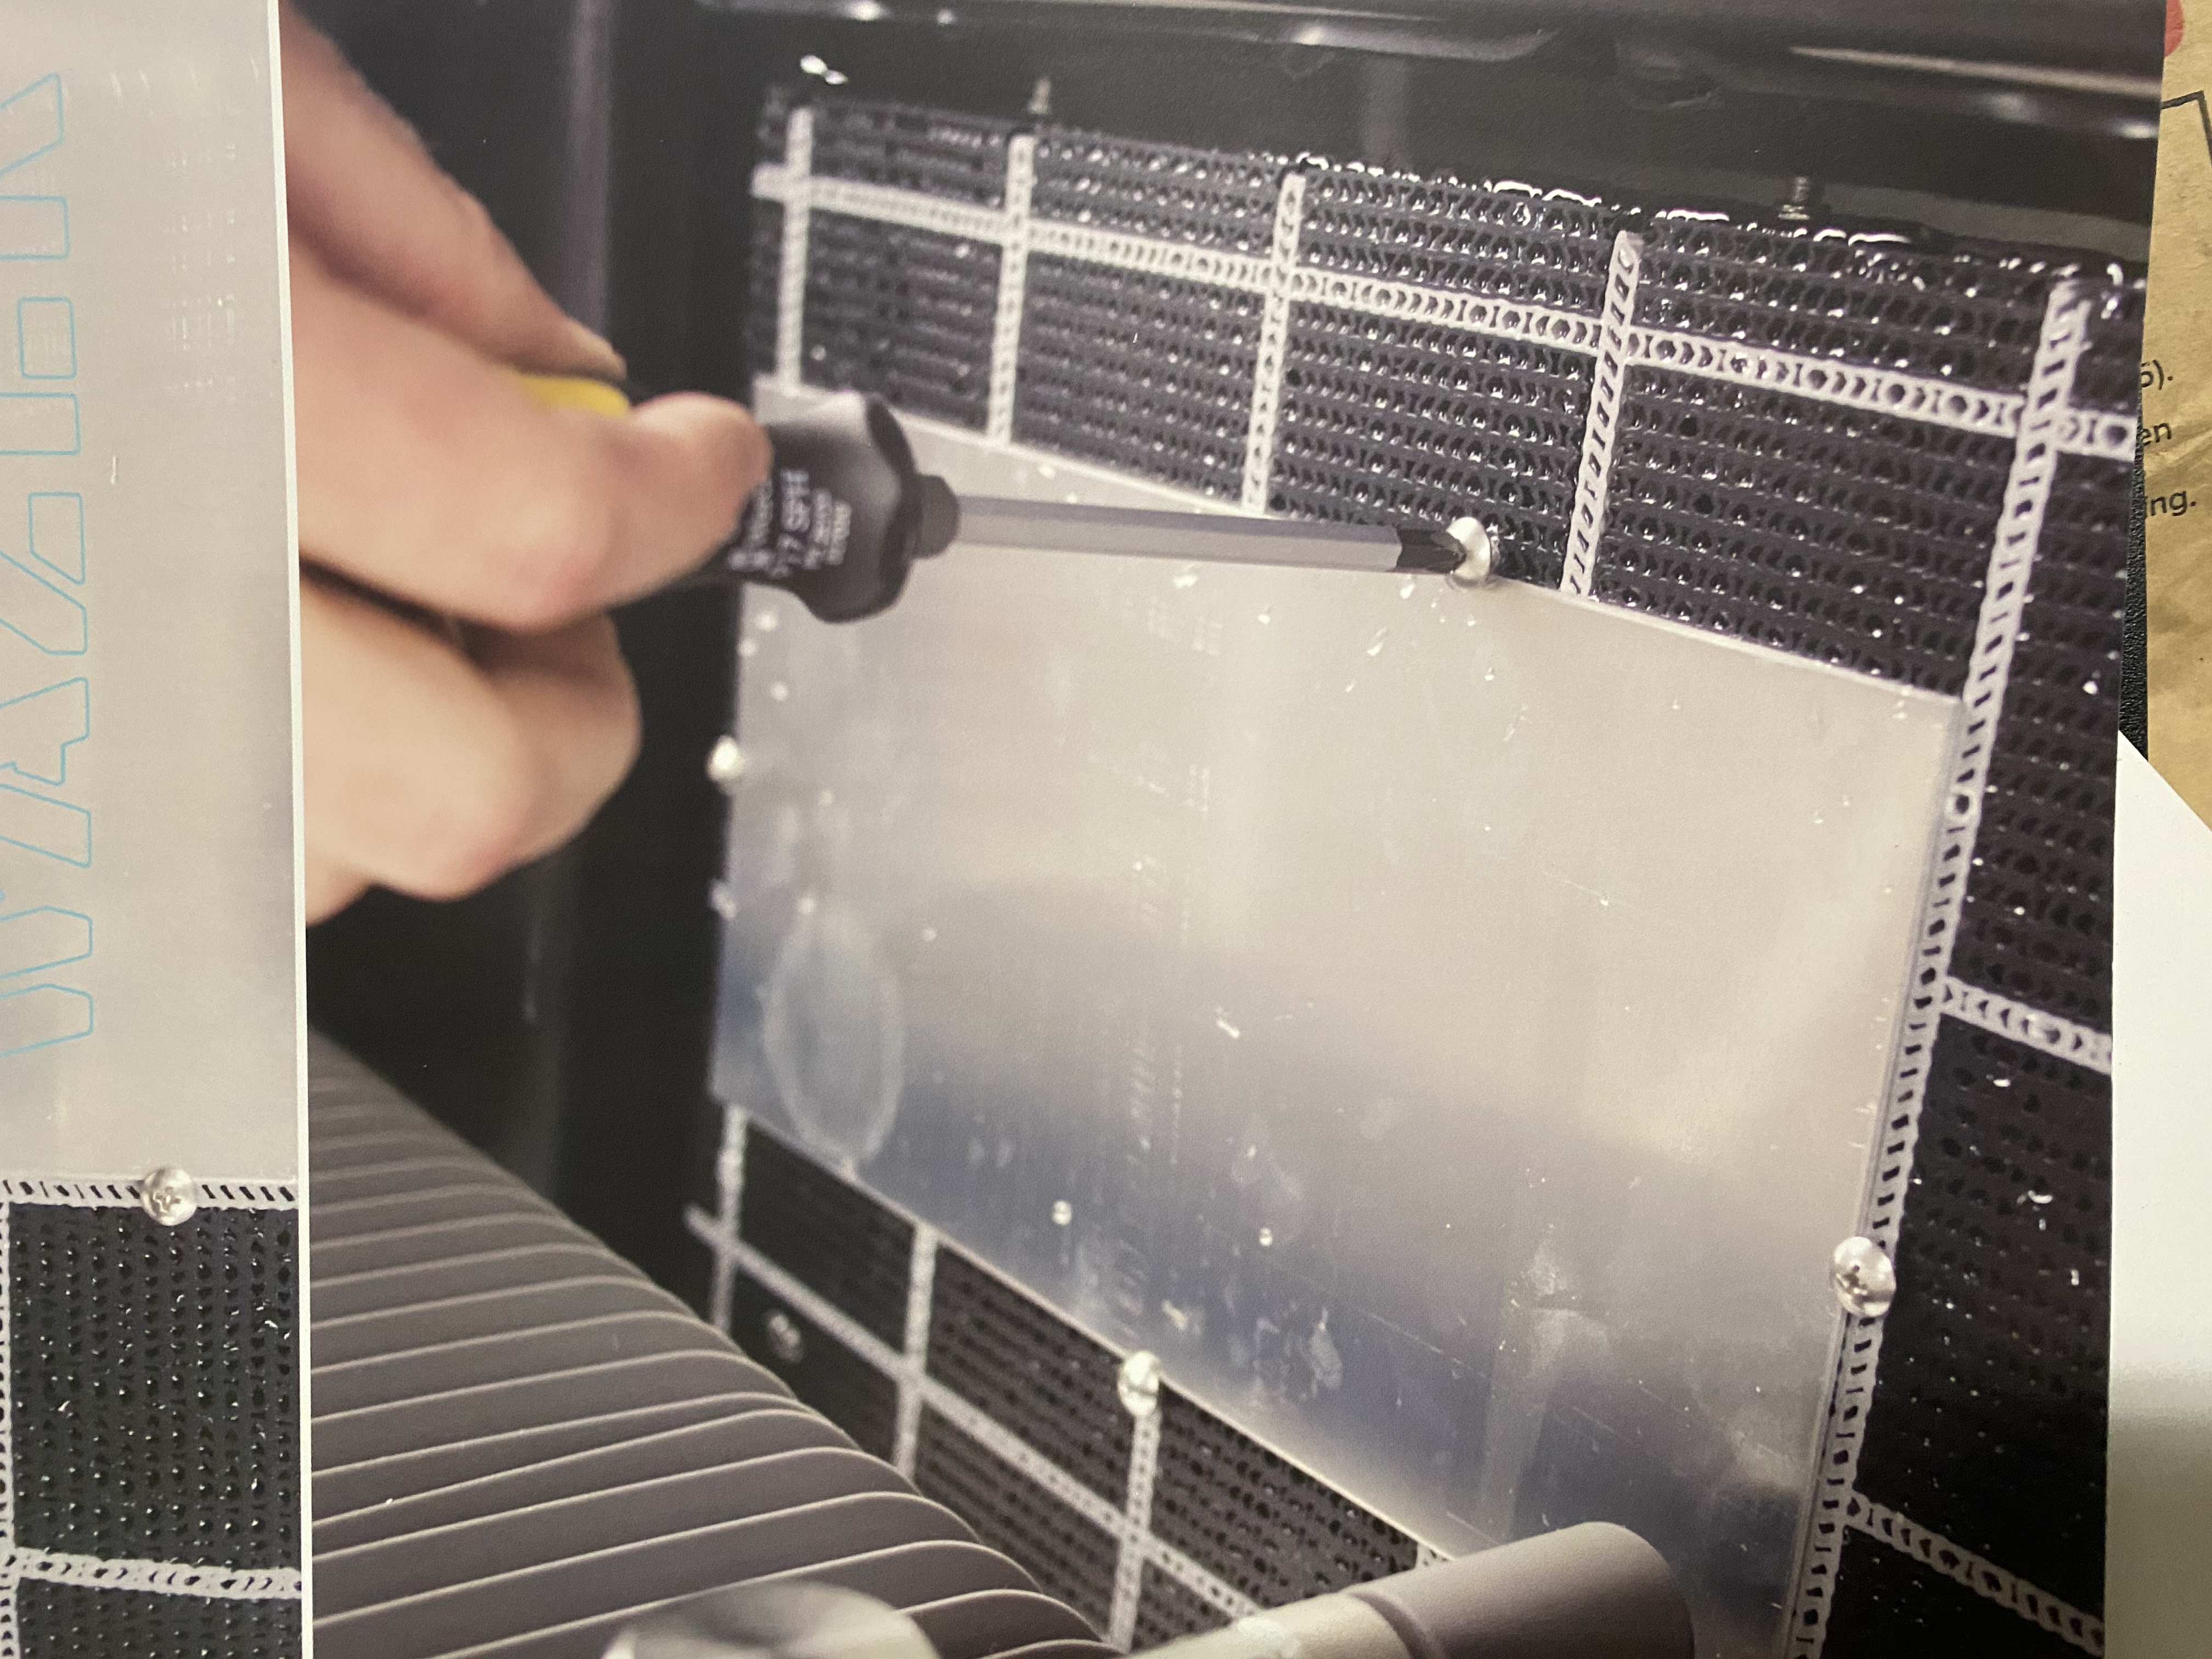
To secure the material, place it on the print bed, roughly centered. Then take the screws that are with the Wazer and screw them in on each side of you material.
Your material is now ready to cut. Go to the Water and Sediment Setup section.
Before you start your cut, make sure that the water and sediment are set up properly.
Firstly, if the water level in the wazer is too low, use the hose to fill it until the water level is even with the cut bed.
Then to set up the sediment, go to the left side of the Wazer and pull out the drawer.
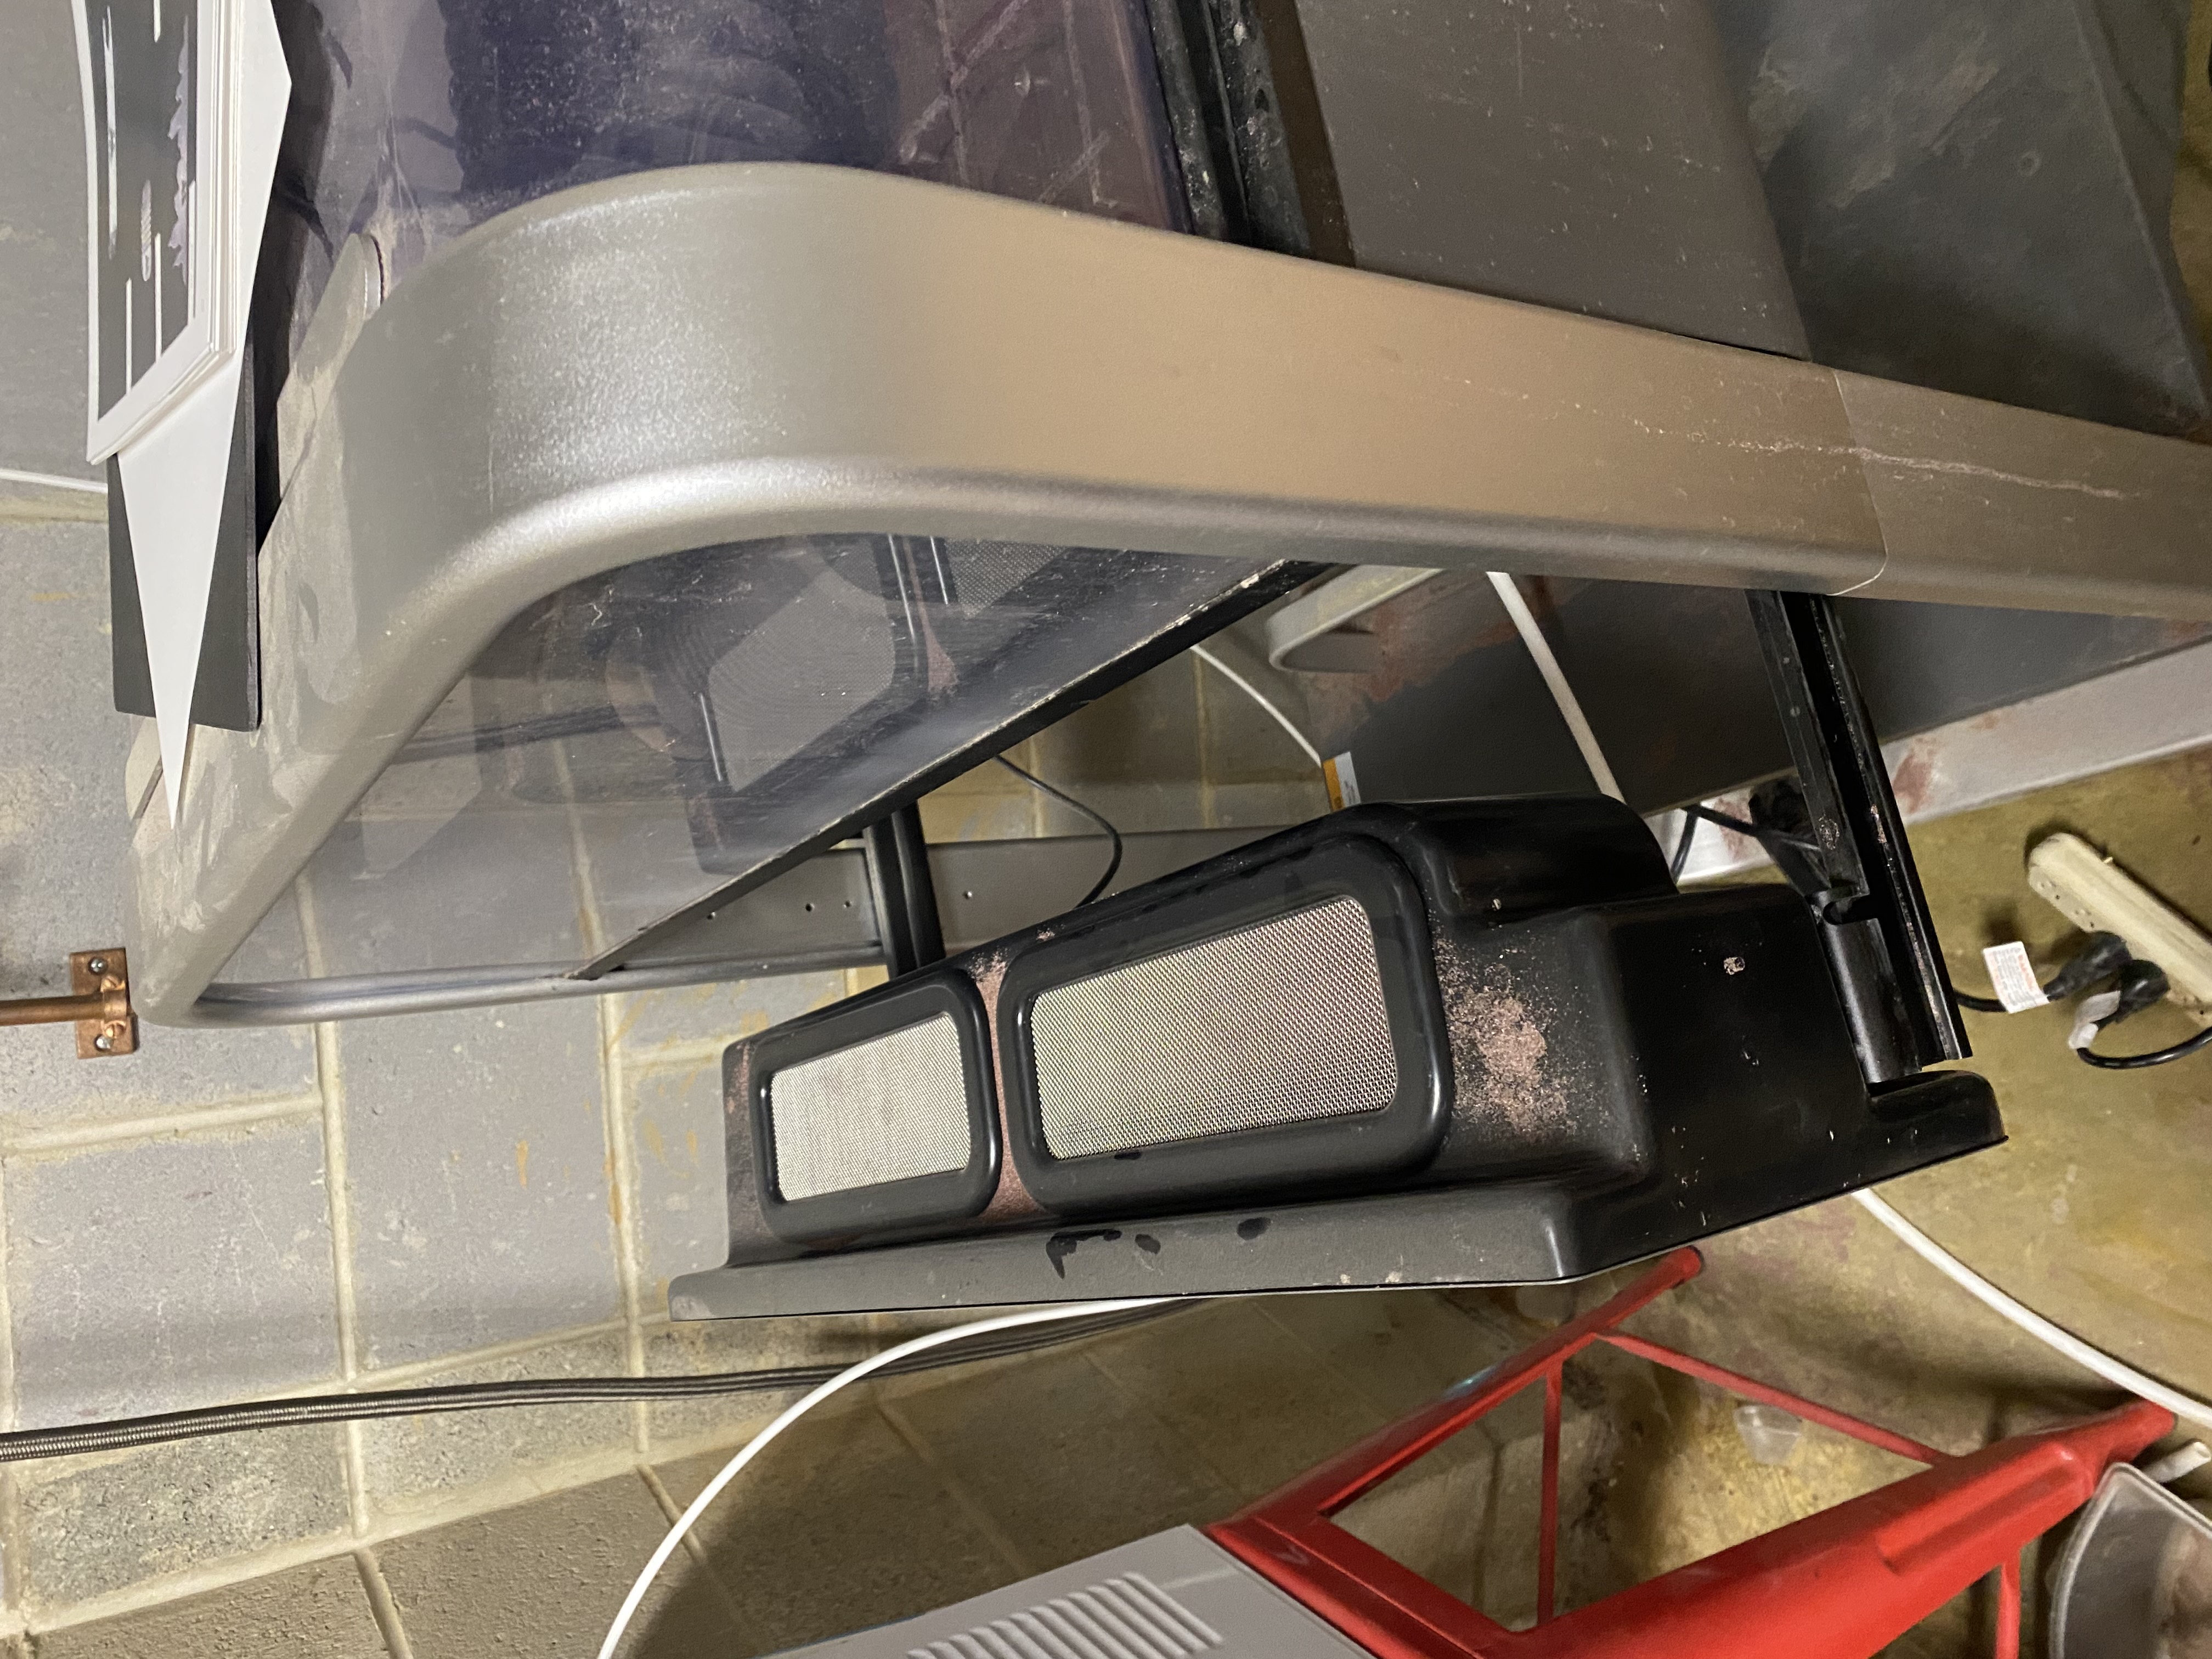
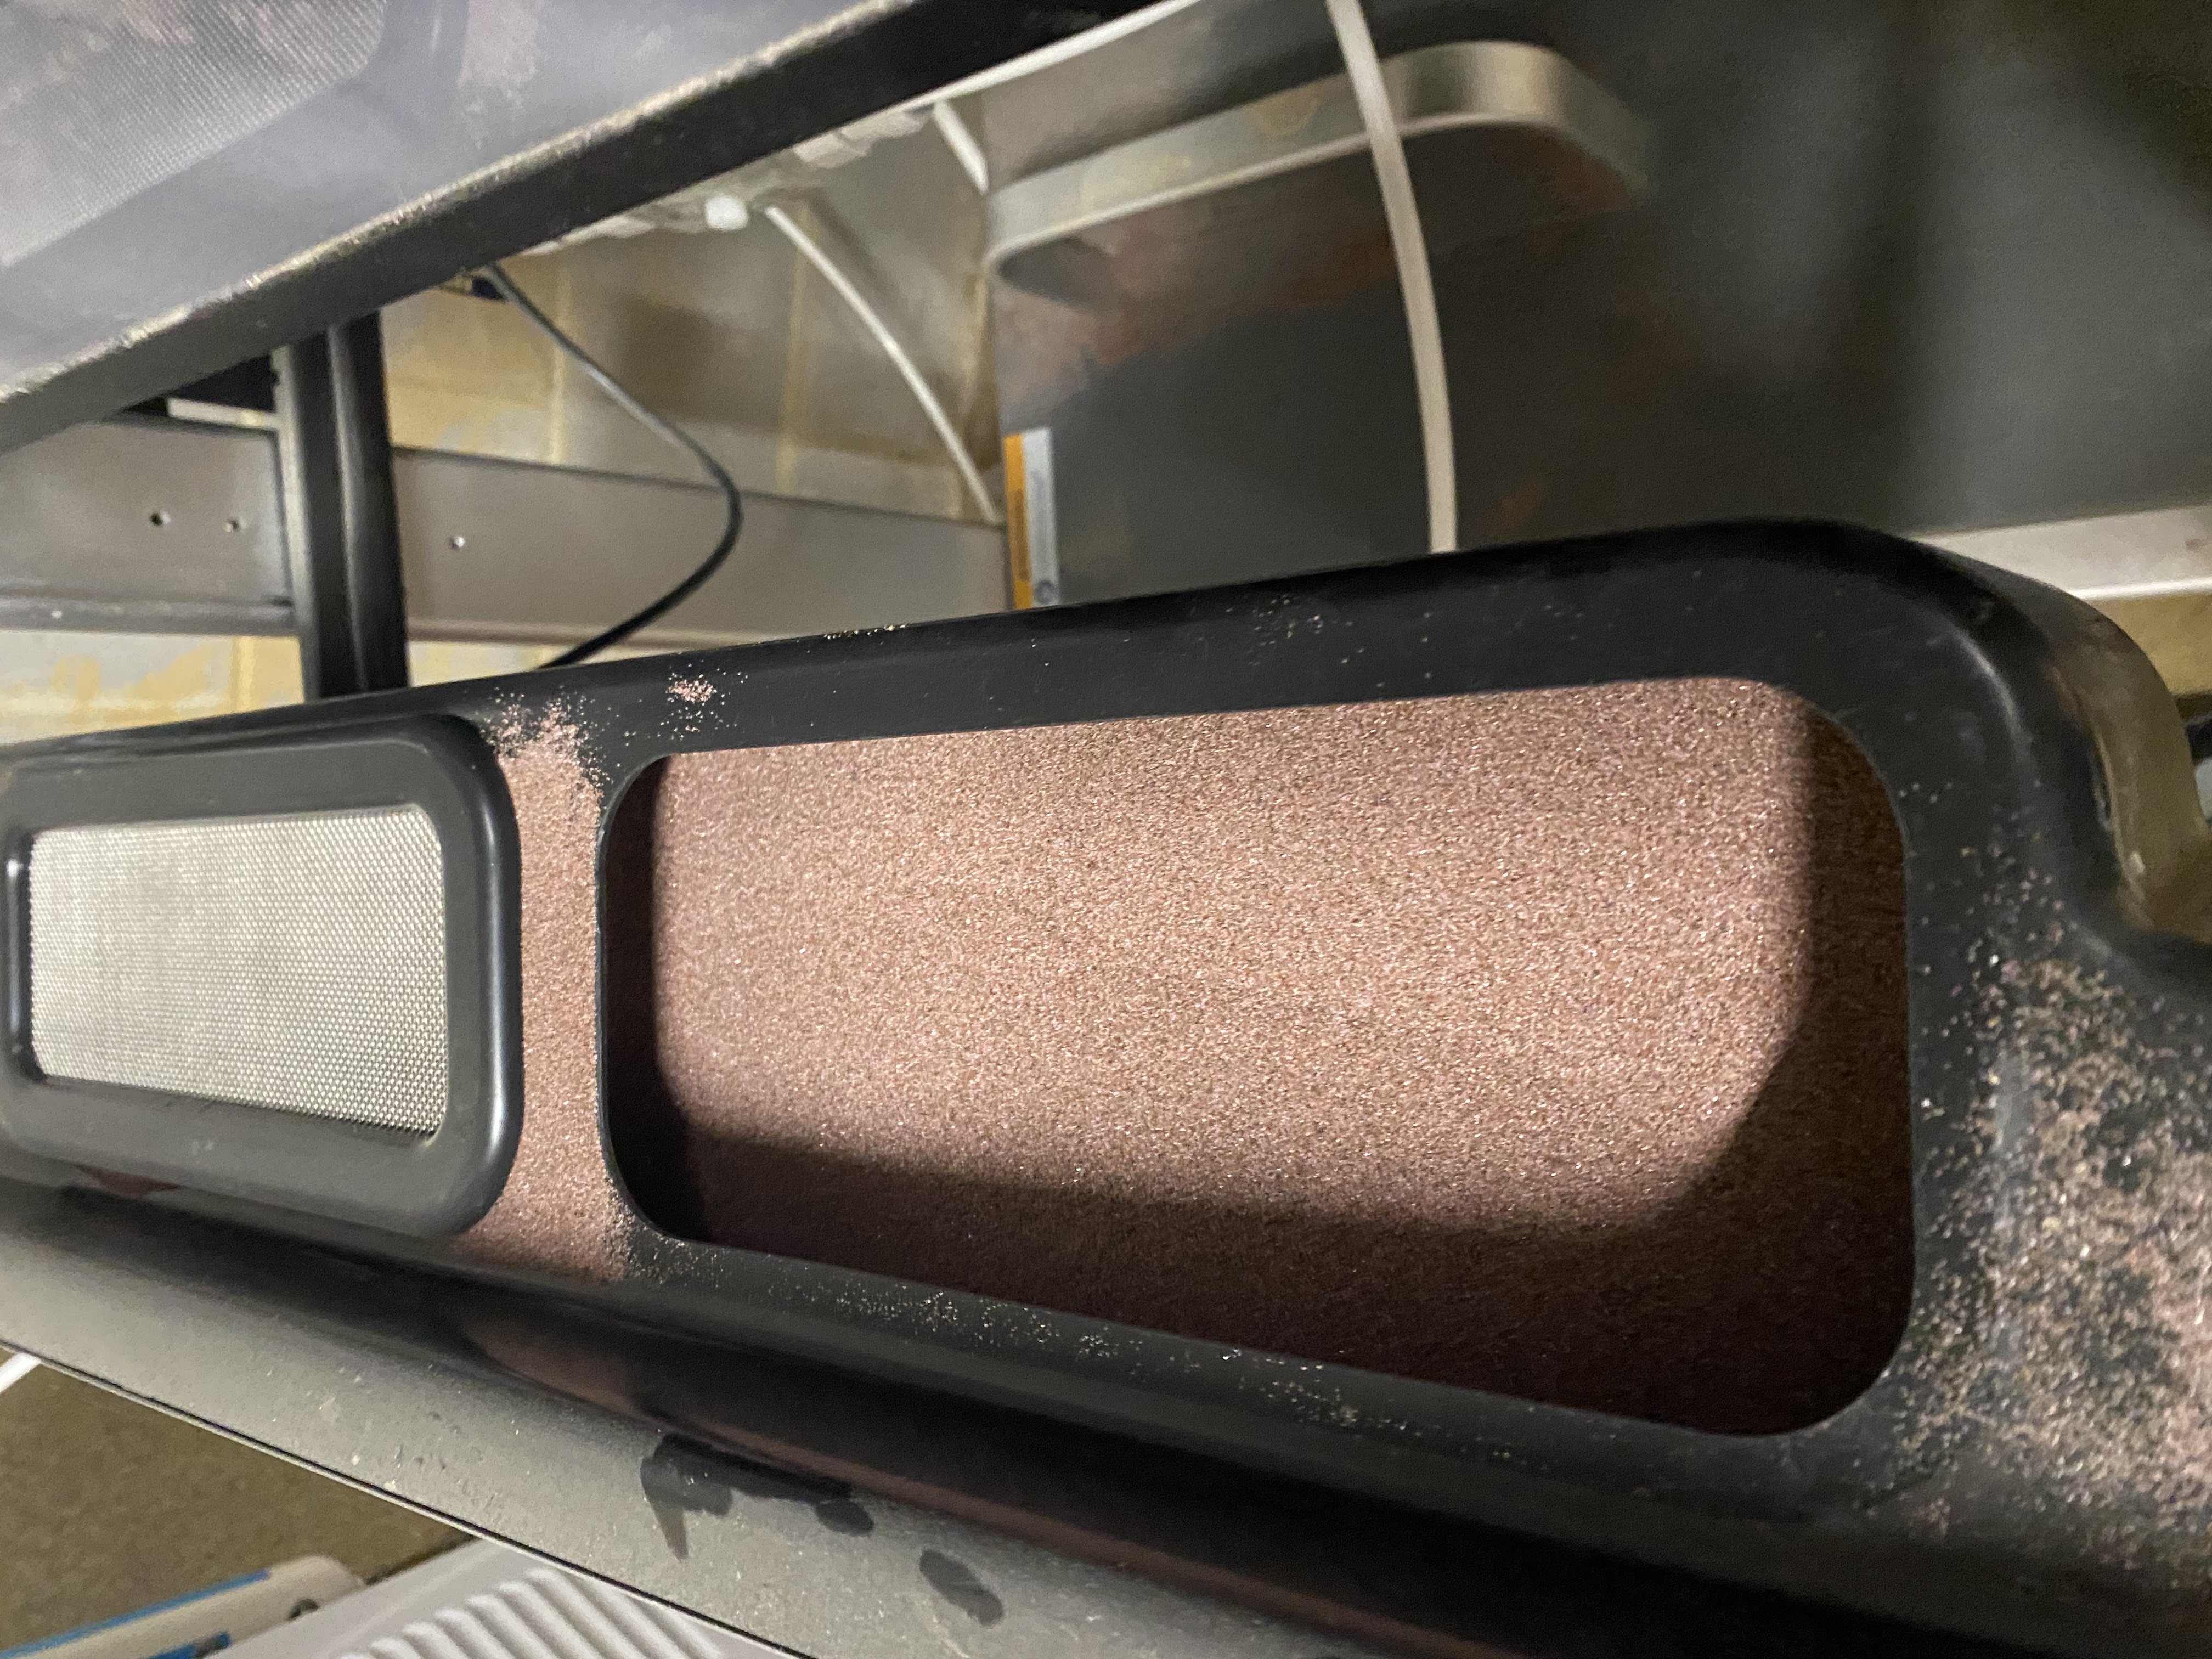
Then slowly pour the abrasive through the screens on top of the cups until the cups are full.
Next we will remove the used sediment. Open the lid and remove the front black panel inside the machine.
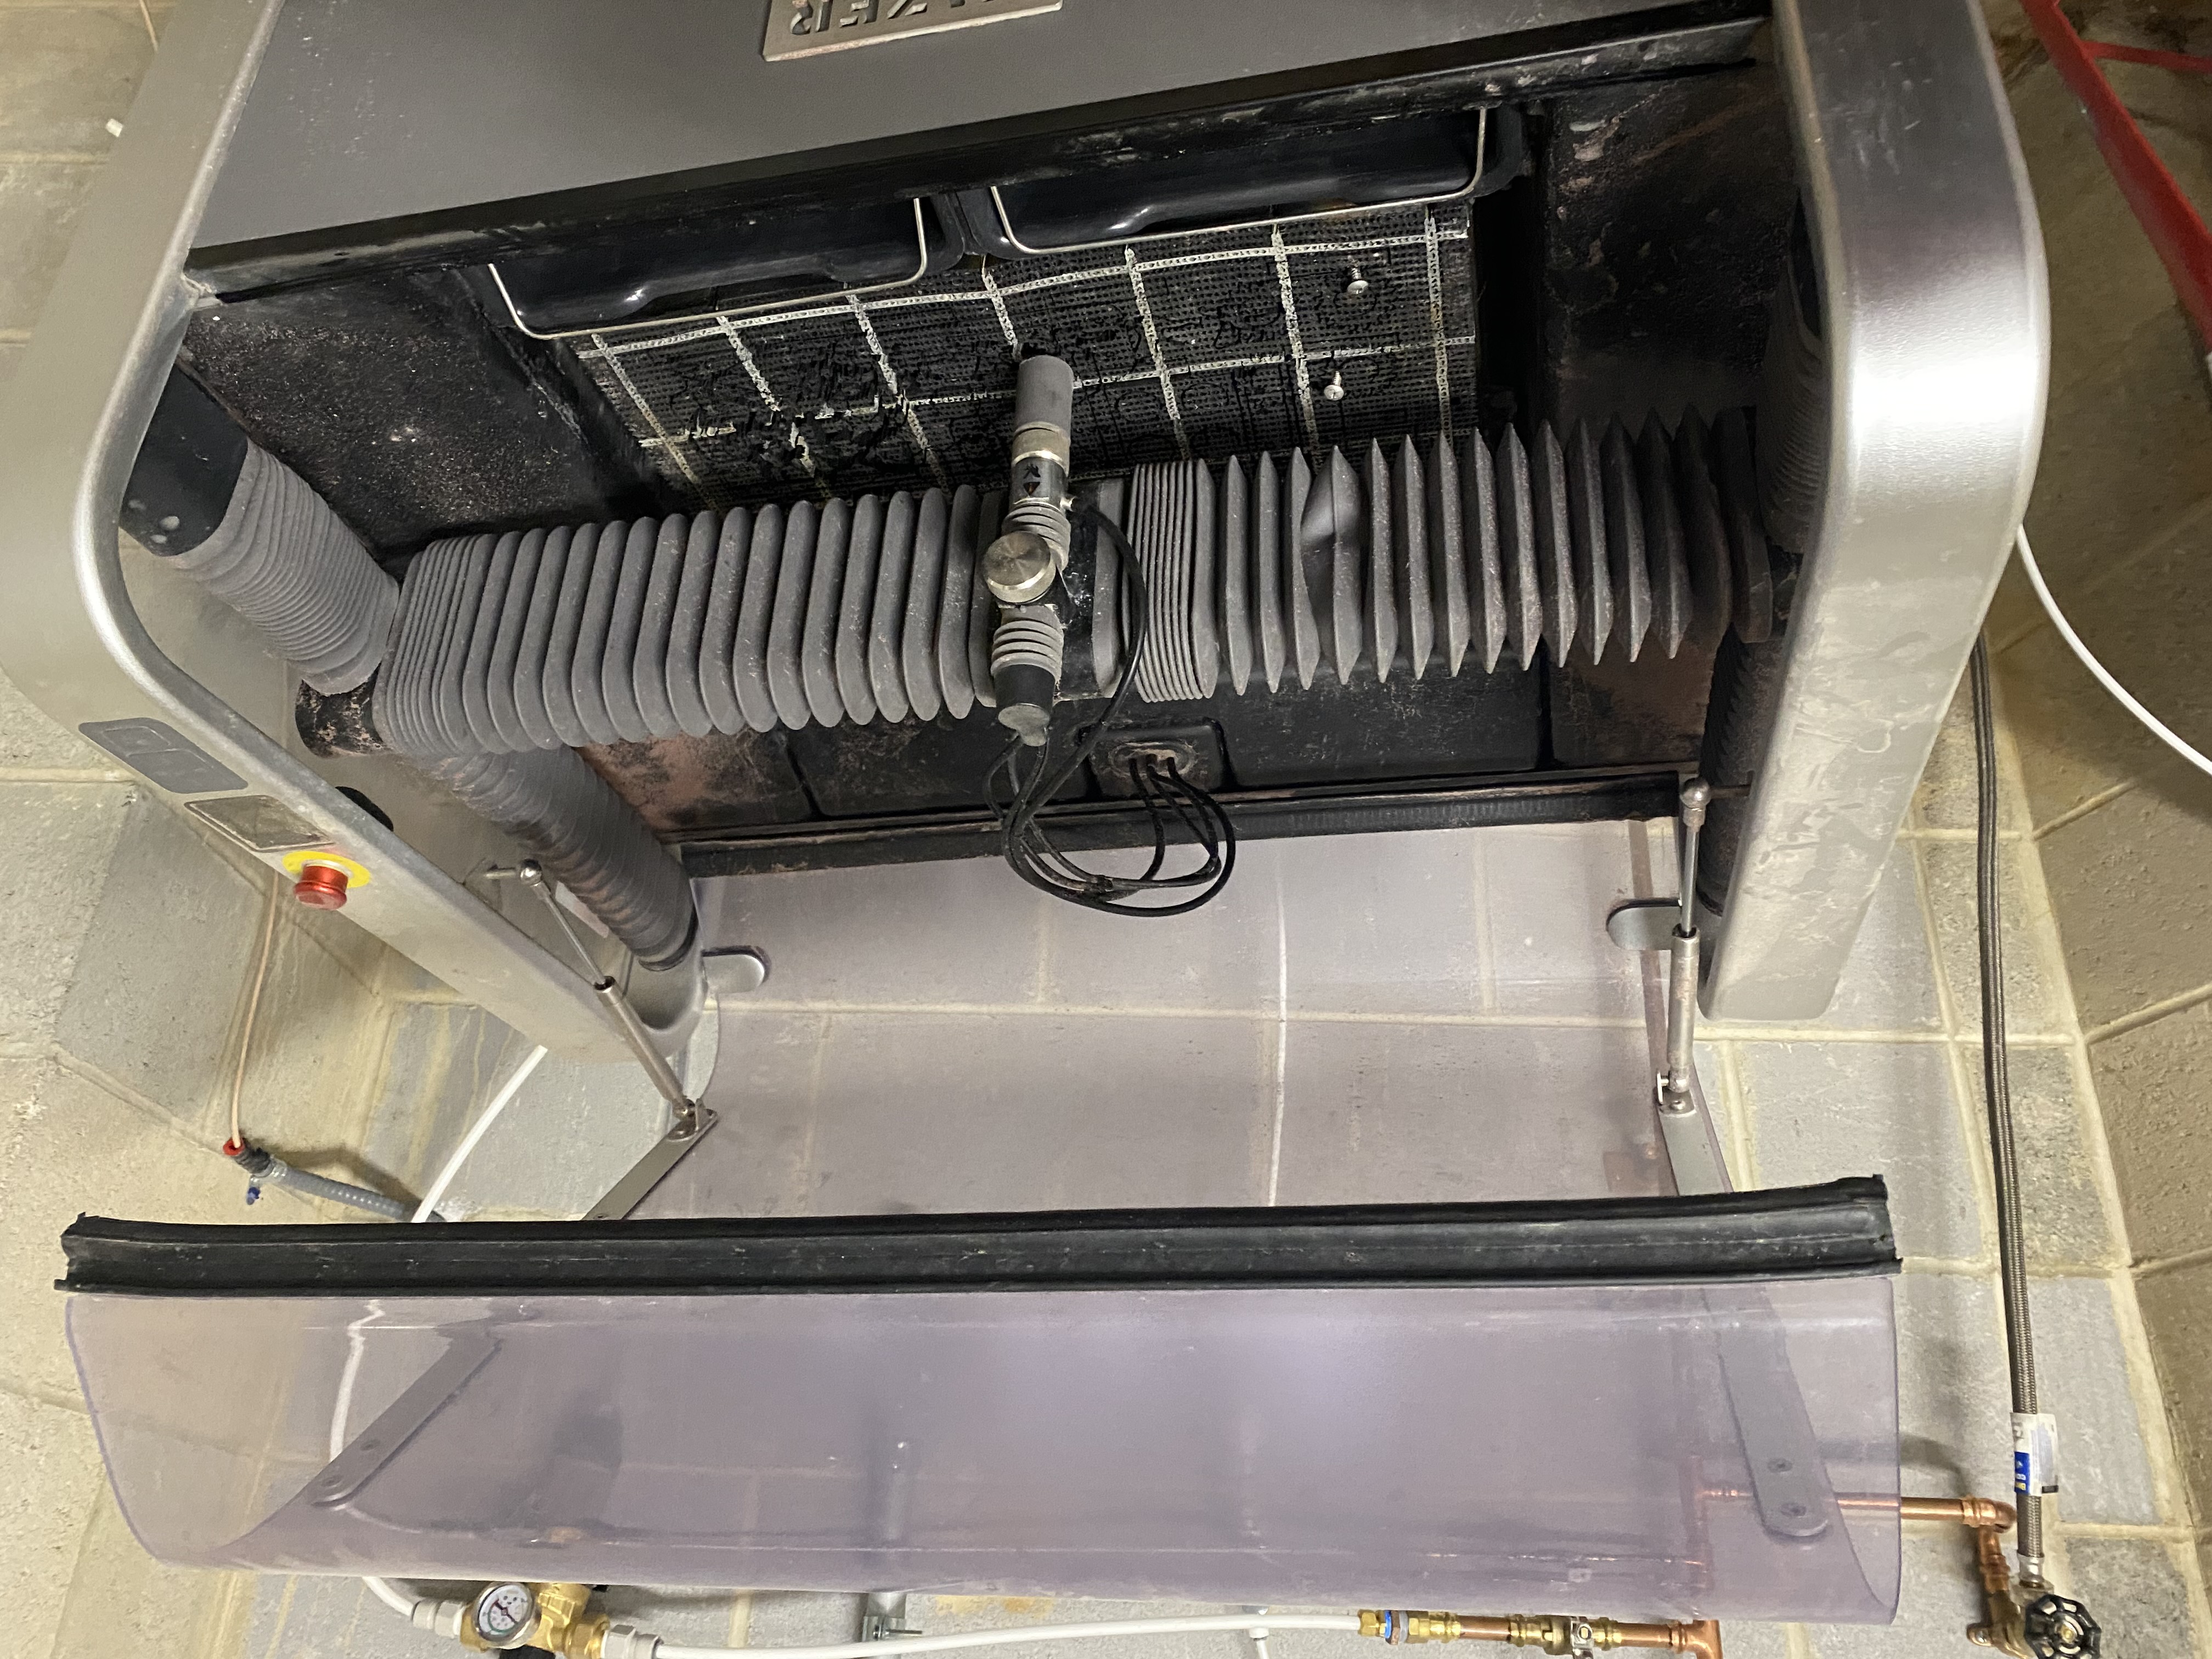
Inside you will see two buckets. Empty them into the used sediment bin.
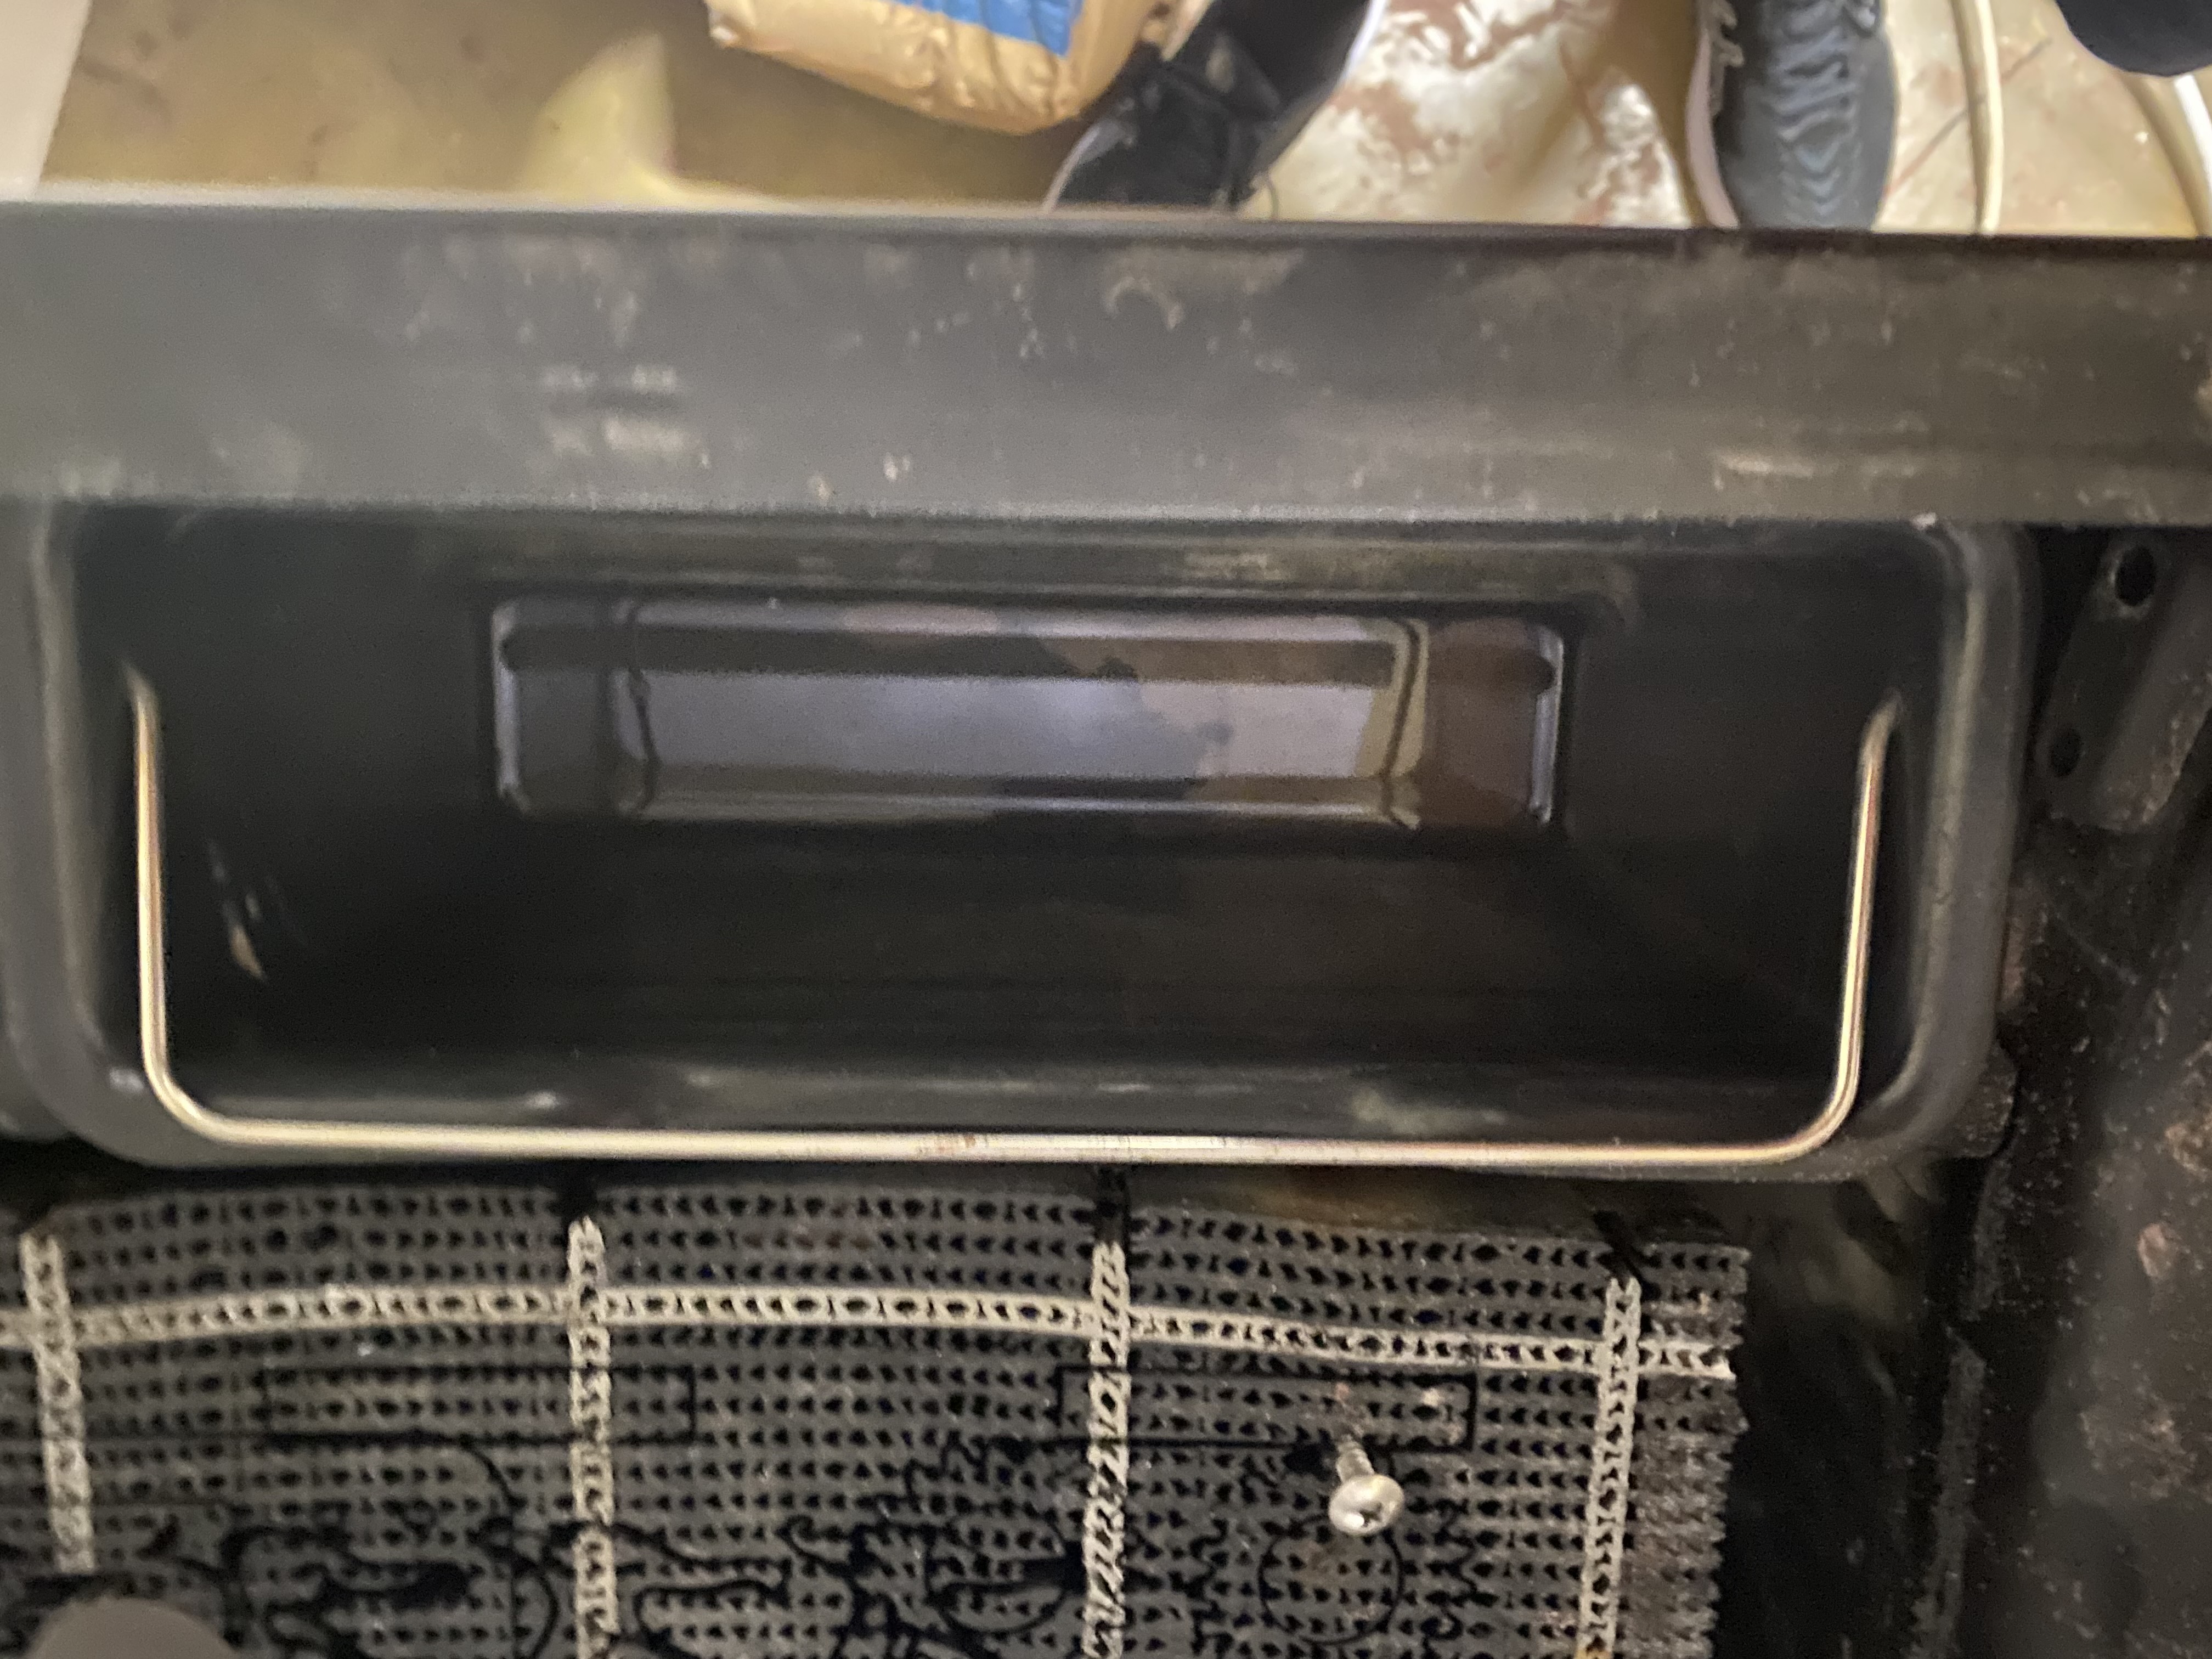
Then replace the black panel.
Make sure the water supply is on and you are ready to cut. Go to the Cutting section.
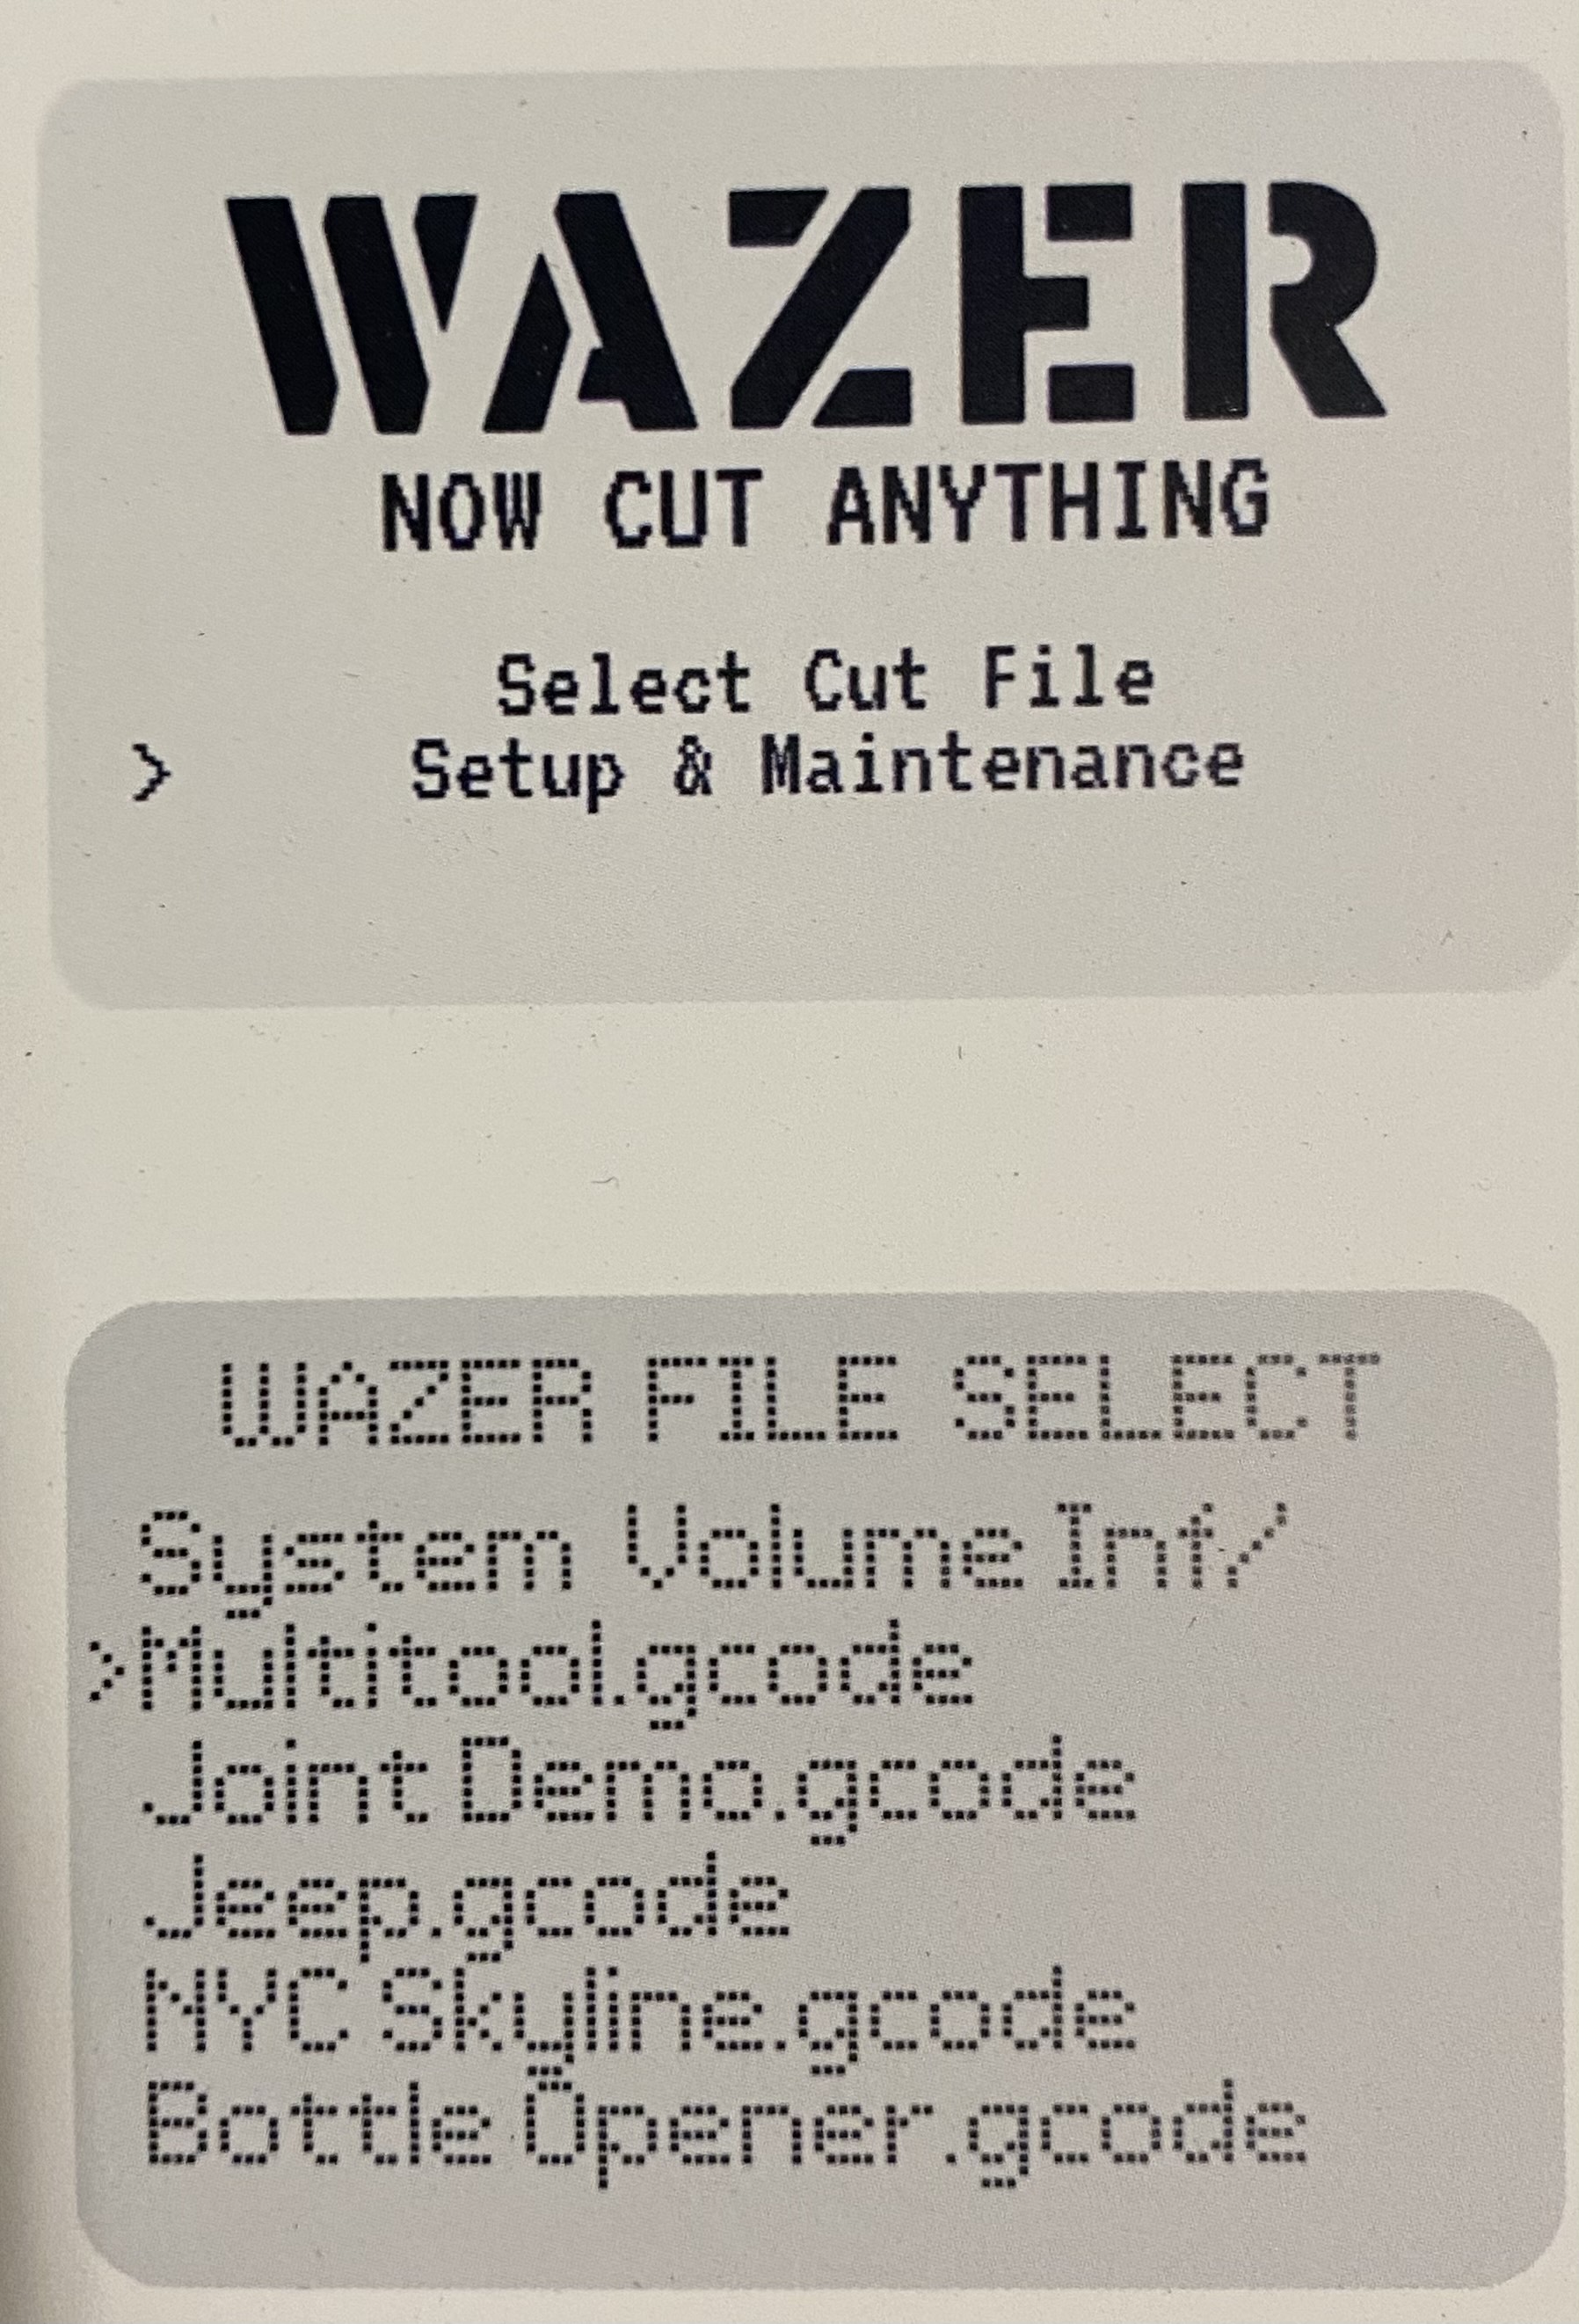
Once you have your file created, remove the SD card from the Wazer and plug it into your computer. Drag your file onto the SD card, eject it, and plug it back into the machine. Turn the machine on and use the keypad to navigate to select cut file. From there, select the file you wish to cut.
You will then be prompted to lift the nozzle when a screen pops up.
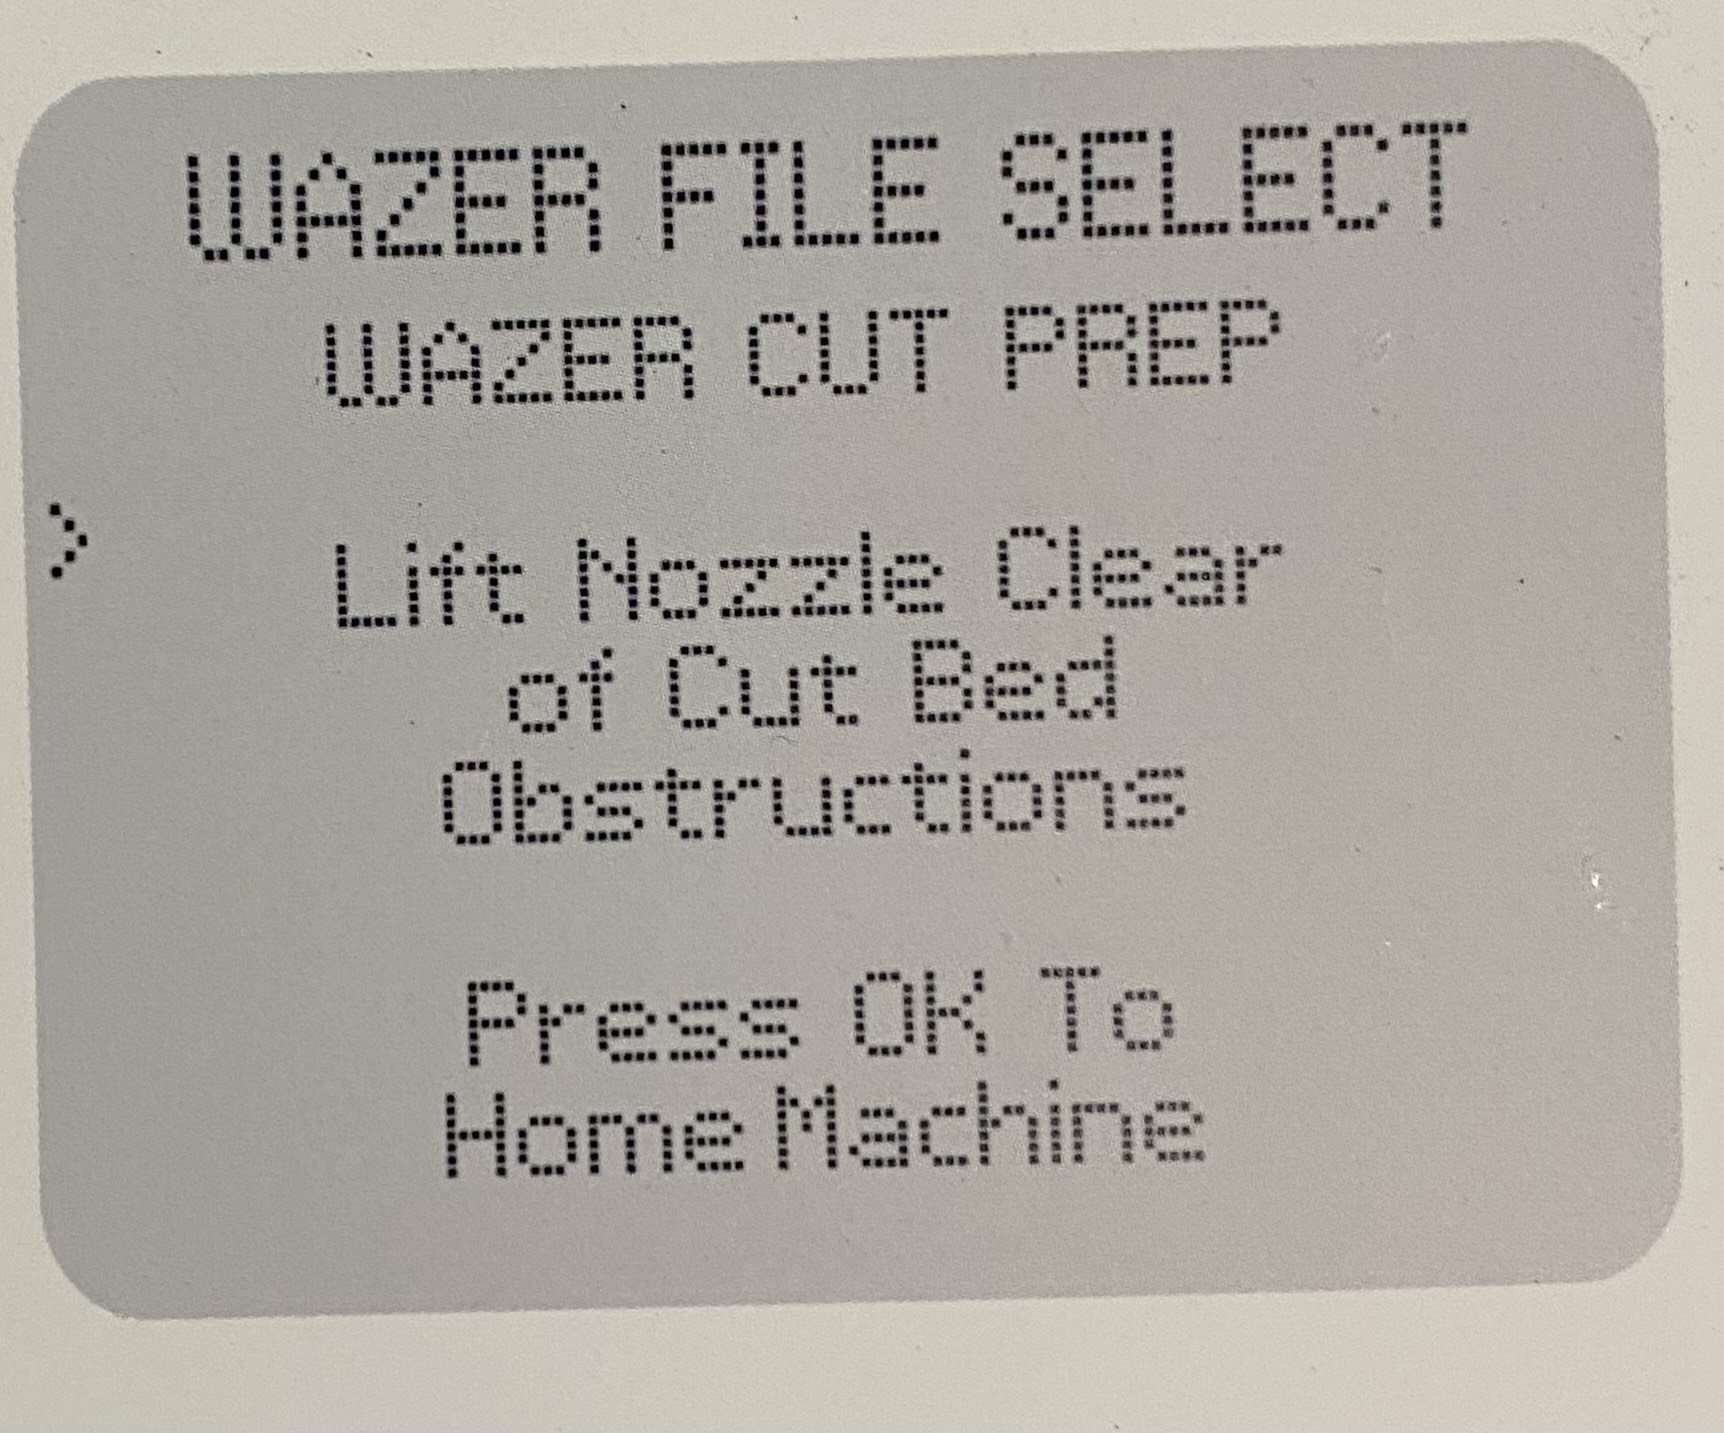
Loosen the silver knob on the cut head and lift up the nozzle.
Once you are done that, hit OK.
The nozzle will then move to the top left corner of the bed.
The cutter will then ask you to setup the sediment and water, and fasten your material to the bed. Do that now if you haven’t already.
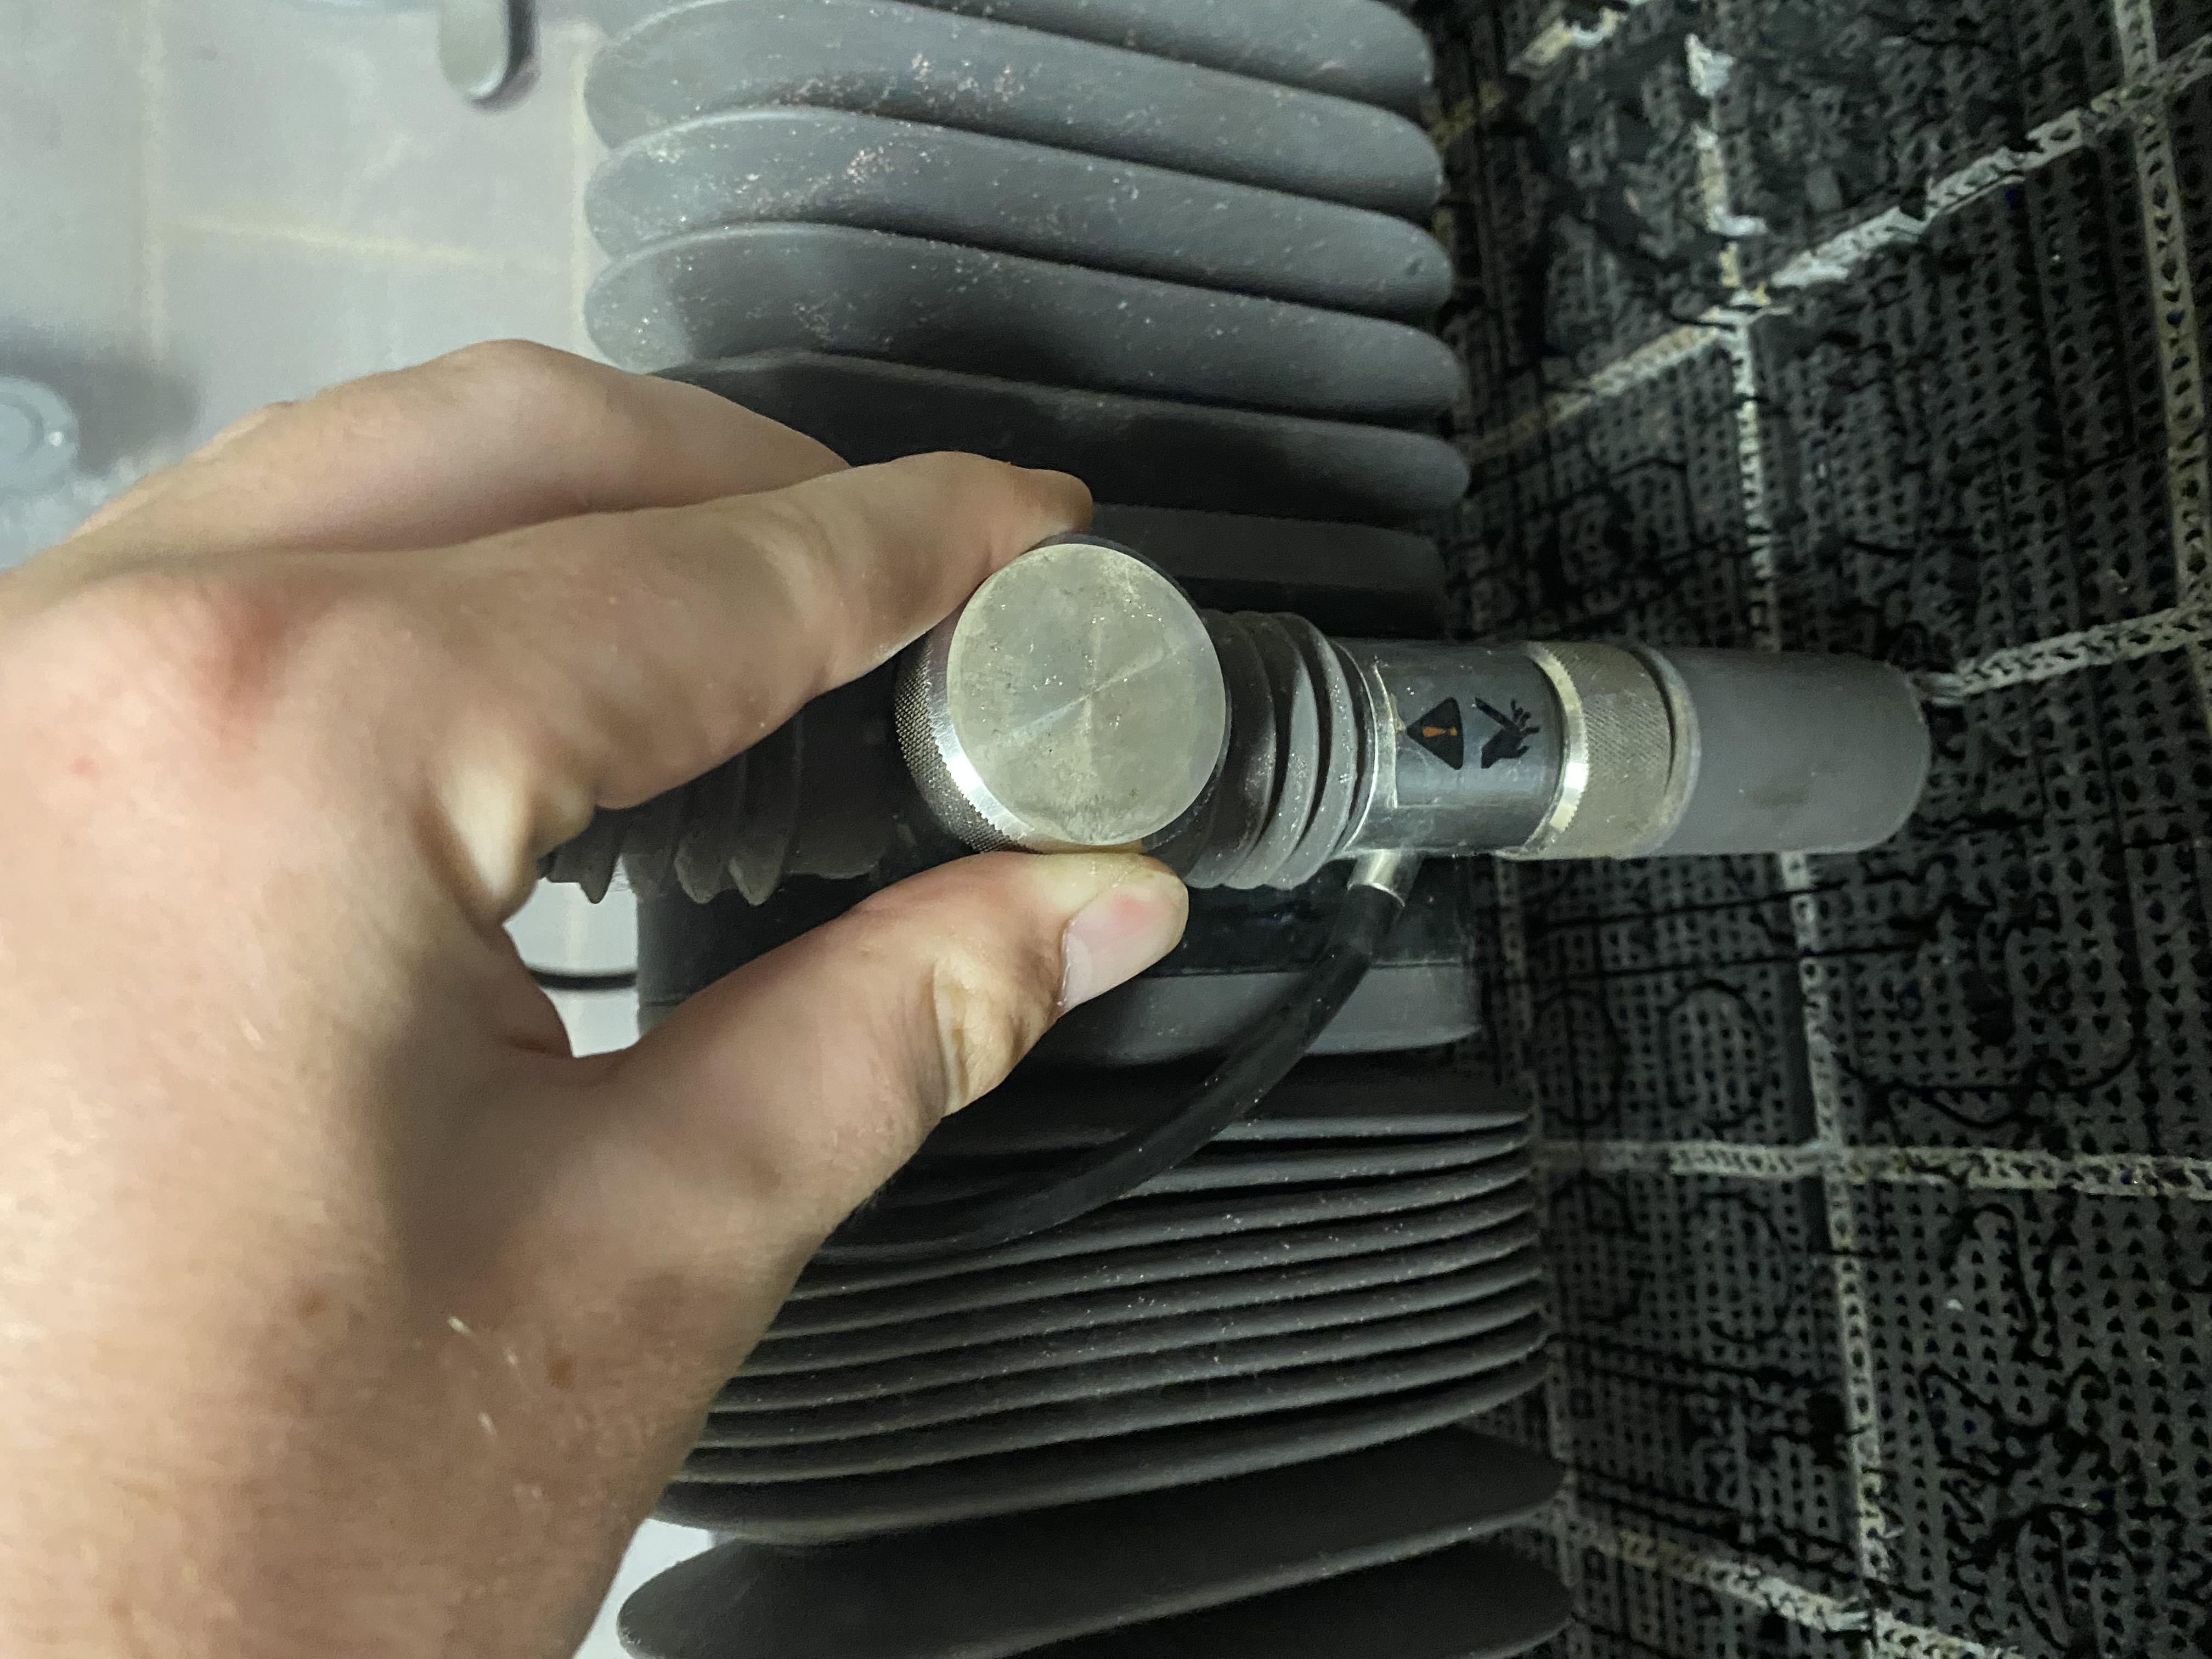
The screen will then prompt you to set the nozzle height.
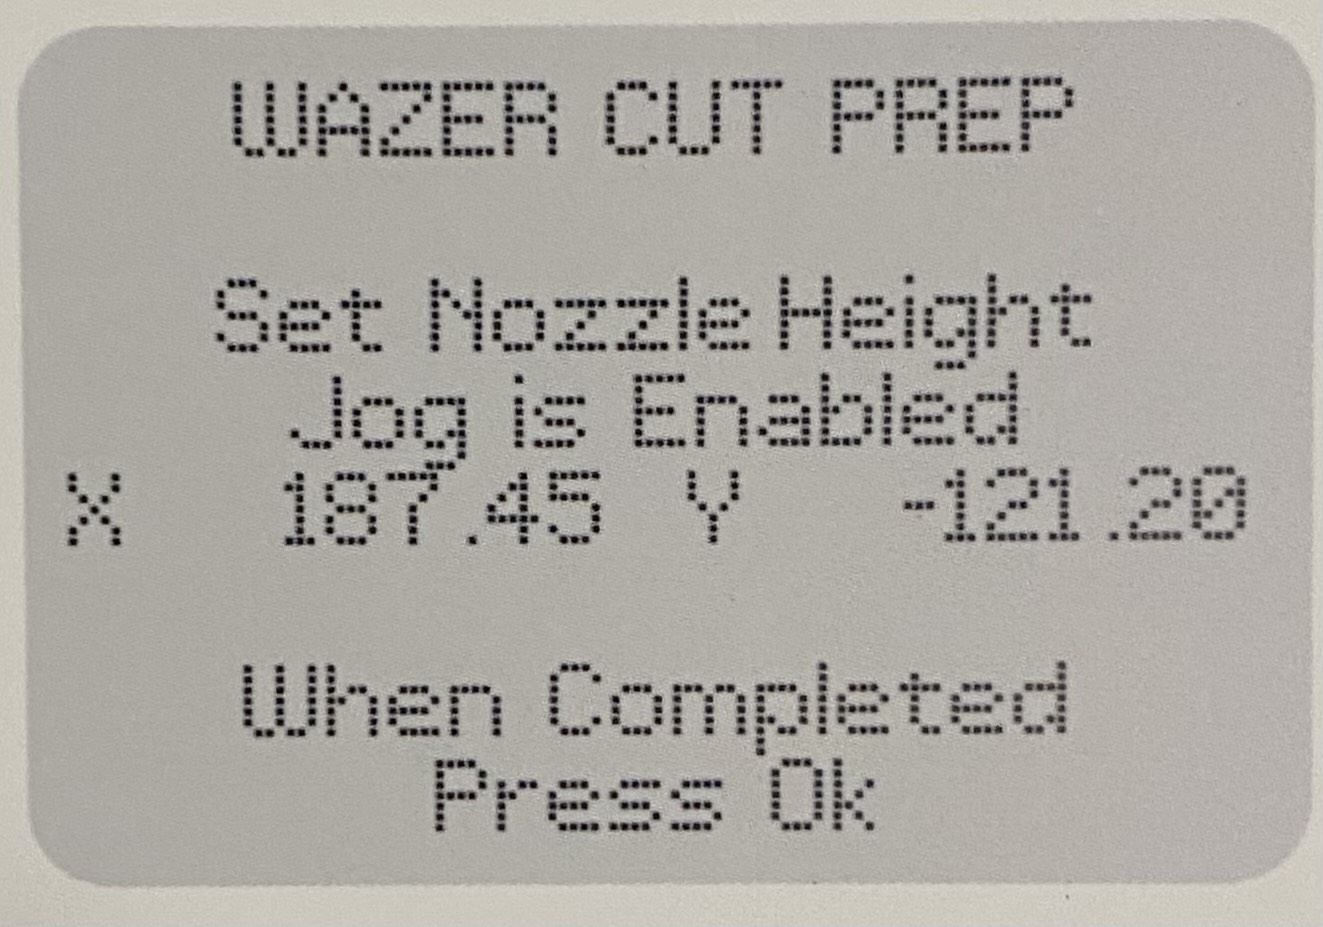
Use the arrow keys to move the nozzle head above your material and loosen the silver knob again. Then remove the black cap and place it with the tab under the nozzle.
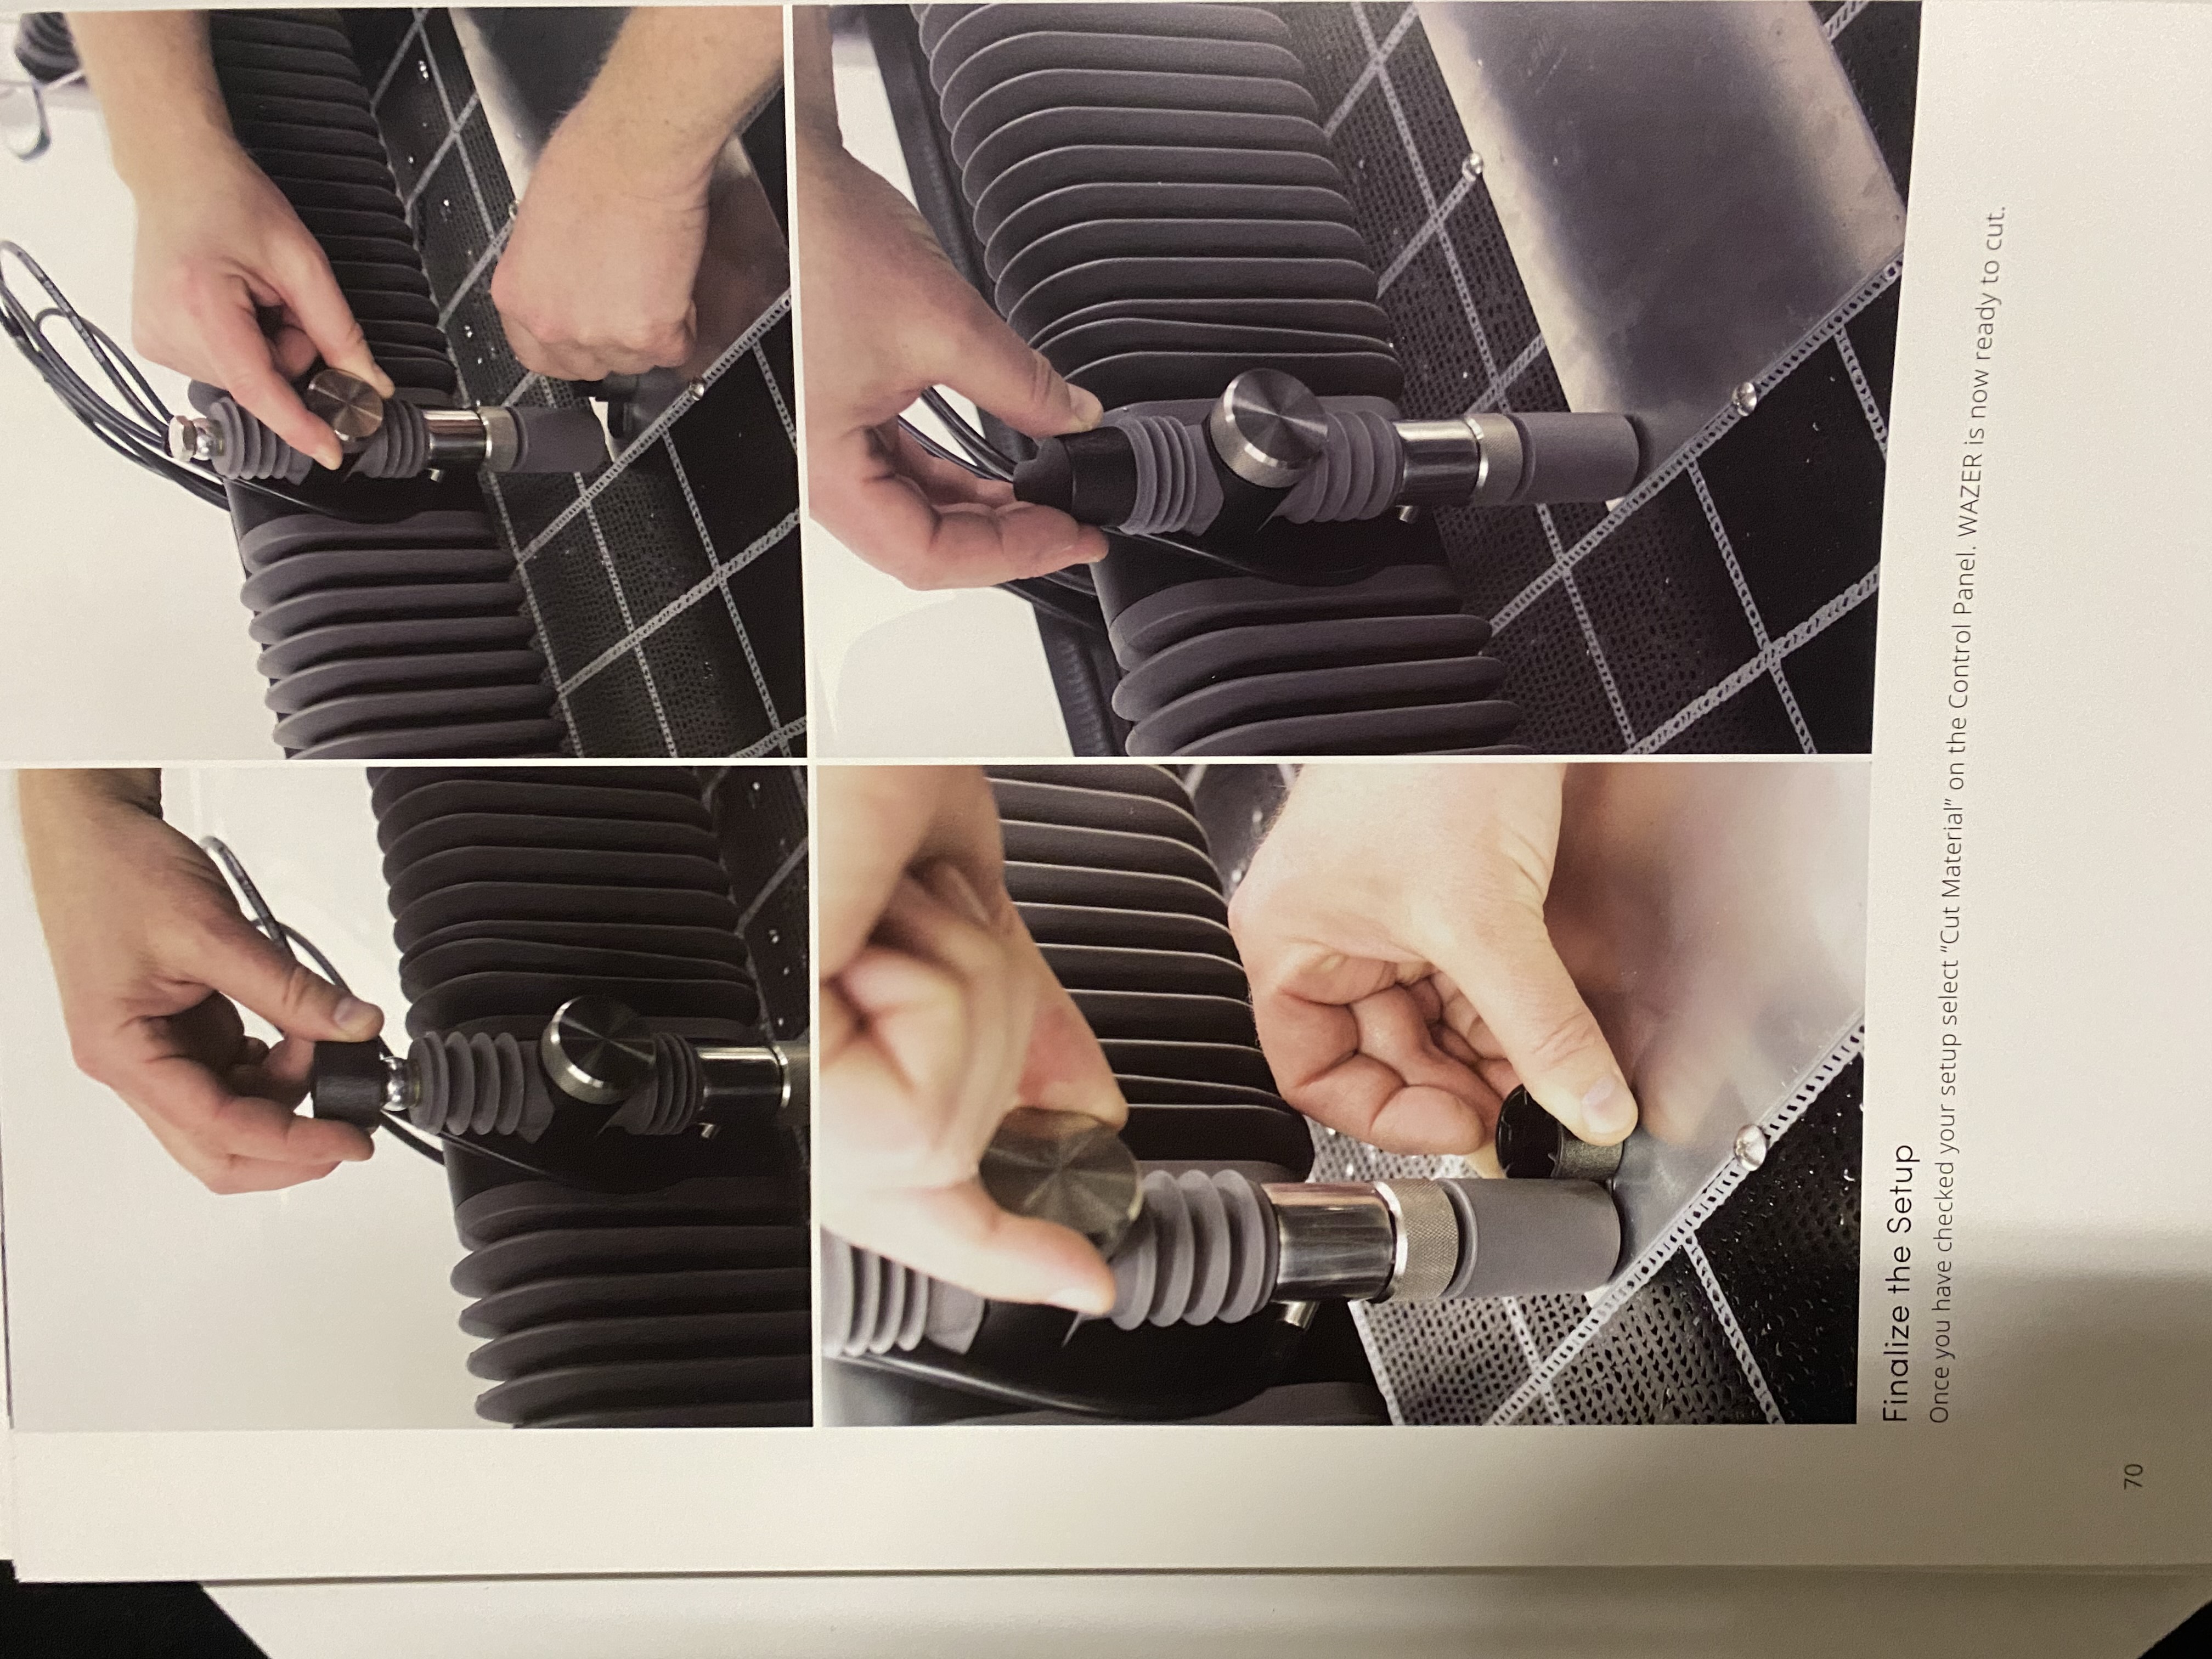
Finally lower the nozzle until it rests on the tab, and tighten the silver knob, and place the black cap back on top. Hit OK to proceed.
Finally the cut menu will appear. First select move origin. You will then be able to move the nozzle and place it where the top left corner of your file will start cutting.
Once you have done that it is recommended to hit check cut extents. This will trace out the boundary of the cut to make sure you won’t hit any screws or go over any preexisting holes in the material.
Finally once you are satisfied with the setup, close the lid and hit start cut.
If something seems weird or goes wrong with the print, pause the print by hitting start/stop and get a CID co-director to help you.