Uploading Files
To bring your file into the Laser Cutters first go to https://glowforge.com. There you will see a website with many options.
If the computer is not signed into glowforge, have an adult sign you in.
If the computer is signed in, hit the Create button, which will take you to a new menu.
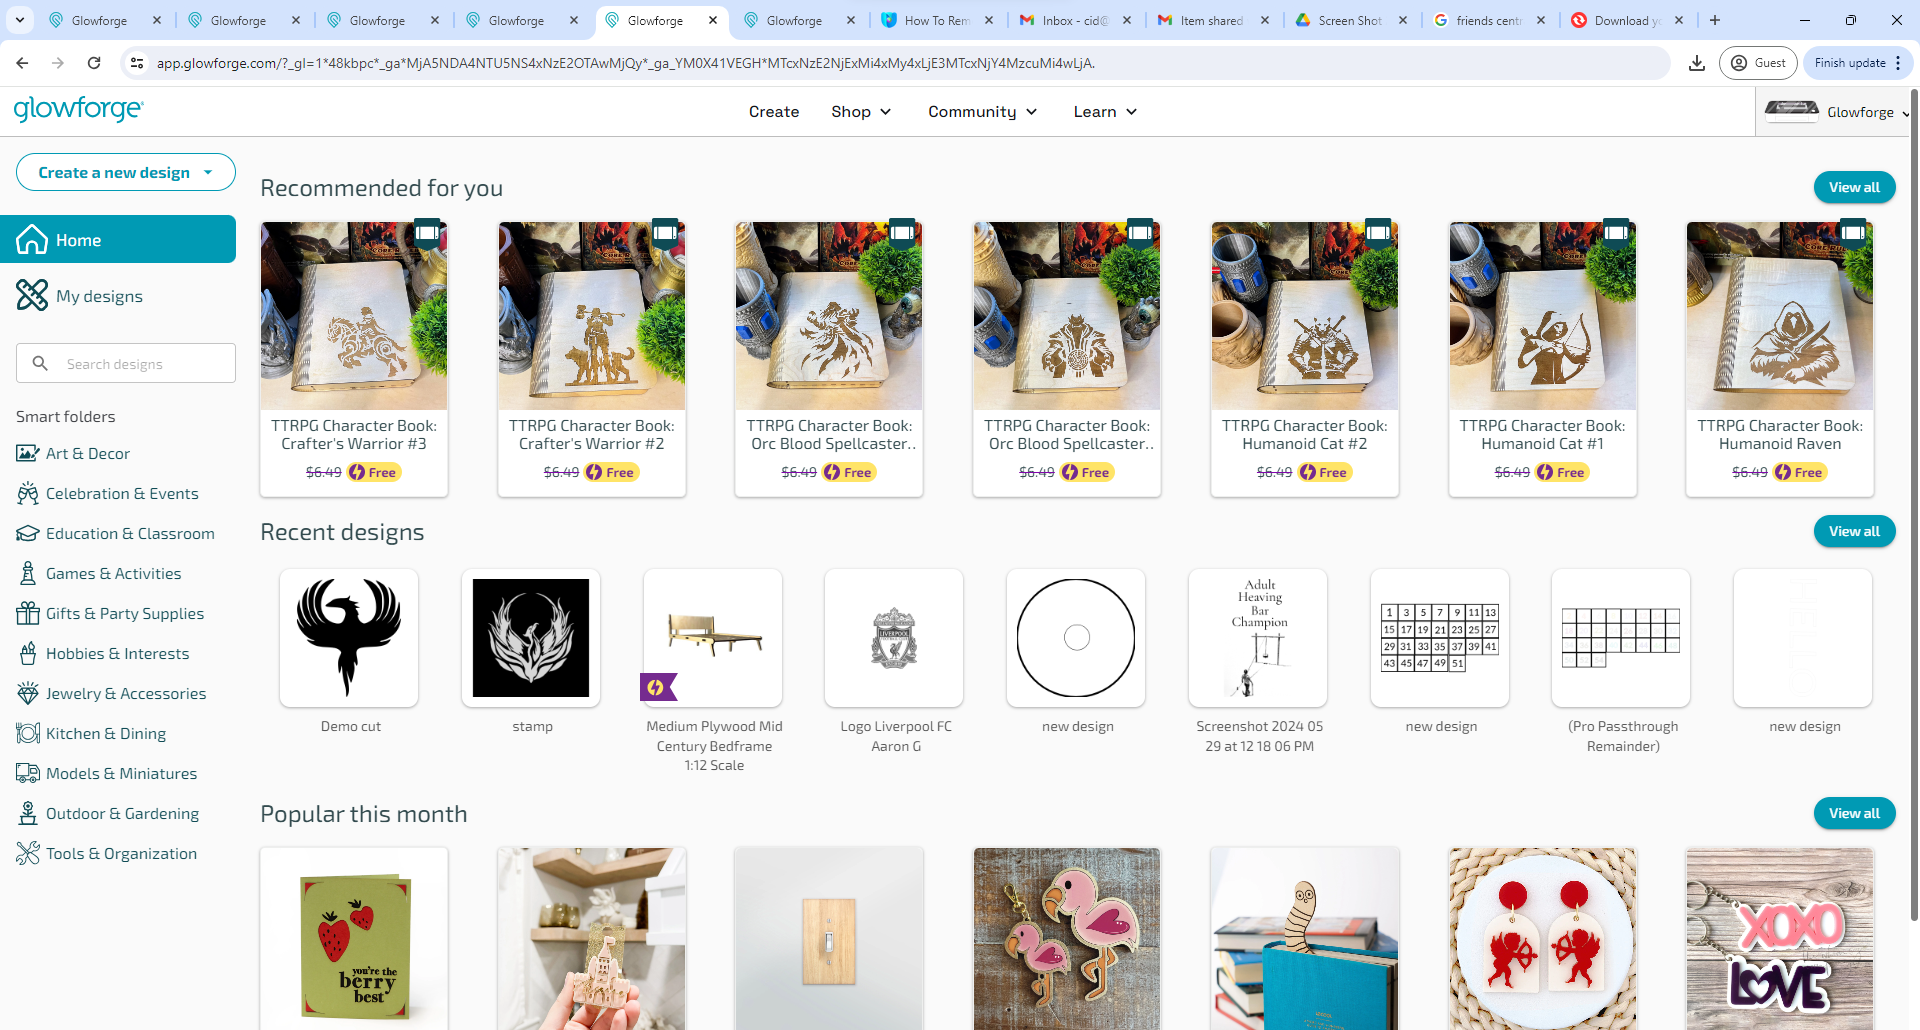
there you will see a list of projects, which you can select to open, or in the top left, there is a Create a New Design button for your own designs. Hit the Create button and it will open a dropdown menu.
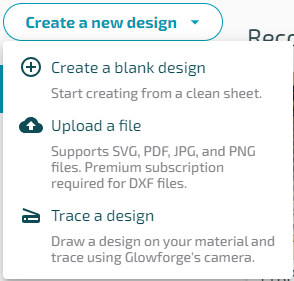
Create a Blank Design will open an empty workspace, where you can start from scratch and use the tools to create your design.
Upload a File will let you upload one fo your own files, which will open up a menu to select your file. Once you select it it will open your file in the workspace to edit as you please.
Trace a design will let you trace a design, which will be covered in a separate page, go to the Tracing Page.
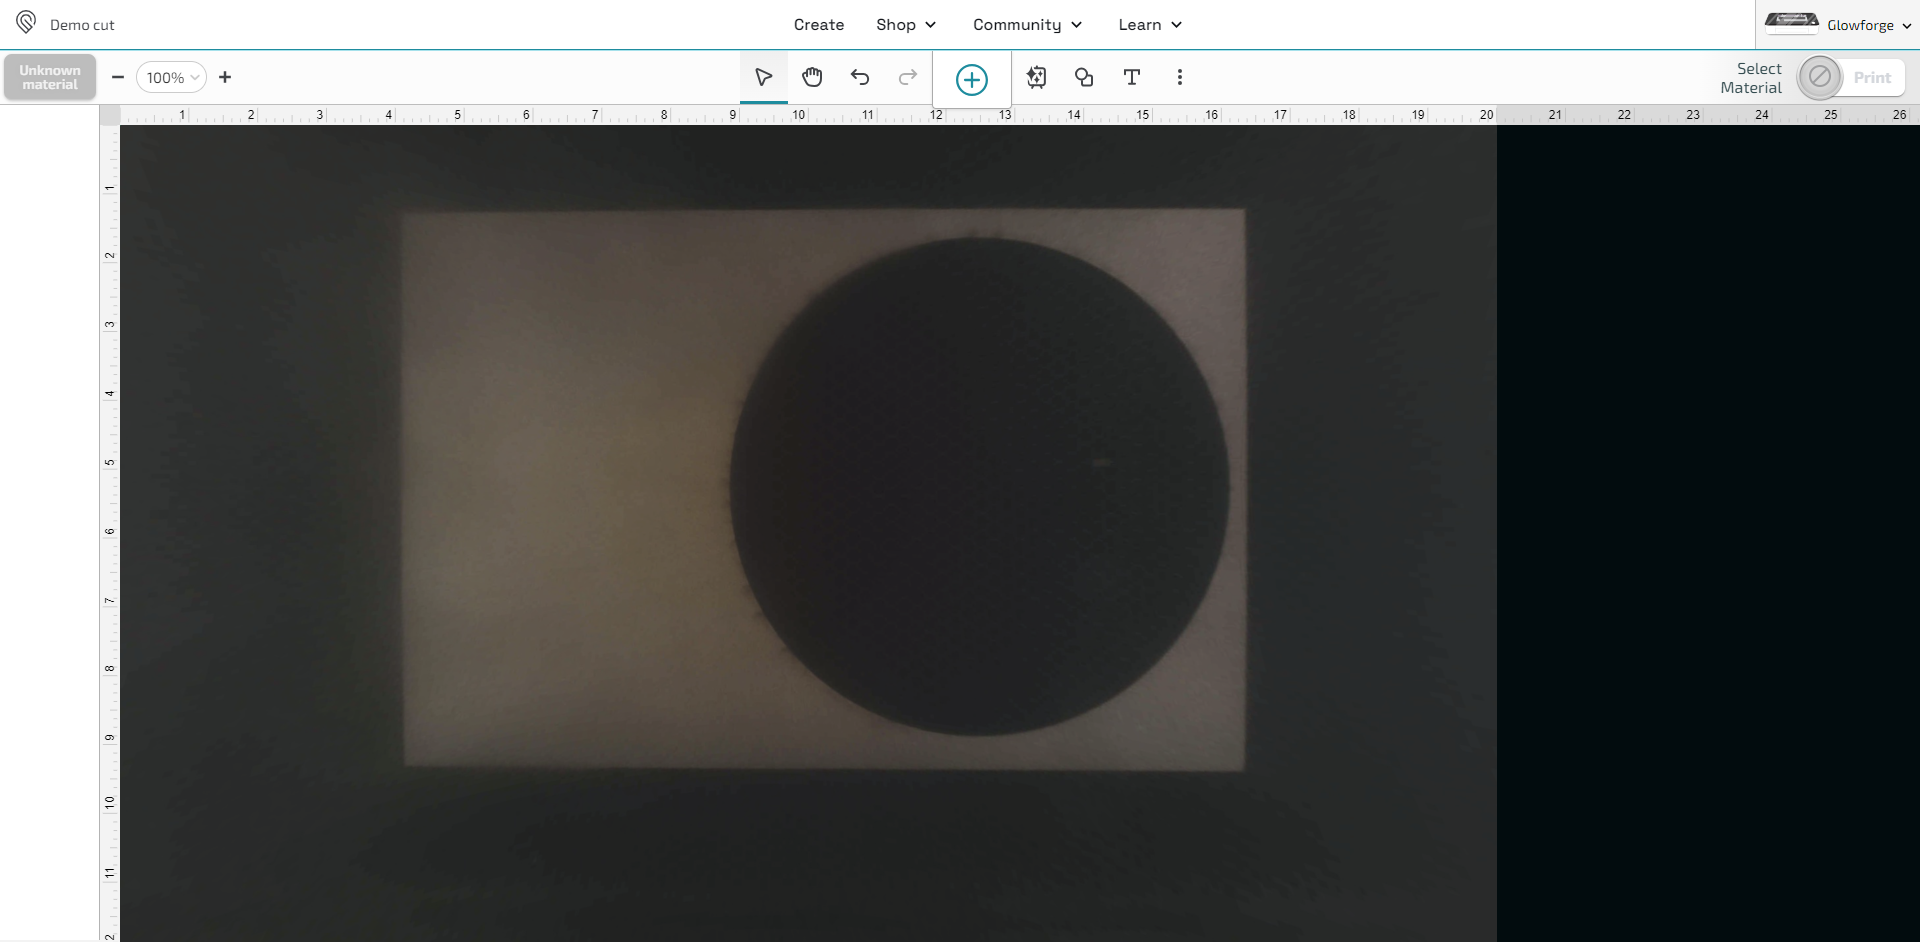
No matter what you choose, you will eventually reach the workspace. There you will se a lot of options. We’ll start with the top menu.
Top Bar
Selection Tool
Hitting the ( ) icon will allow you to select objects in the frame by clicking them or dragging your mouse over them.
Pan Tool
Hitting the ( ) icon will allow you to pan the scene by dragging with your mouse.
Undo and Redo
Hitting the ( ) icon will undo your last action, and hitting the (
 ) icon will redo your last undone action.
Import artwork
Hitting the ( ) icon will open the import artwork menu.
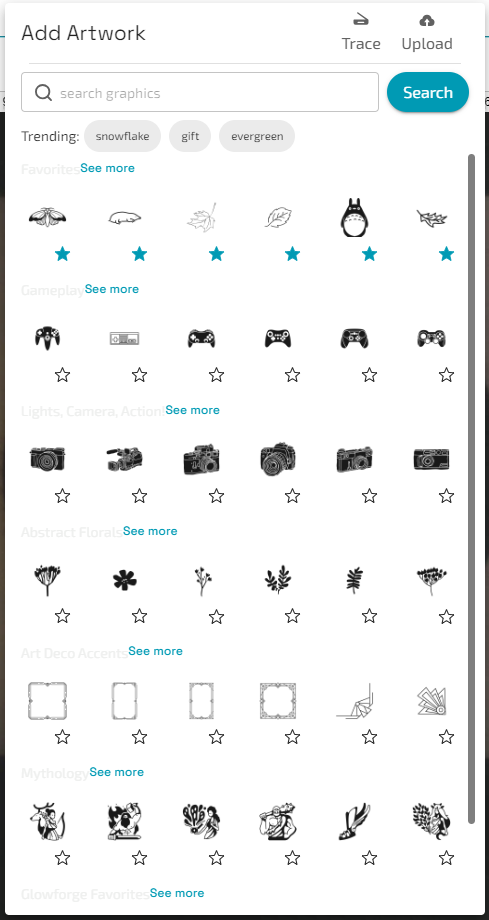
Here you can select to import artwork from the computer, trace artwork, or use the search bar to search designs. When you select a design it will open in the workspace. We will cover tracing in the Tracing page.
Magic Canvas
Hitting the ( ) icon will open the Magic Canvas menu.
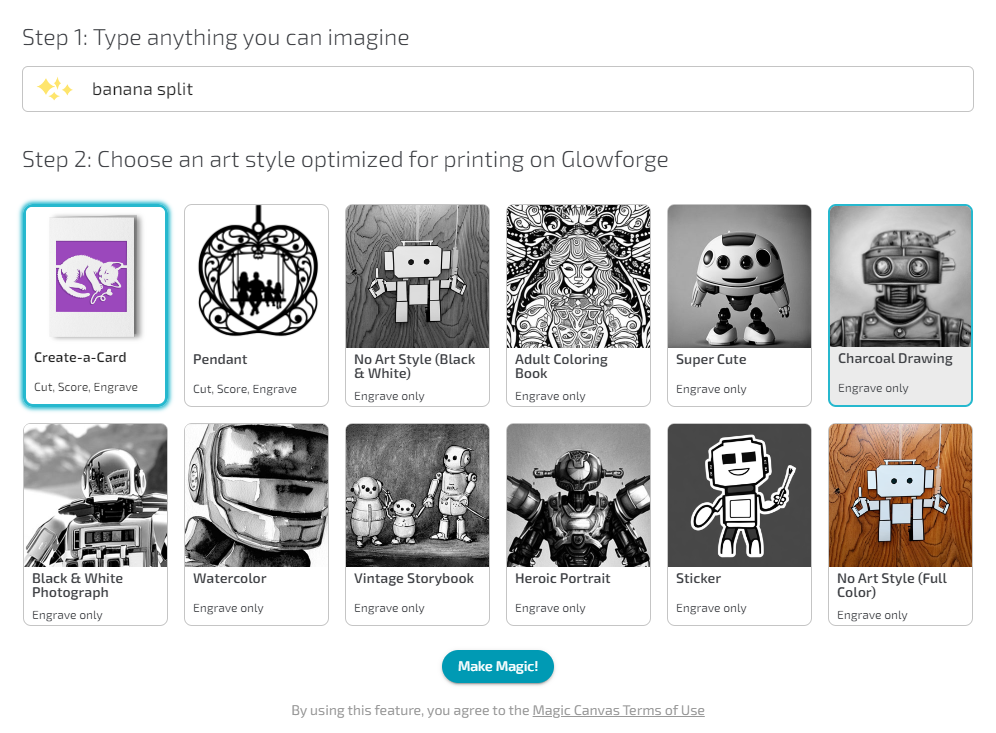
This menu will allow you to add AI generated designs to your cut. Select which type of design you would like to generate, and type in the prompt you would like to generate. A loading menu will appear and eventually your design will appear. You can then choose to use the image as is, or edit the image with the tools provided.
Add Shape
Hitting the ( ) icon will open a menu with a list of shapes you can add to your design.
Hitting the first 3 shapes will create that shape, hitting the pentagon or star icon will open another menu.
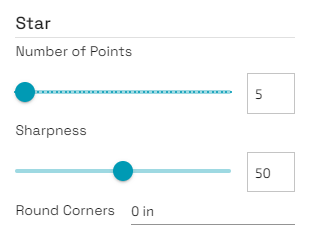
There you can edit the number of points in your shape, change the sharpness of a star, and round the corners.
Text
Hitting the ( ) icon will create text and open a menu to customize that text.
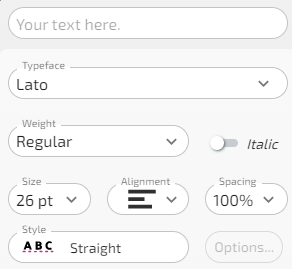
Firstly put what you want the text to say in the first box.
Then you can edit the font by clicking the dropdown labeled Typeface.
You can edit the thickness of the letters by clicking the dropdown under Weight.
You can select the switch labeled Italic to make the text Italic.
You can edit the size of the text by clicking the dropdown labeled Size.
You can change the alignment in the box by clicking the dropdown labeled Alignment.
You can edit the spacing between the letters by clicking the dropdown labeled Spacing.
You can make your text into different shapes by clicking the dropdown labeled Style.
If you have a style selected, clicking the Options button will allow you to customize the style you selected.
More Options
Hitting the ( ) icon will open a new menu with more options.
Refresh Bed Image will re-scan the bed and show what is there.
Set focus will allow you to click somewhere on the bed to force the glowforge to focus on.
Design Details will open up a panel of information about your design, as well as any instructions included with the design.
Export Design will allow you to export your design to the computer.
Past Prints will show all past print jobs on this file.
Keyboard Shortcuts shows the list of keyboard shortcuts.
Preferences opens up a menu of accessibility options.
Pro Passthrough is used to make longer designs, which will be reviewed more in the pro passthrough page.
Do not select Glowforge Air Filter Attached as we do not have that.
Units will switch from inches to centimeters for measuring.
Movement and Arrangement
Moving
To move an object around the screen, simply select it and drag.
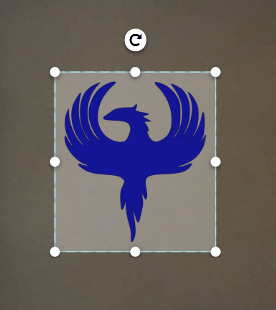
Scaling
To scale an object select it and drag the white dots. If the aspect ratio is locked in the arrangement menu, the object will scale evenly. If not it will scale however you drag it.
Rotation
To rotate an object, select it and drag the ( ) icon until it is rotated how you want it.
Arrangement Menu
Selecting the ( ) icon in the bottom left will open up a menu.

Here you can select the exact position of the object and scale of the object, as well as unlocking and locking the aspect ratio by clicking the ( ) icon.
Alignment Menu
Selecting the ( ) icon in the bottom left will open up another menu.
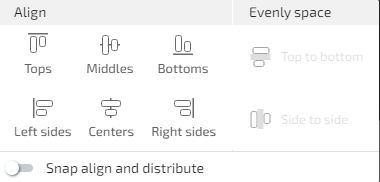
This menu allows you to align multiple objects to each other as is displayed in the buttons shown.
Side Bar
After selecting an object, a side bar will appear.

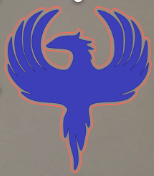
Outline
Hitting the ( ) icon will open a menu, and allow you to create an outline of the currently selected object.
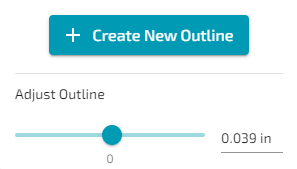
Once you create the outline, you can adjust how far outside or inside the shape the line is.
Mirroring
Hitting the ( ) icon will mirror the object vertically, and hitting the (
 ) icon will mirror the image horizontally.
Patterned line
Hitting the ( ) icon will open another menu, which will allow you to create a patterned line from a regular line object.
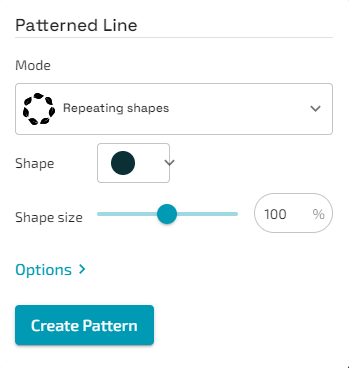
Hitting the dropdown labeled Mode will allow you to choose from a list of options.
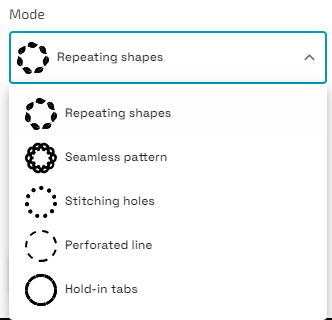
Repeating shapes will allow you to place shapes along the line.
Seamless Pattern will create a pattern along the line.
Stitching Holes will create holes along the line.
Perforated Line will cut a dashed line.
Hold-in Tabs will give the line small bits of material to keep it in place while cutting that are easy to remove afterwards.
No matter what option you choose, there will be a list of customizations to edit your pattern below, with more available after hitting the Options dropdown.
Puzzle Maker
Hitting the ( ) icon will open another menu, which will allow you to place a puzzle around your object.
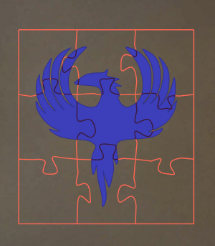
You can specify how many rows and columns to add, whether you want a frame, and whether you want to keep the selected object or delete it after creating the puzzle around it.
Hit the Create Puzzle button to create the puzzle.
Stamp maker
Hitting the ( ) icon will open another menu, which will allow you to create a stamp that stamps the selected design.
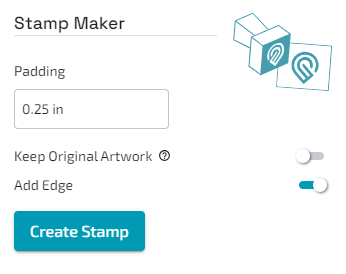
Padding will dictate how far the stamp will extend past the design’s edge.
Keep Original Artwork will keep the design as well as creating the stamp.
Add Edge will add a box around the stamp to make it easy to cut out of your material.
Hit the Create Stamp button to create the Stamp.
Done?
Once you are happy with your design, move to the Material Selection page.