Adjust Settings
Once you have your material selected, we can start choosing how we want each shape to be cut.
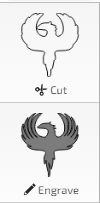
On the left of the screen will show all individual objects in the workspace. Click on the object you wish to change the settings of.
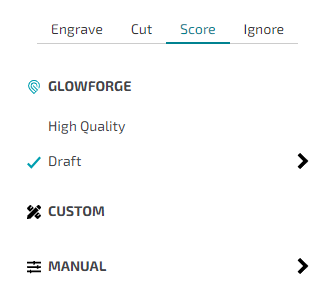
Cut Options
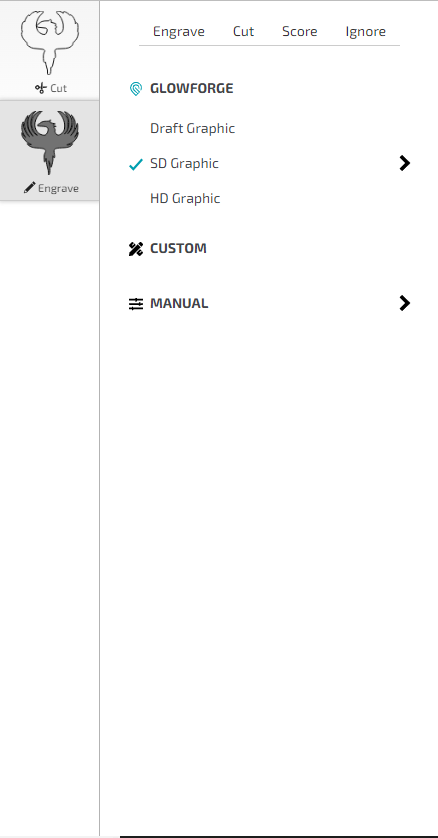
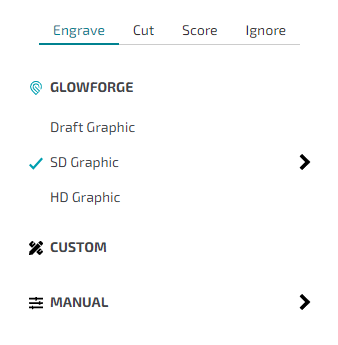
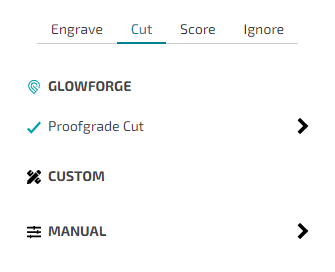
A menu will appear, with various options. First let’s look at the top menu. Each of the options on the top menu will cut the object in a different way.
Engraving
Engraving will have the laser cutter burn an area into your material but not cut all the way through.
If you have a shape with a simple boundary this will just fill in the shape.
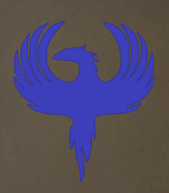
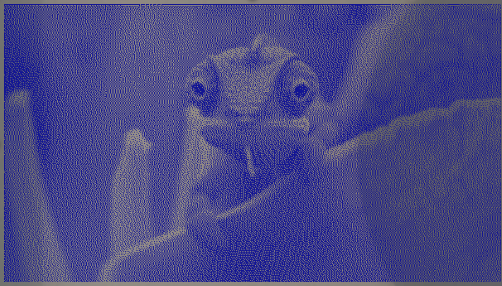
But if you have an image instead, the engraving will attempt to create a pattern to make the image.
Clicking the arrow next to the default setting will open up a menu of more options.
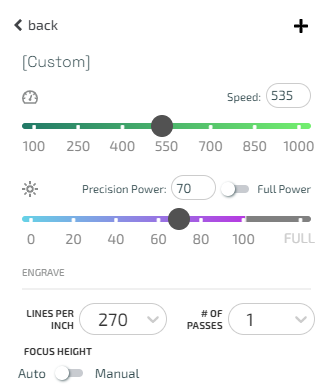
Speed controls how fast the laser moves, and Power controls how much power the laser outputs.
If you have an image, there will be a panel labeled Bitmap Options.
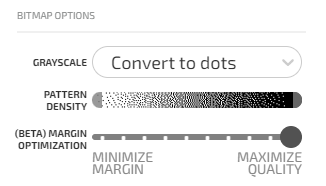
The dropdown labeled Grayscale will let you choose how darkness is interpreted by the computer.
Convert To Dots will add more small dots in darker areas and less in lighter areas.
Convert To Patterns will add a darker pattern in darker areas and a lighter pattern in lighter areas.
Vary Power will use more power in darker areas and more in lighter areas, with the maximum power being the number specified in the previous panel and the minimum power being specified in a box just below the dropdown.
For either of the first two options a slider labeled Pattern Density will appear, where the left gray bar designates the lightest pattern the printer will create and the right bar designating the darkest pattern the printer will create.
For any of the three options, there is a slider that will change how the edge of the image is managed, between minimizing the margin and maximizing the quality of the image.
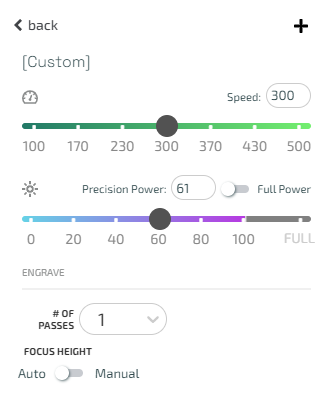
Finally there will be options labeled Engrave
Lines Per Inch designates how many lines the laser will make per inch.
# of Passes designates how many passes the laser will do during the engraving process.
Focus Height can be changed from a manual to automatic focus. It is recommended to set it to Auto.
Cutting
The cut setting will cut the outline of the selected object.
Clicking the arrow next to the default setting will open up a menu of more options.
Speed controls how fast the laser moves, and Power controls how much power the laser outputs.
If the laser does not cut all the way through, turn down the speed by 10-20 and try again.
# of Passes designates how many passes the laser will do during the cutting process.
Focus Height can be changed from a manual to automatic focus. It is recommended to set it to Auto.
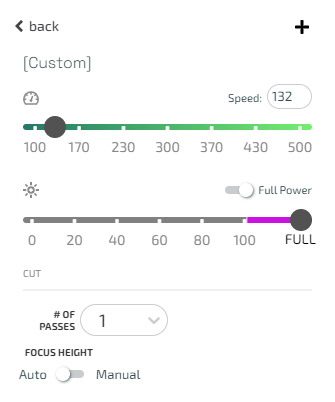
Scoring
Scoring will engrave just the outline of the shape but not cut all the way through.
Clicking the arrow next to the default setting will open up a menu of more options.
Speed controls how fast the laser moves, and Power controls how much power the laser outputs.
# of Passes designates how many passes the laser will do during the engraving process.
Focus Height can be changed from a manual to automatic focus. It is recommended to set it to Auto
Ignoring
Ignore will make the cutter completely ignore the object and not cut it at all.
Done?
Once you have your settings set, move to the Process Ordering page.