Uploading Files
How to use aspire (main)
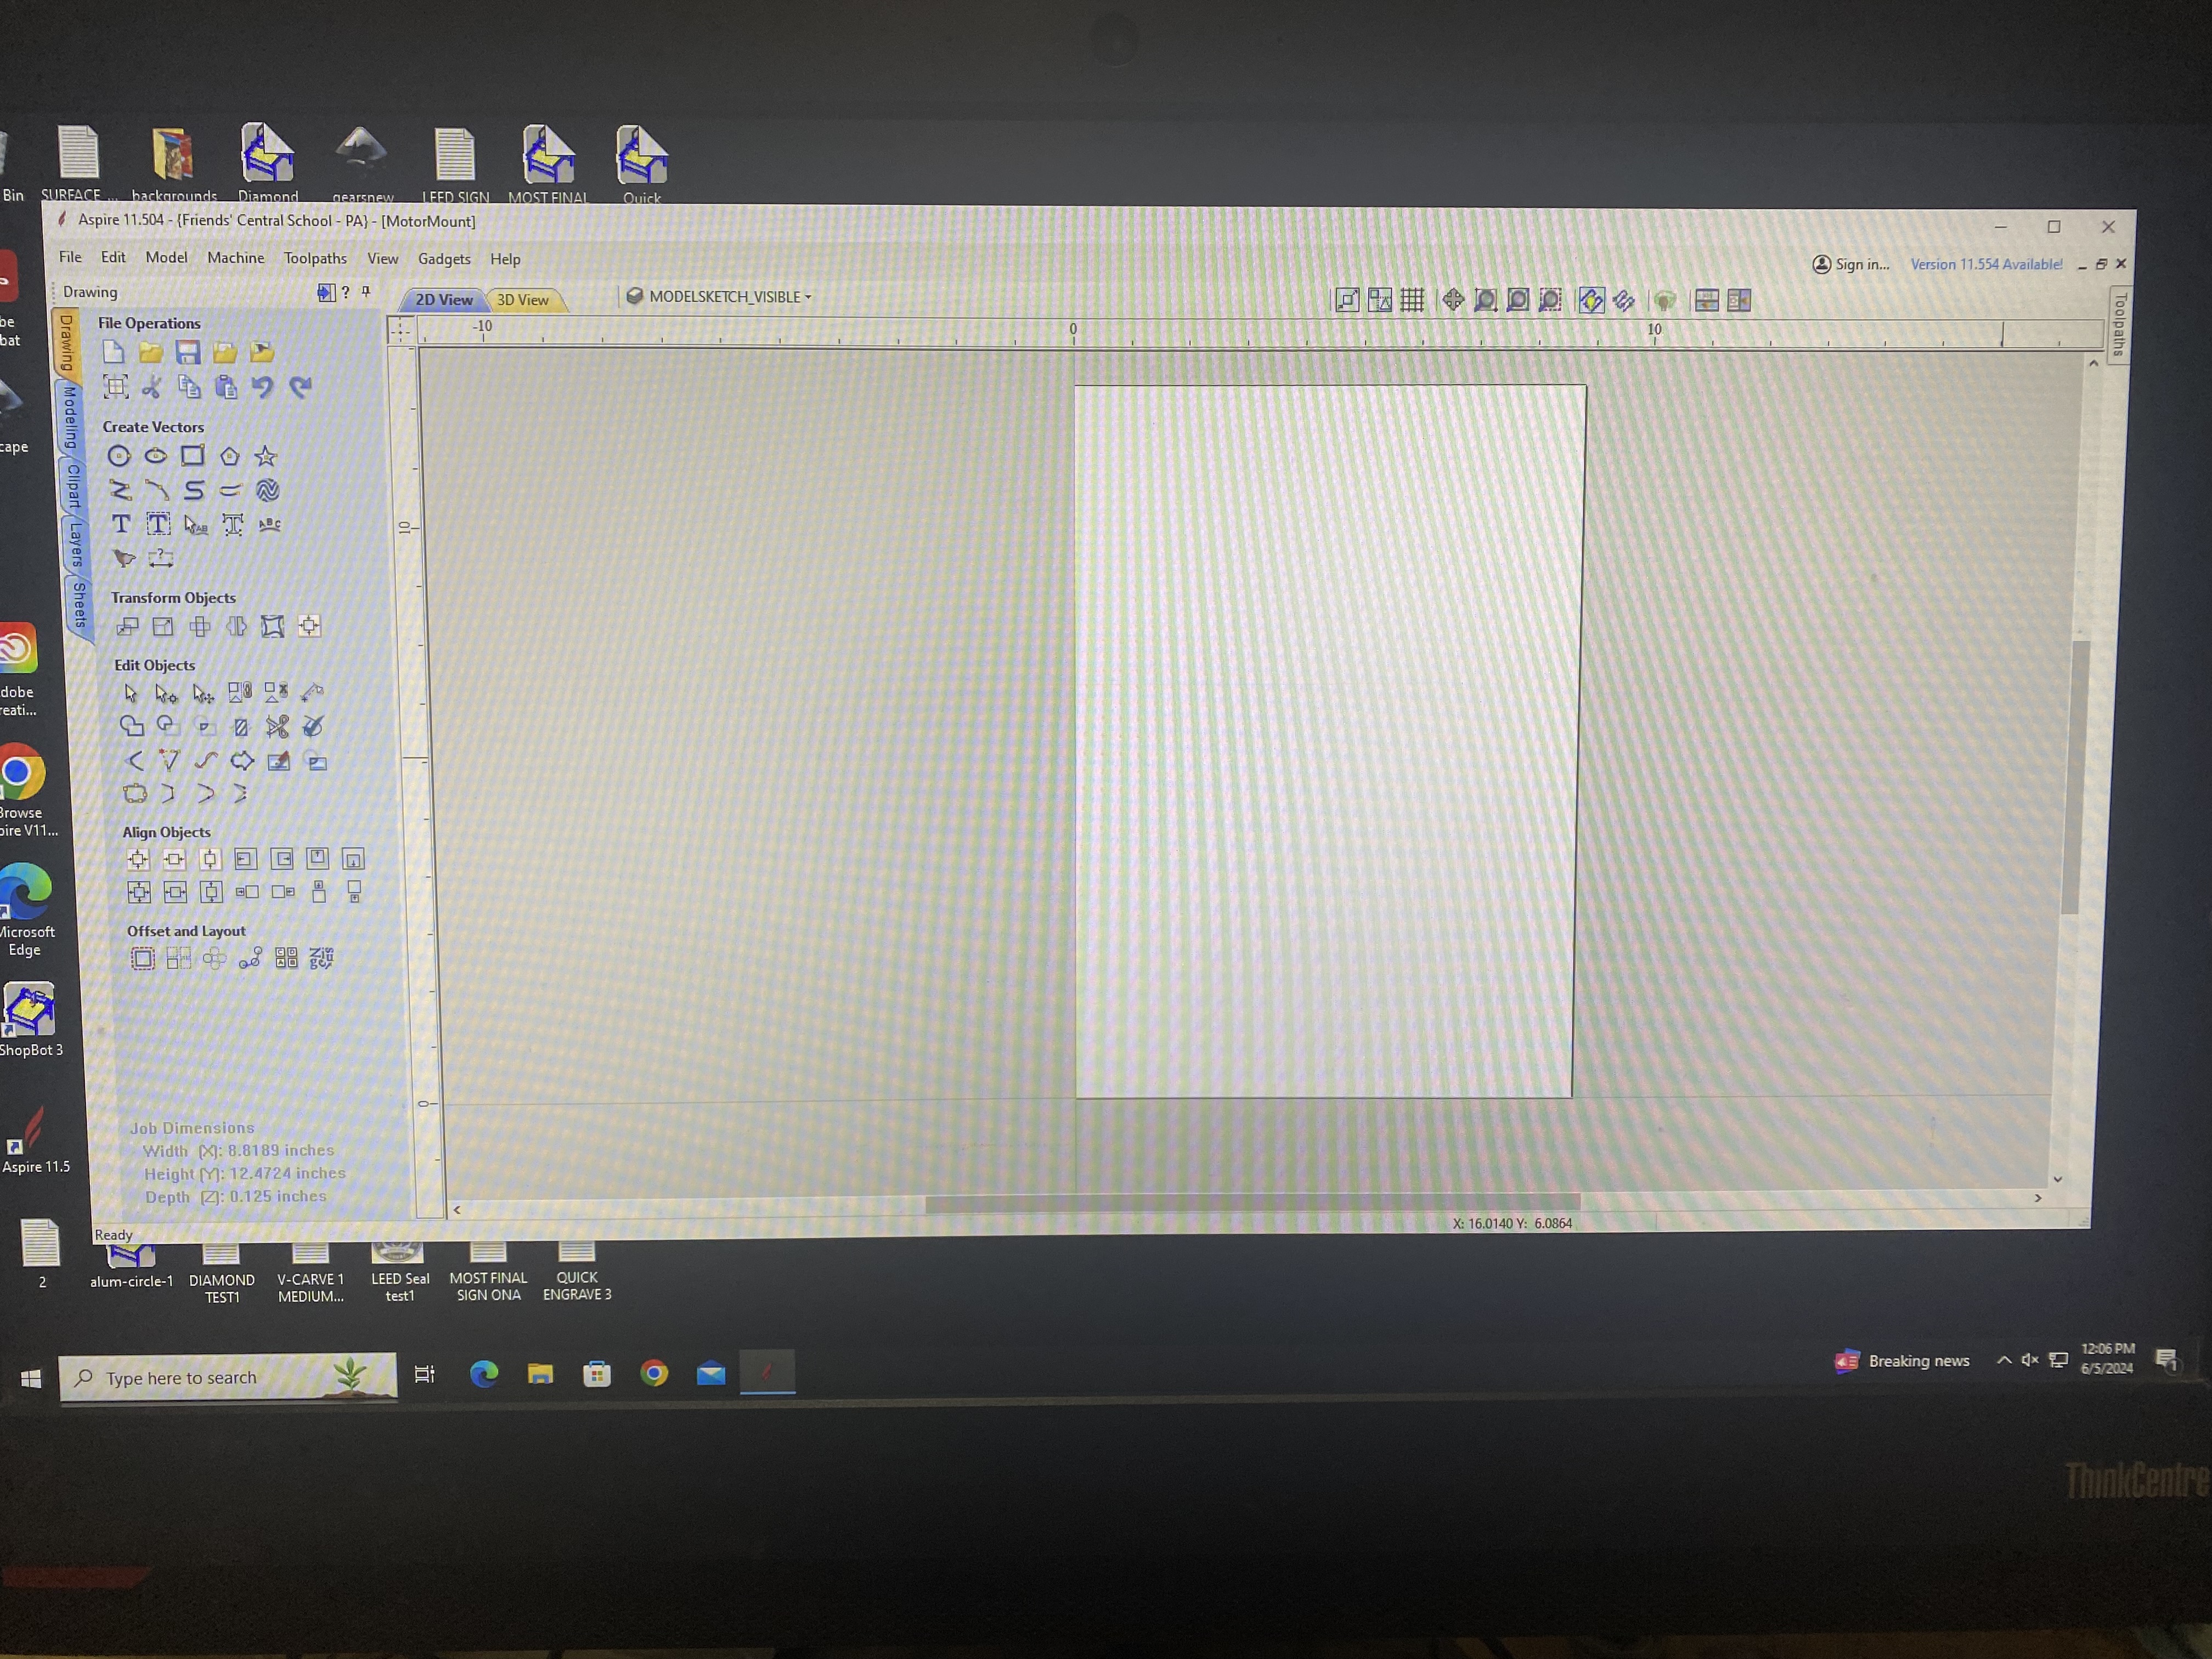
To start designing a part, go into Aspire and click File > New. This will create a new Aspire file in the .crv3d format. It will also take you to the Job Setup menu.

Here, you can set the width, height, and thickness of the material you will be cutting (in the Job Size section). Don’t change anything else in this menu. To confirm the size of the job, press OK at the bottom left. If you want to go back to this menu to edit the size of the cut, go to Edit > Job Size and Position.
Once you confirm, you will see the workspace.
You can import vectors into Aspire by going into Aspire and clicking File > Import… > Import Vectors. You can then import a .svg vector file.

You can also make vectors within Aspire. You can do this by pressing one of the buttons in the “Create Vectors” section of the “Drawing” tab.
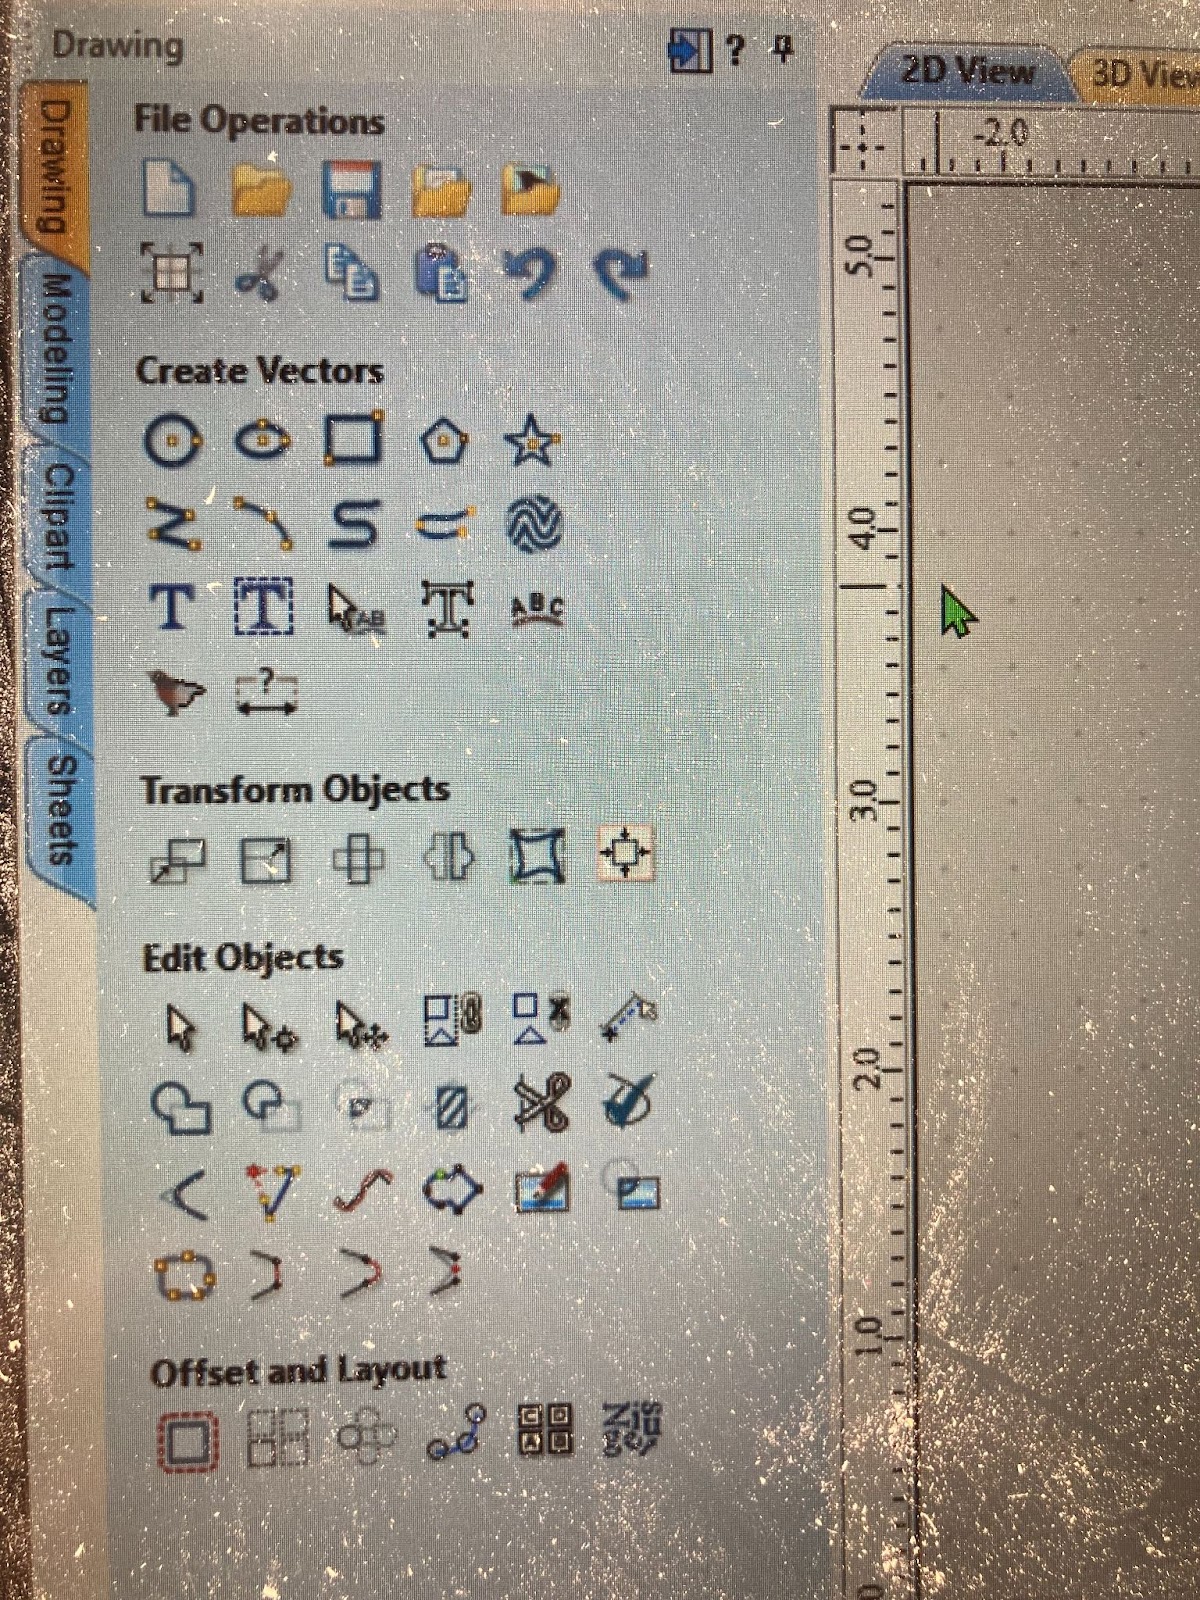
To move things around in Aspire, use “Transform Mode” - the third tool from the left of the “Edit Objects” section of the “Drawing” tab.
You can save Aspire files by pressing File > Save or pressing Ctrl + S. Aspire does not autosave your files, so remember to save them before you close the program.
Once you have uploaded or created your vectors, move to the Creating 2D Paths section.