2D Cutting
The CNC machine’s primary functionality is cutting 2D parts. It can create cuts of many types and outline, engrave, and carve designs into almost any material. To prepare 2d files use these guides:
The CNC machine’s primary functionality is cutting 2D parts. It can create cuts of many types and outline, engrave, and carve designs into almost any material. To prepare 2d files use these guides:
How to use aspire (main)
To start designing a part, go into Aspire and click File > New. This will create a new Aspire file in the .crv3d format. It will also take you to the Job Setup menu.

Here, you can set the width, height, and thickness of the material you will be cutting (in the Job Size section). Don’t change anything else in this menu. To confirm the size of the job, press OK at the bottom left. If you want to go back to this menu to edit the size of the cut, go to Edit > Job Size and Position.
Once you confirm, you will see the workspace.
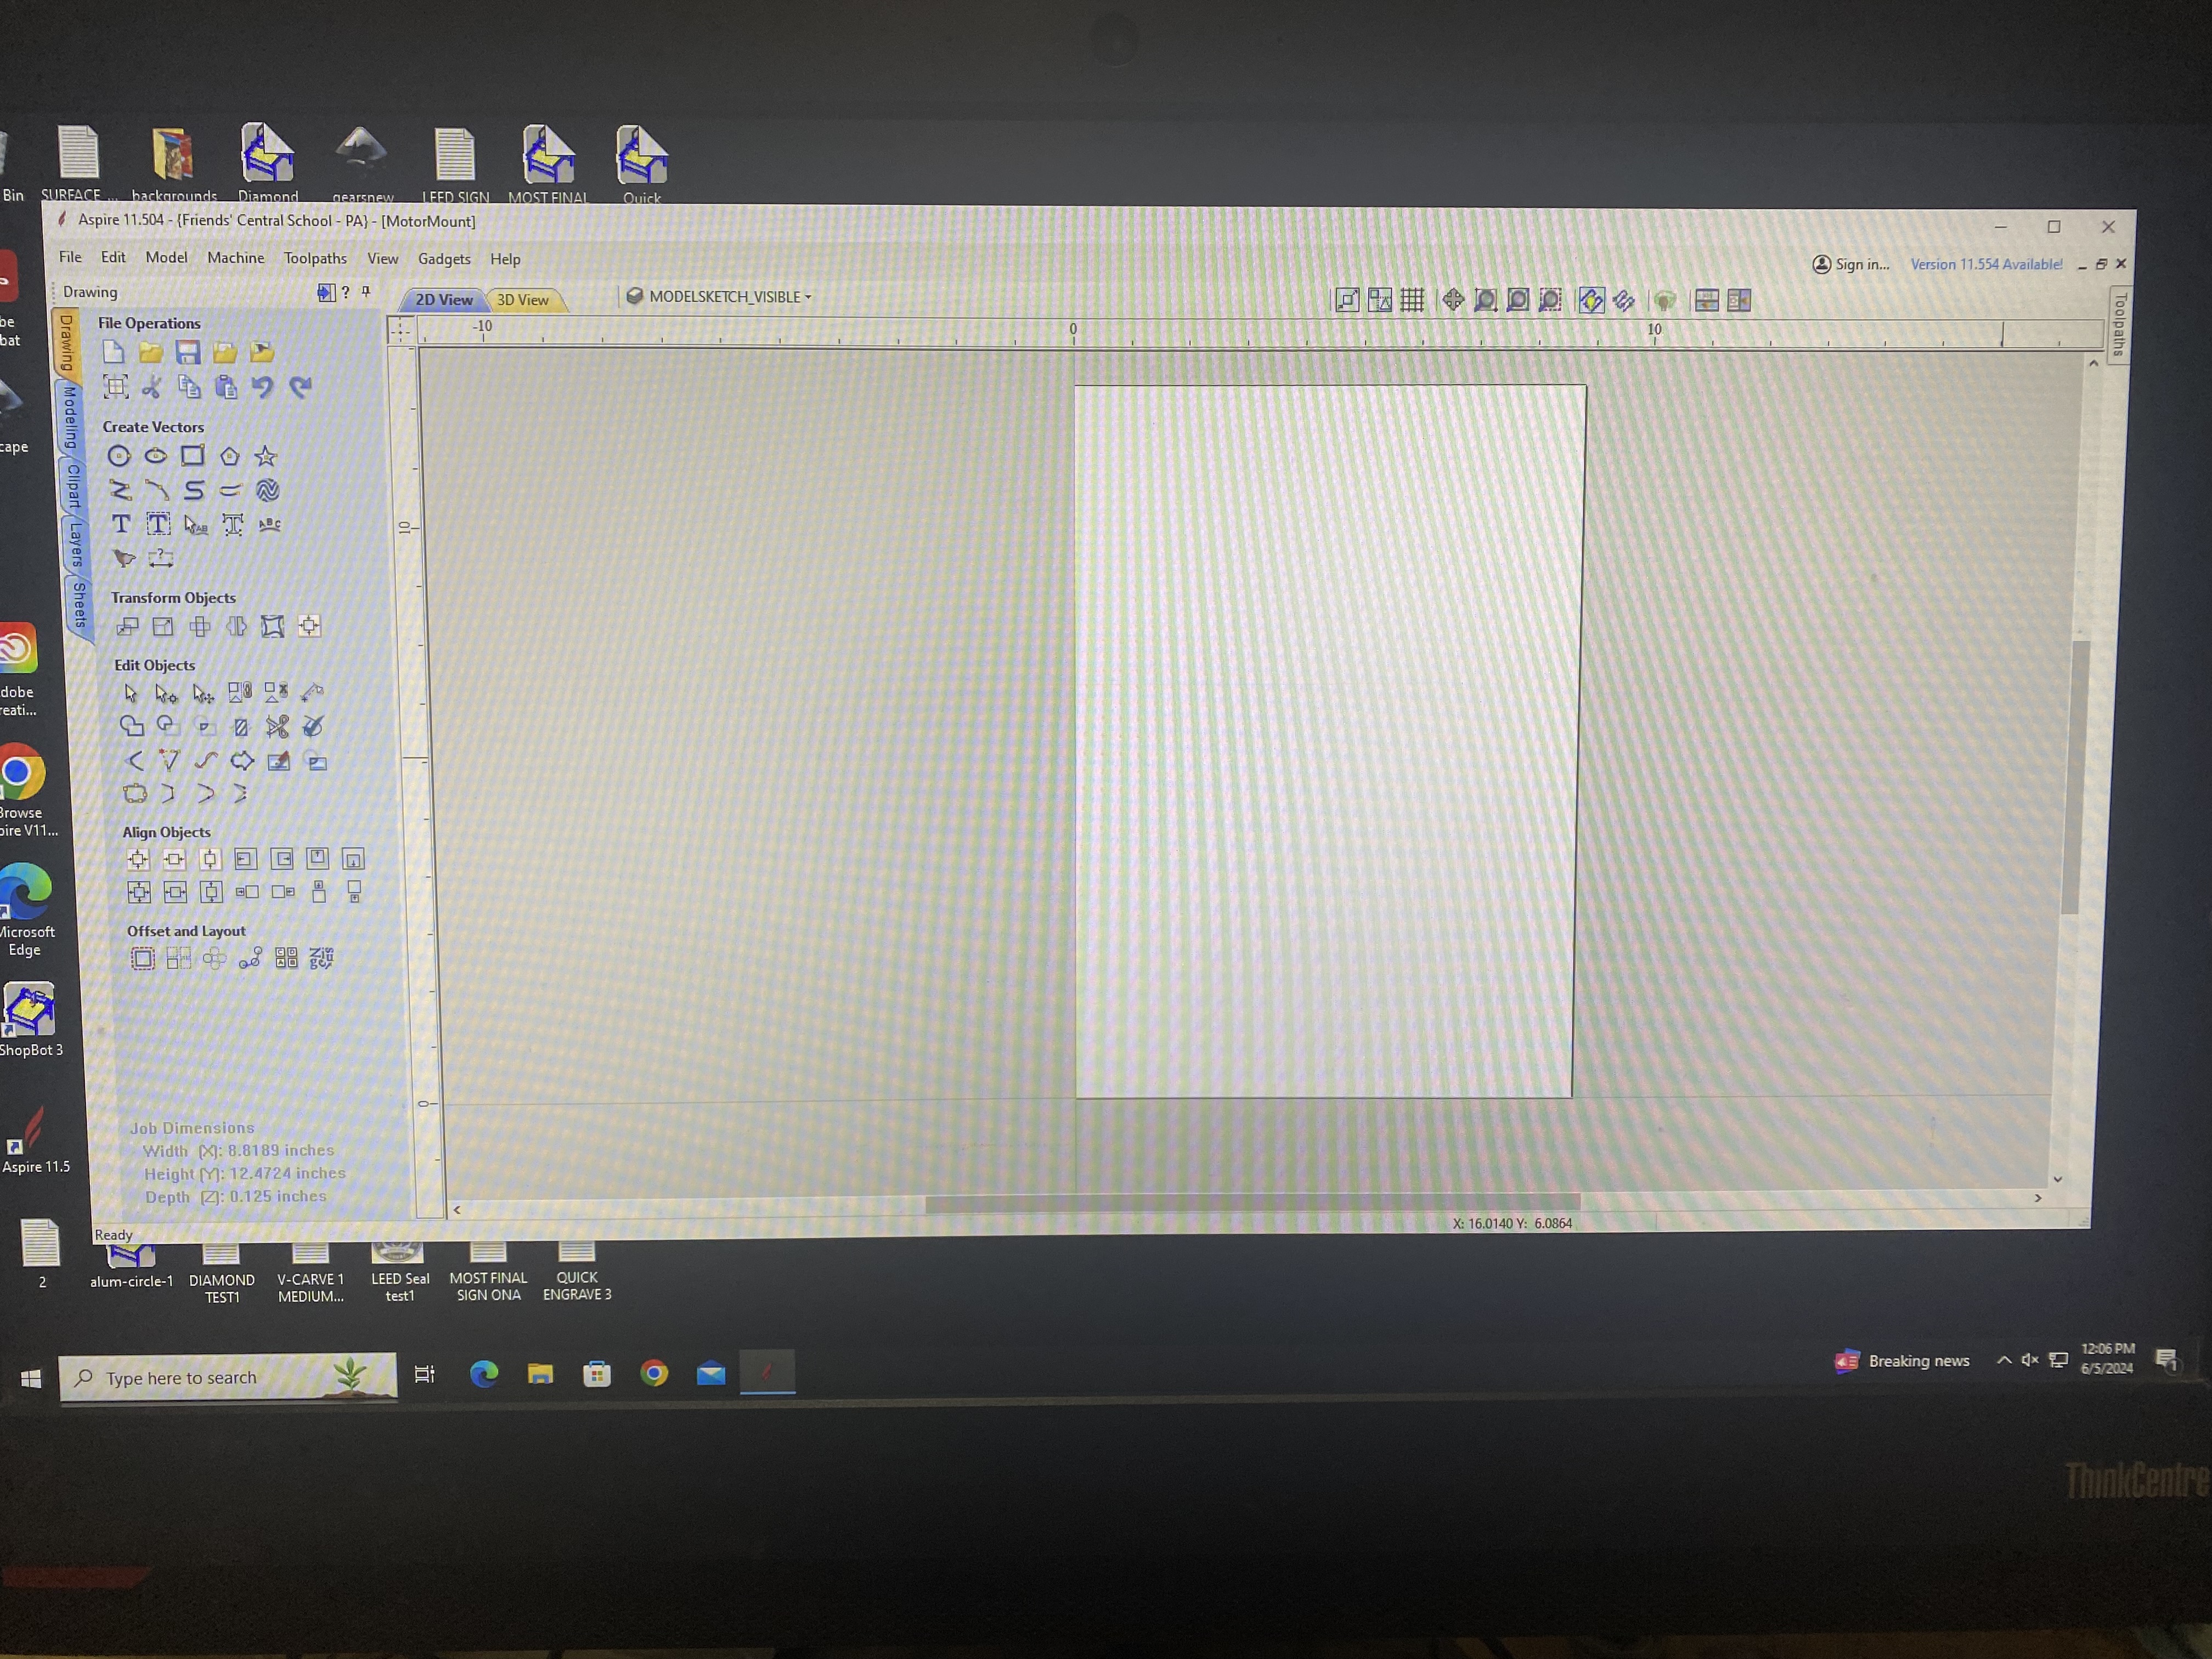
You can import vectors into Aspire by going into Aspire and clicking File > Import… > Import Vectors. You can then import a .svg vector file.

You can also make vectors within Aspire. You can do this by pressing one of the buttons in the “Create Vectors” section of the “Drawing” tab.
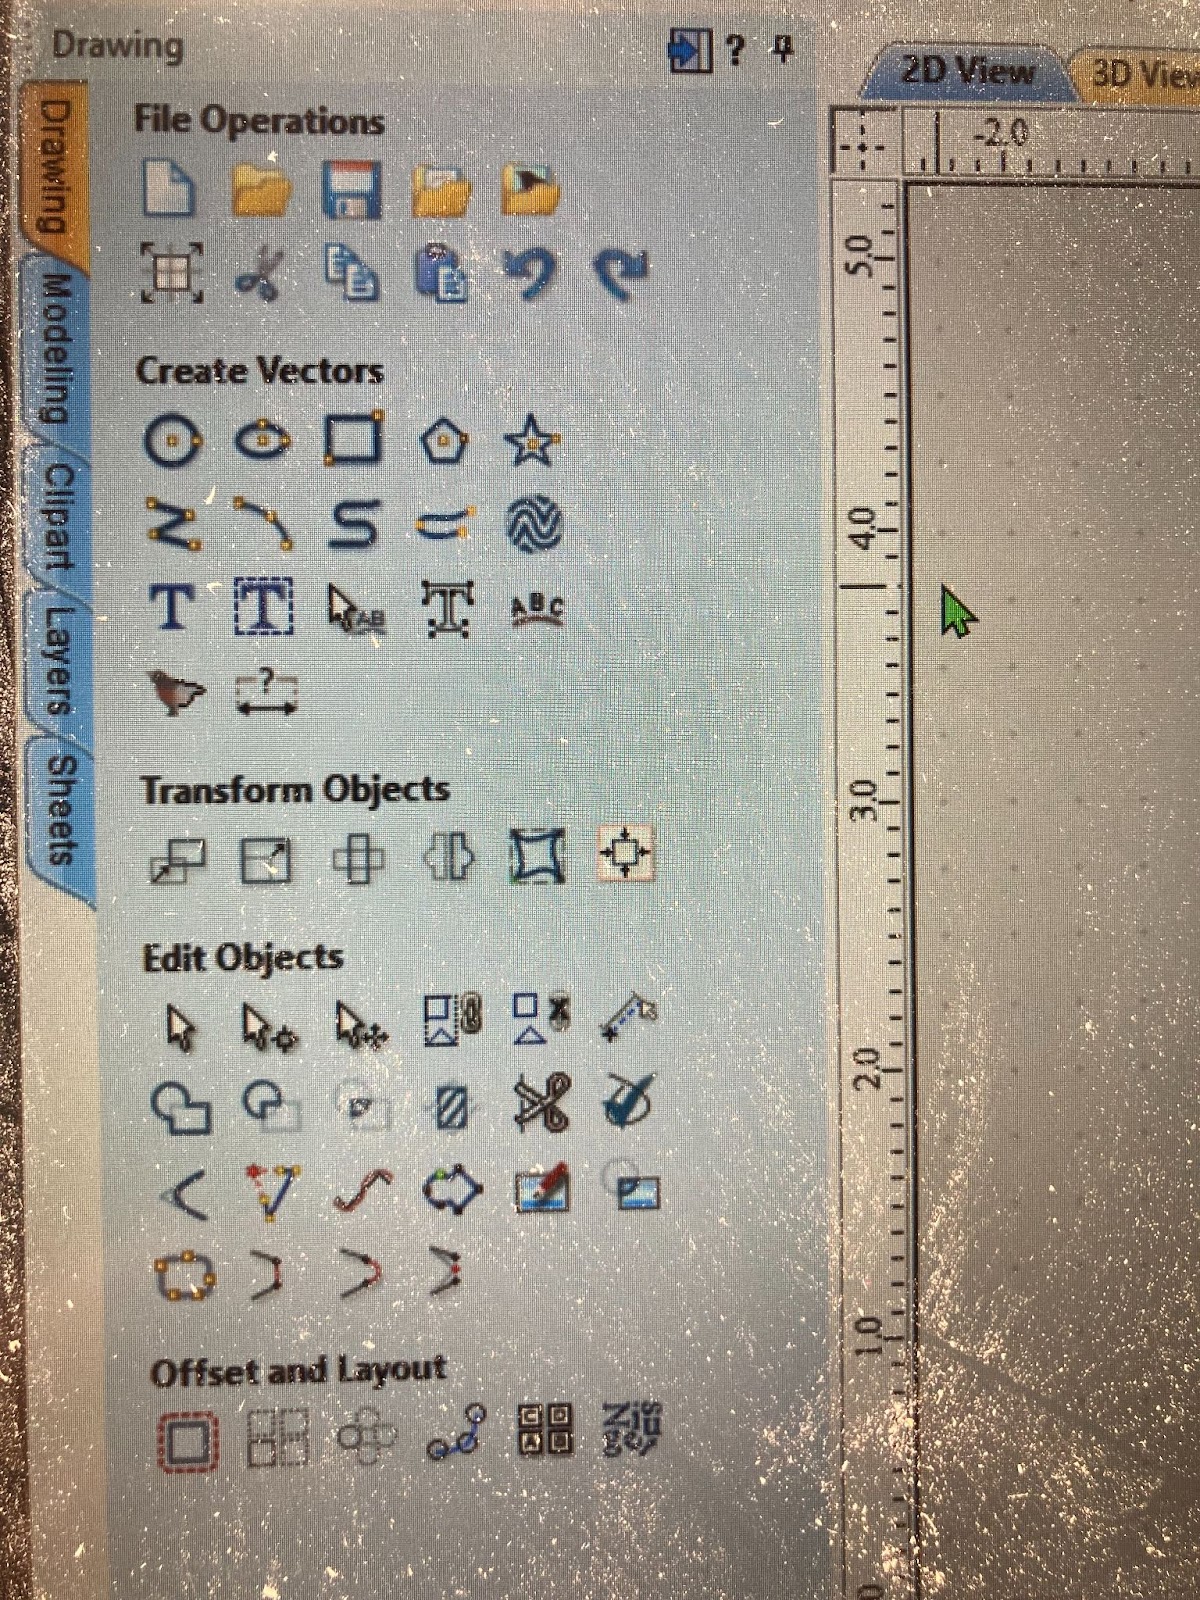
To move things around in Aspire, use “Transform Mode” - the third tool from the left of the “Edit Objects” section of the “Drawing” tab.
You can save Aspire files by pressing File > Save or pressing Ctrl + S. Aspire does not autosave your files, so remember to save them before you close the program.
Once you have uploaded or created your vectors, move to the Creating 2D Paths section.
Once you have your vector file, we will create cut paths for the file.
Once you have the vectors, you need to turn them into toolpaths in order for the shopbot to be able to cut them.
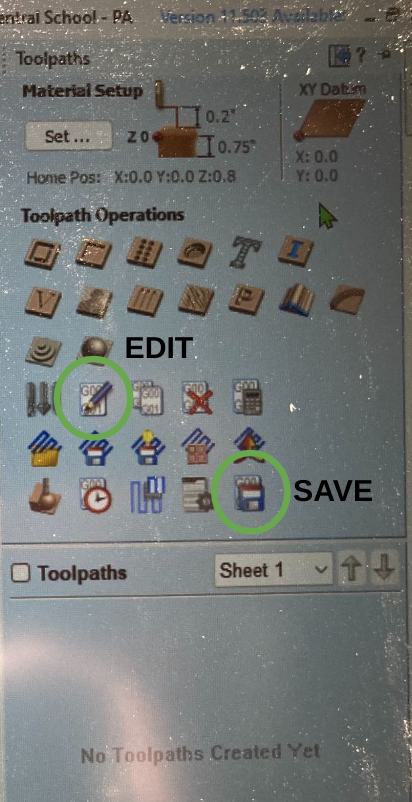
Open the toolpaths tab on the top right corner of Aspire. It will create a menu on the right side.
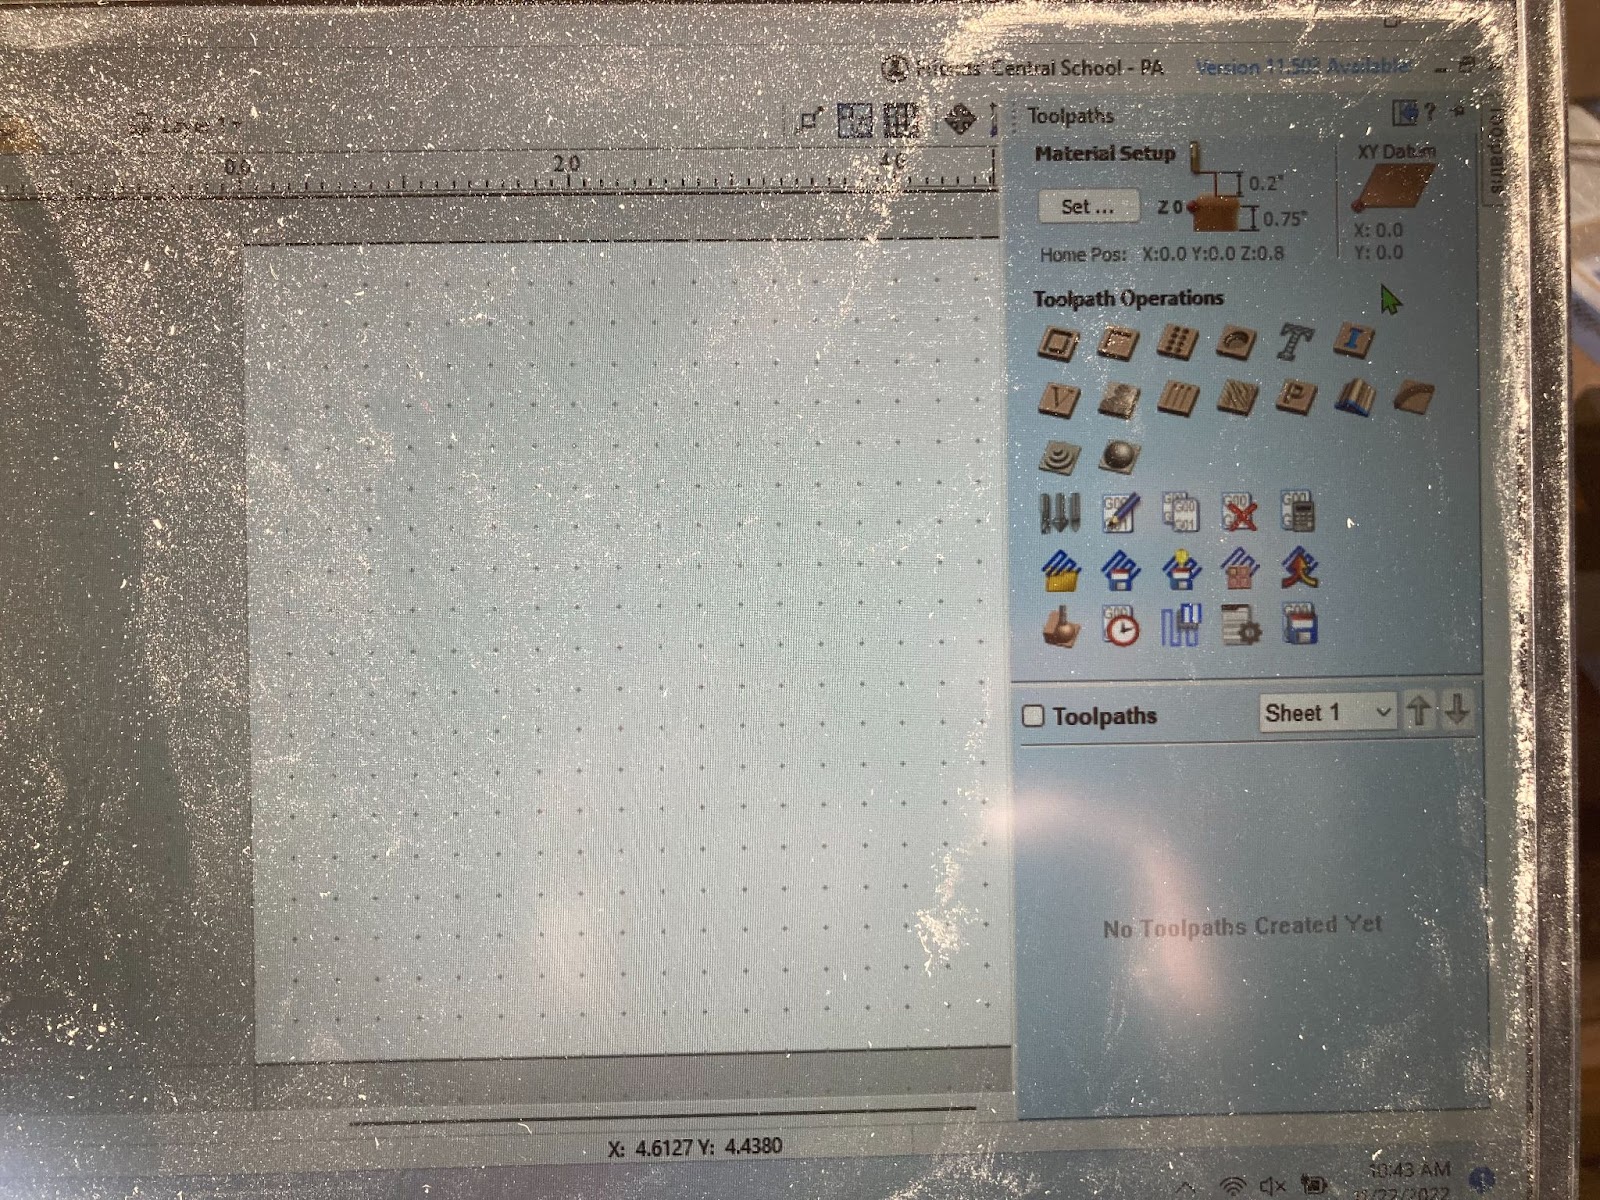
Pin this menu by clicking the pin button in the top right corner of the menu that opens up so it’s easier to access.

To create a toolpath: first, select the vector that you would like to turn into a toolpath. Then, press one of the buttons in “Toolpath Operations” that look like wood (in the top three rows). This will make a toolpath out of the selected vector. There are some settings that you will have to adjust in the menu that appears.
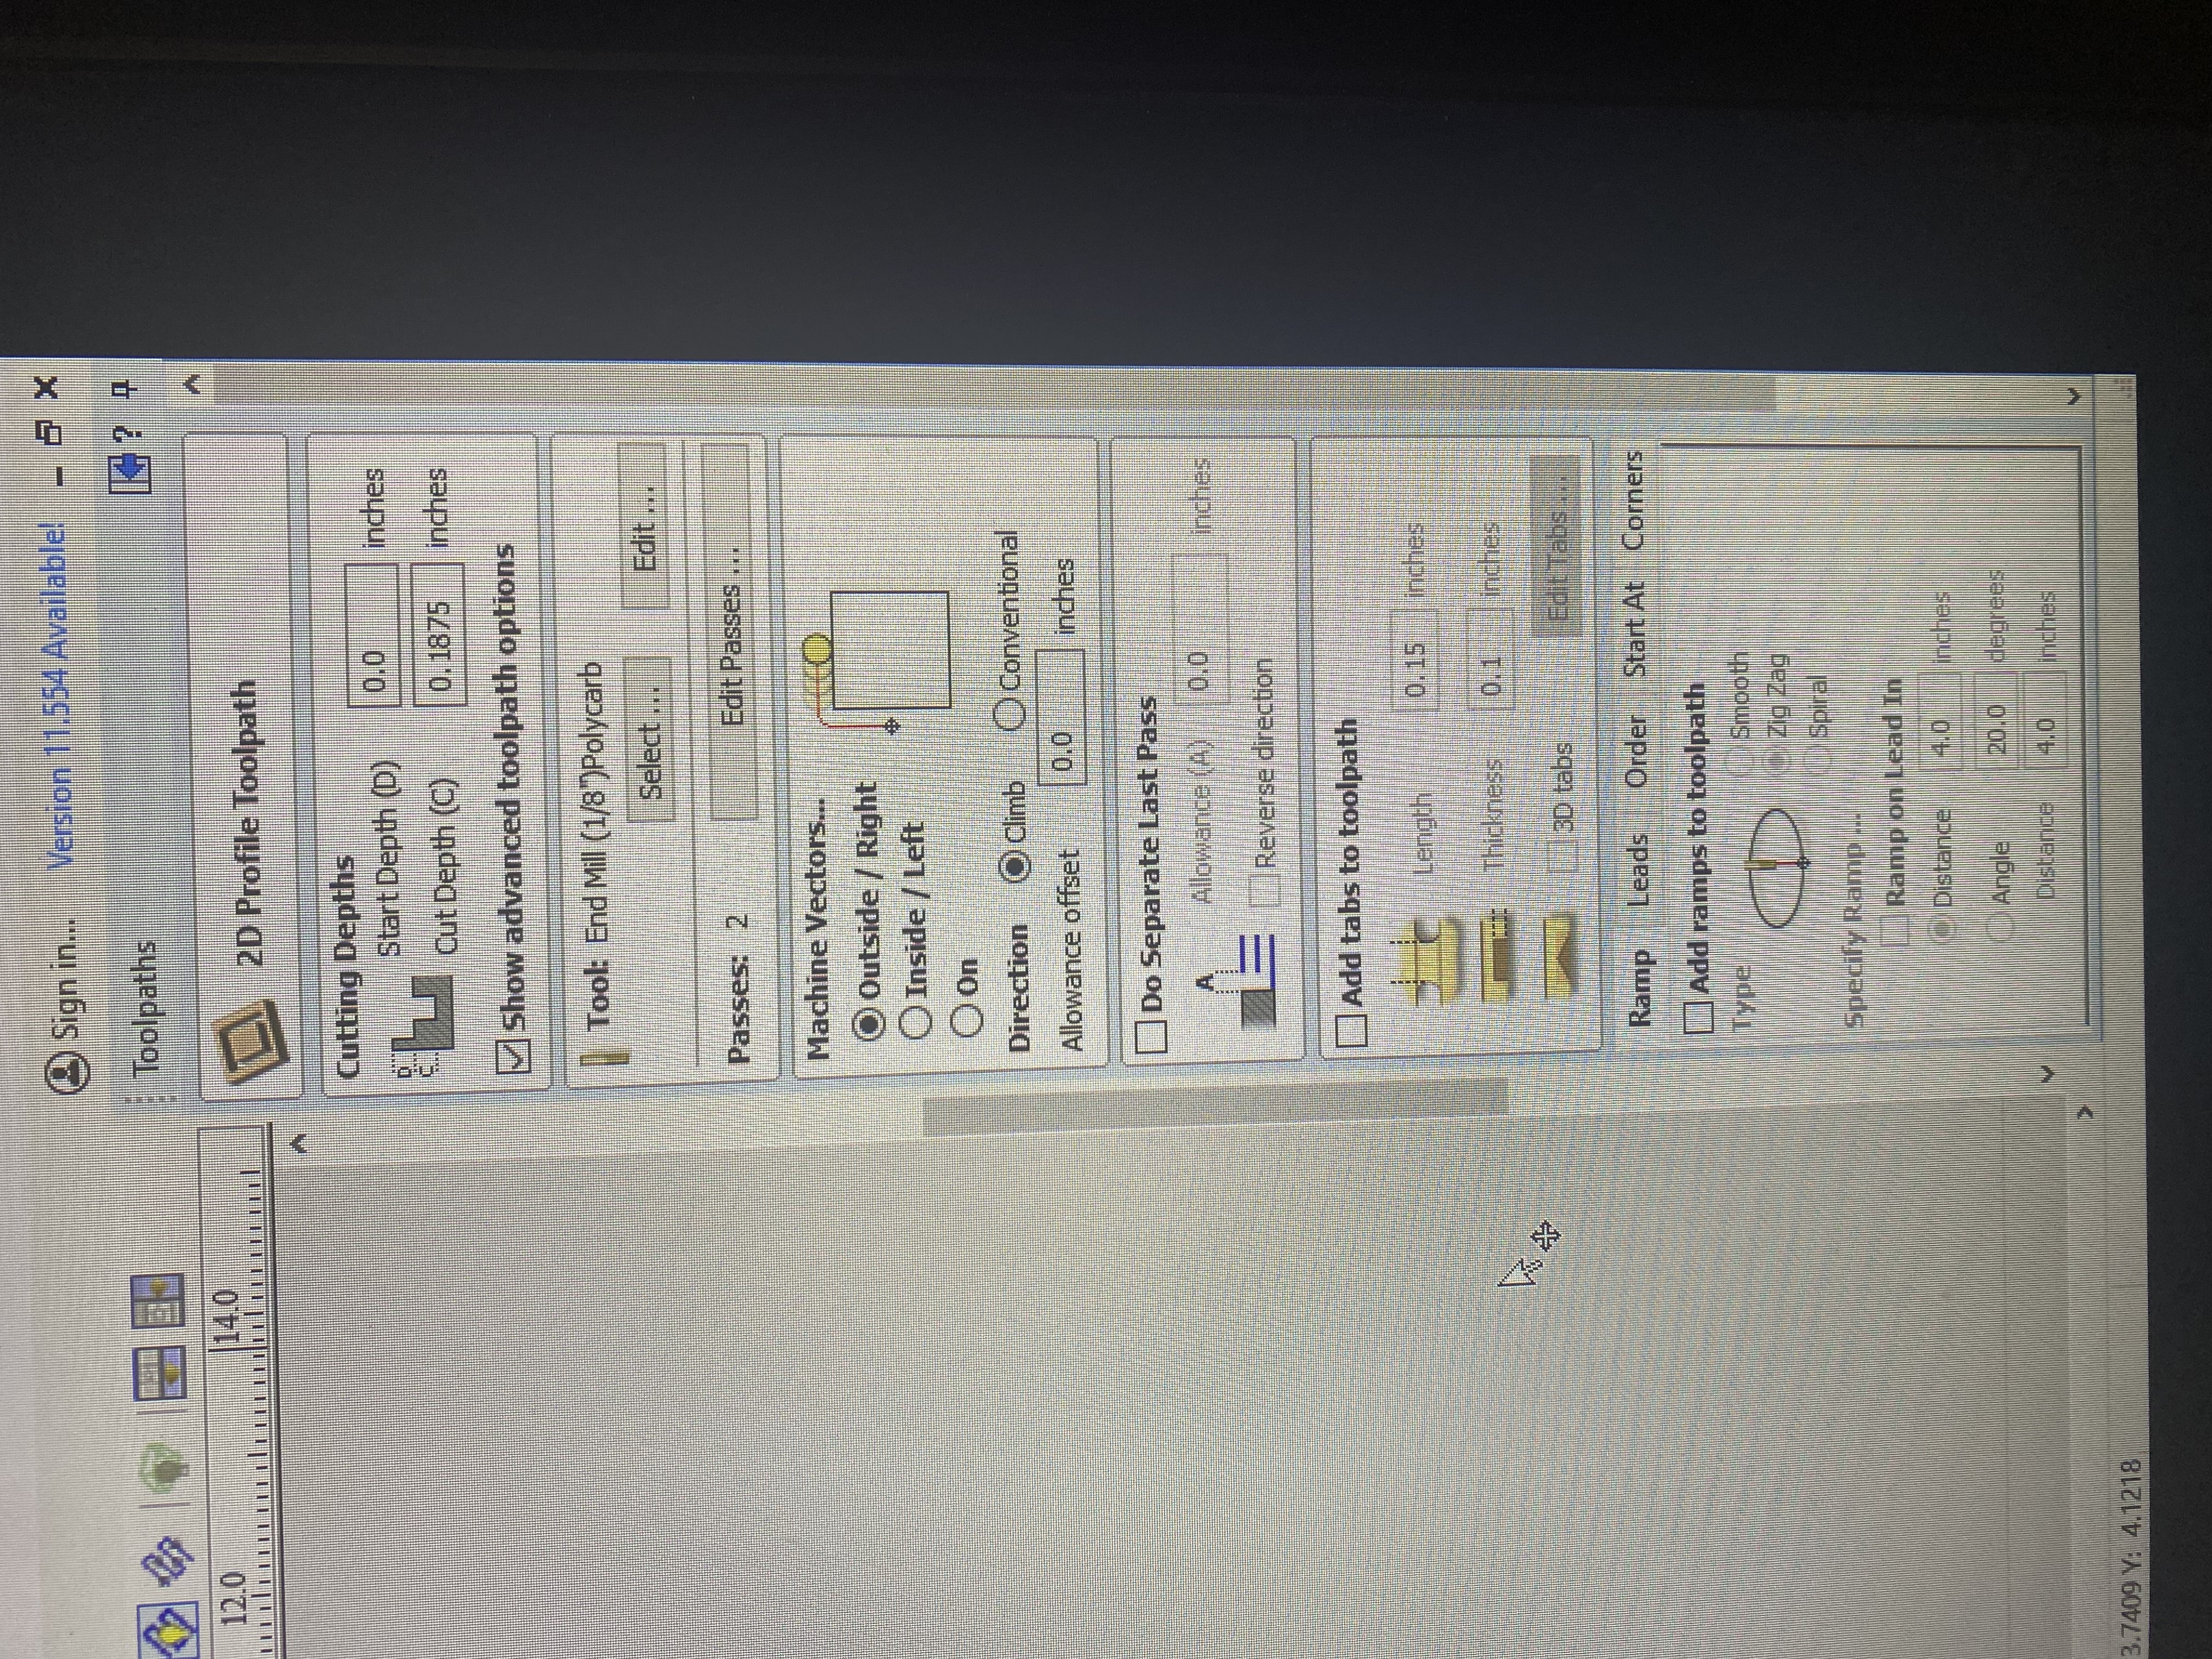
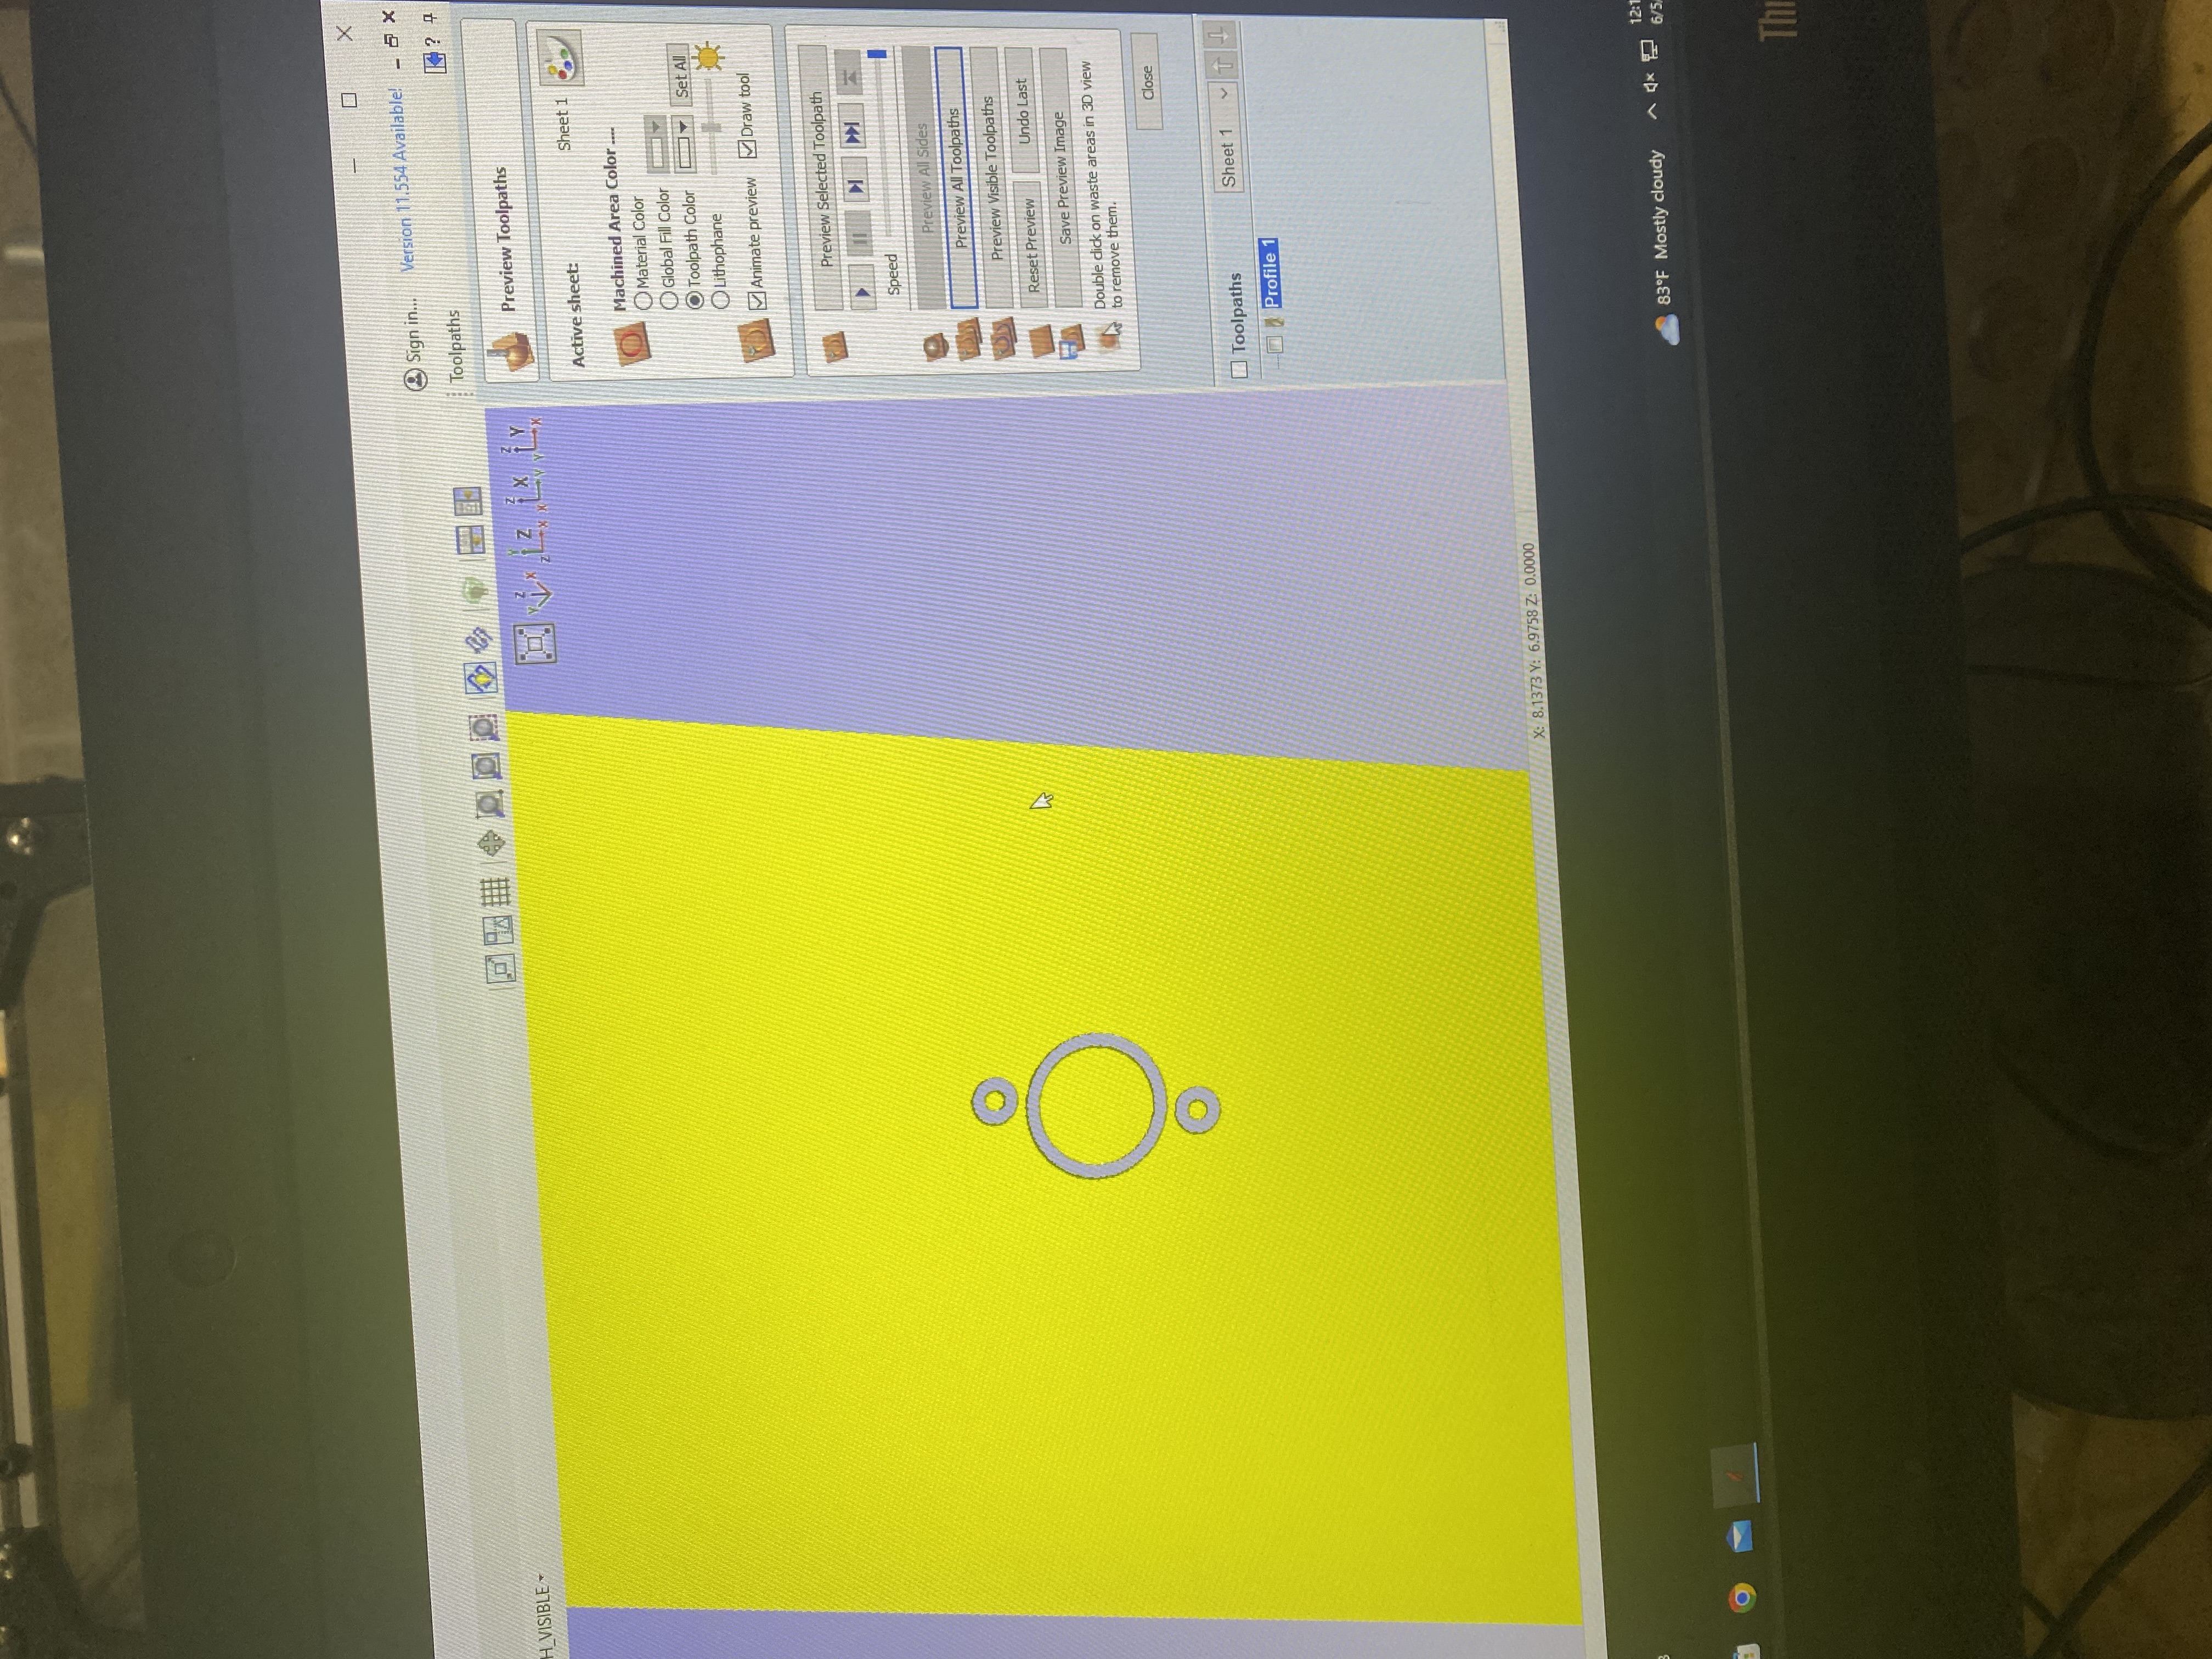
When the settings are correct, scroll down to the bottom of the tab with the scrollbar on the right and click the Calculate button to finish making the toolpath. This will display a preview of your cuts. Hit Clear Preview and then Preview all Paths to see what the paths will carve.
Repeat this step with each vector part to create all of the toolpaths.
If you want to edit a toolpath, press the Edit Toolpaths button. To delete a toolpath, right click it in the toolpaths section below and press delete > this.
When you are done with creating and editing the toolpaths, export them by pressing the Save Toolpaths button. Make sure the toolpaths you want to export have the checkmark next to them checked.
In the menu that appears after clicking the Save Toolpaths button, make sure these settings are selected:
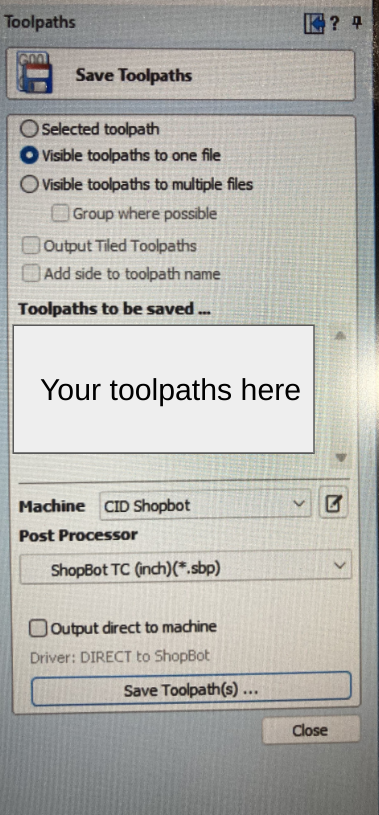
Then press the Save Toolpath(s) … button at the bottom.
This will export your toolpaths as a .sbp file.
Once you have done this, move to the Securing Material page.