Printer Settings
Once you are satified with the object placement, move to the right menu.

Print settings
Here you will see a list of settings for layer heights:
0.1 mm will be the most precise setting, good for visual detail or mechanical functionality.
0.15 mm has both SPEED and STRUCTURAL options, choose SPEED for a faster print, or STRUCTURAL for a sturdier print.
0.2 mm has the same options, but both will be faster but lower quality than their 0.15 mm counterparts.
Filament
Here you can select the type of filament to be printed. Make sure this matches what is loaded in the printer before printing.
Printer
Here you select which printer to use. Select Original Prusa MK4 Input Shaper 0.4 nozzle.
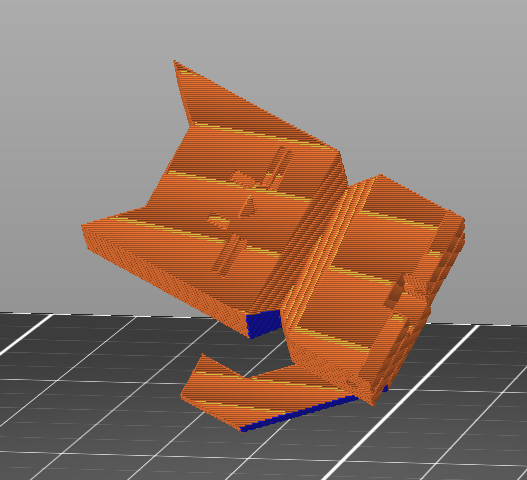
Supports
Supports are how the printer helps overhangs print, as the printer must always work from bottom to top and cannot print without a surface to print on. Support can be selected and deselected, but is recommended to use whenever there are overhangs or floating objects in your print.
The options in the dropdown designate where supports generate, and gives 4 options, None, Support on Buildplate Only, For Support Enforcers Only, and Everywhere.
None will not create any supports.
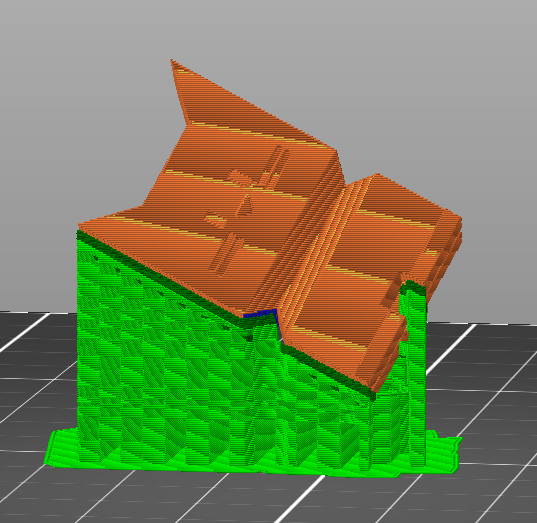
Support on Buildplate Only will only support overhangs over the buildplate, and overhangs that have other bits of object below will not generate support.
For Support Enforcers Only only puts supports in specified spots, either by you or the model itself.
Everywhere means any overhang will be supported, no matter where on the print it is.
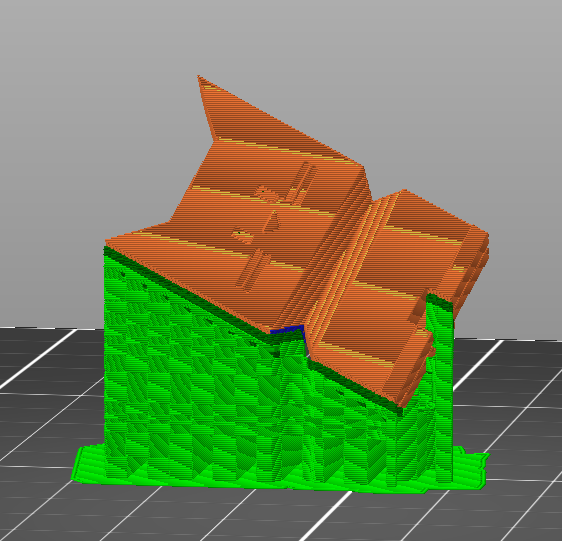
It is recommended to use Everywhere when overhangs are present.
Infill
This will allow you to dictate how much of the interior of the print is filled in, with 0 meaning no fill, and 100 meaning completely full.

Anything down to 10% will be self supporting enough, although 20% is recommended for nearly every print. 70% is the absolute maximum you need to go for a high strength print, however this should only be used if extreme strength is needed.
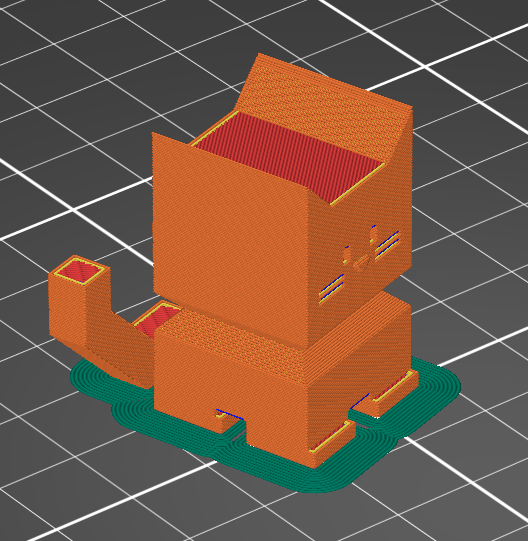
Brim
The brim helps prints stick to the print bed and avoid shifting and warping off of the bed. It is recommended to keep this setting selected for any print.
Part Specific Settings.
In the part menu, you can select and change settings for specific parts by clicking the ( ) icon.
The full scope of this will not be covered on this website.
Custom Settings
In the top left you will see tabs wil more settings. These can affect more specific things about the print and printer but that is only recommended to use if you are more comfortable with the printer and how it works.
Done?
Once your settings are as desired, move to the Slicing Files section.