Printer Settings
Once you have your object oriented as desired, select your material.
Material selection
At the top of the display there will be a dropdown menu to select material type.
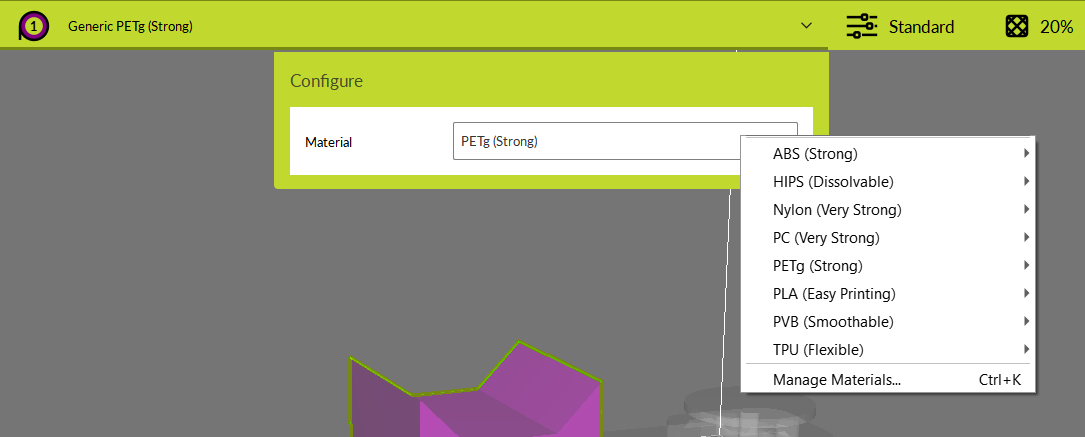
Click to show the options for material selection and select the one currently loaded in the printer.
Print Settings
Now move to the print settings menu. There you will see lots of options, which I will briefly review here.
Profiles
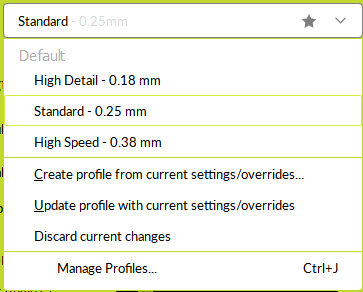
Firstly you will see a list of Profiles. These are the easiest way to select your settings.
High Detail prioritizes details and functionality. Use this for projects that need to look good or mechanically function.
Standard Is a mix of detail and speed. Use this for general printing.
High Speed is for quickly printing models that are prototypes or not particularly valuable. Use this for testing and quick prints.
Other Settings
There are lots of other settings that can be adapted, we will briefly review the most important.
Infill
Infill Density
Int the infill section, the Infill Density dropdown will allow you to dictate how much of the interior of the print is filled in, with 0 meaning no fill, and 100 meaning completely full.
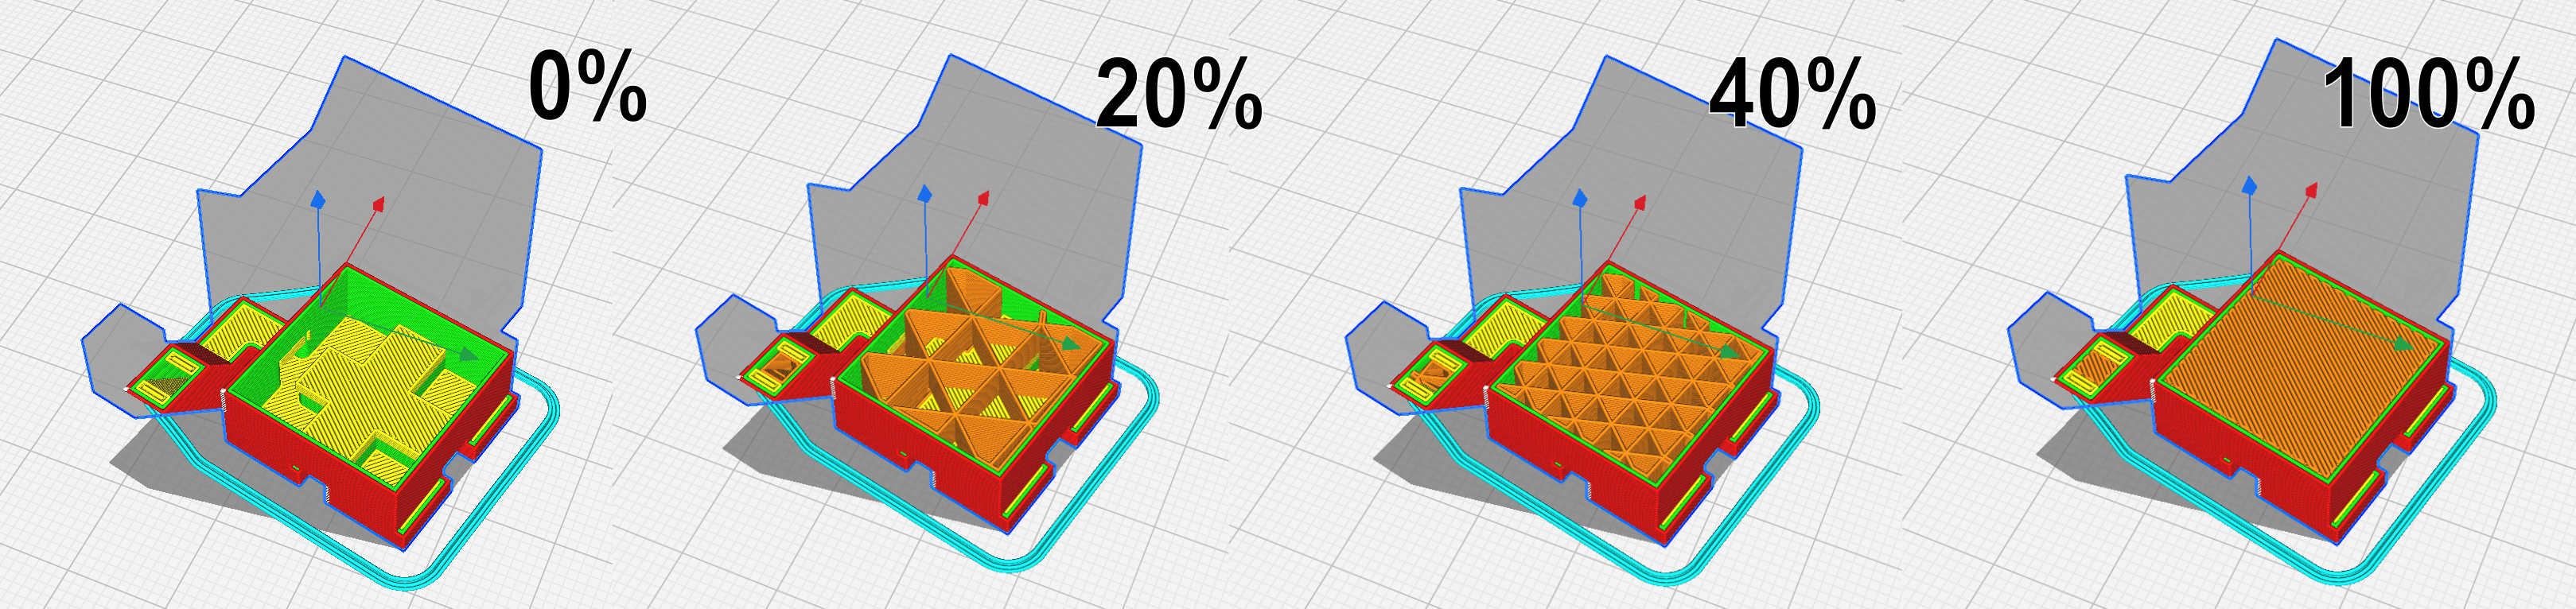
anything down to 10% will be self supporting enough, although 20% is recommended for nearly every print. 70% is the absolute maximum you need to go for a high strength print, however this should only be used if extreme strength is needed.
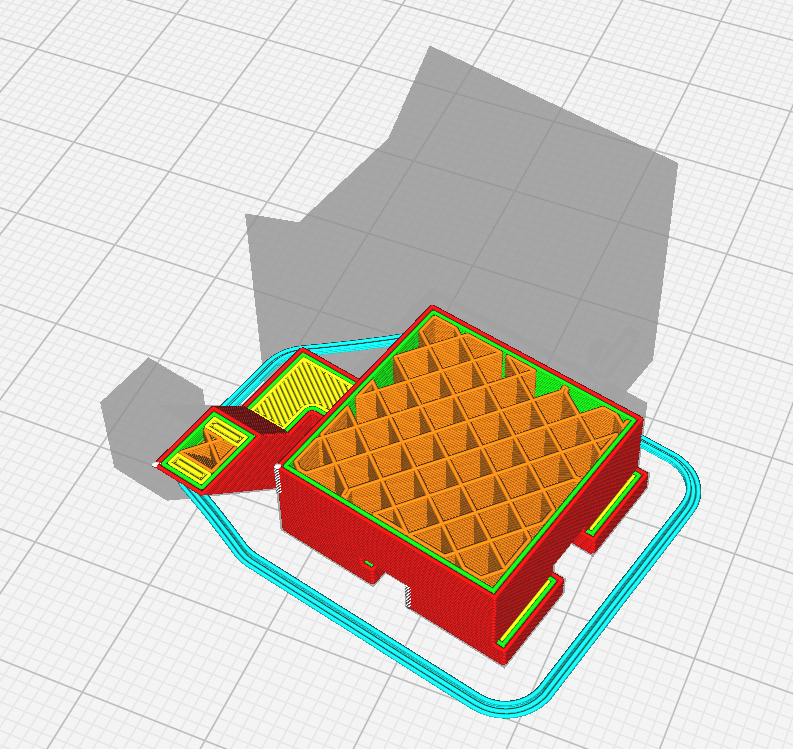
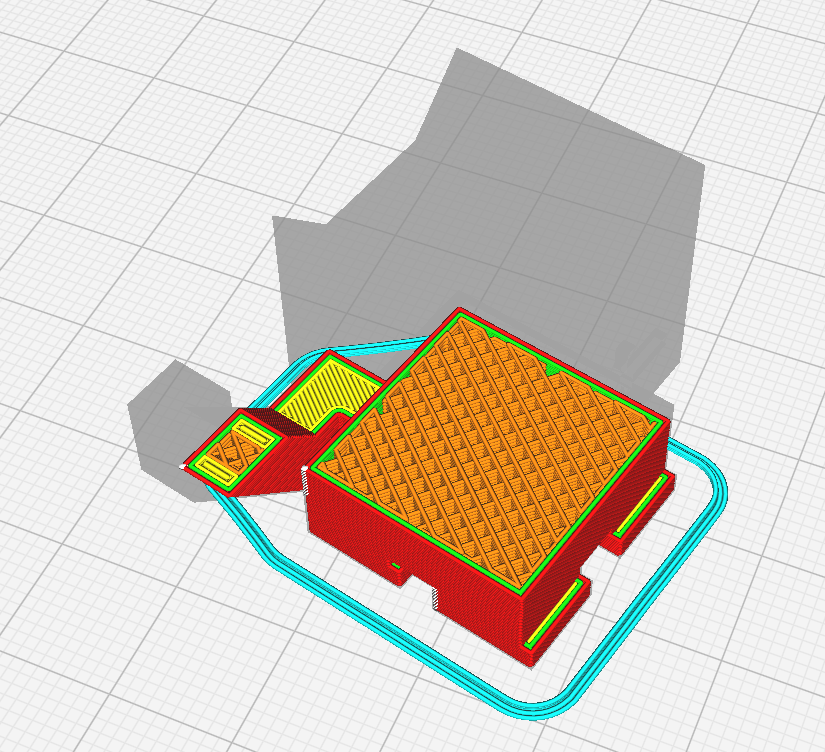
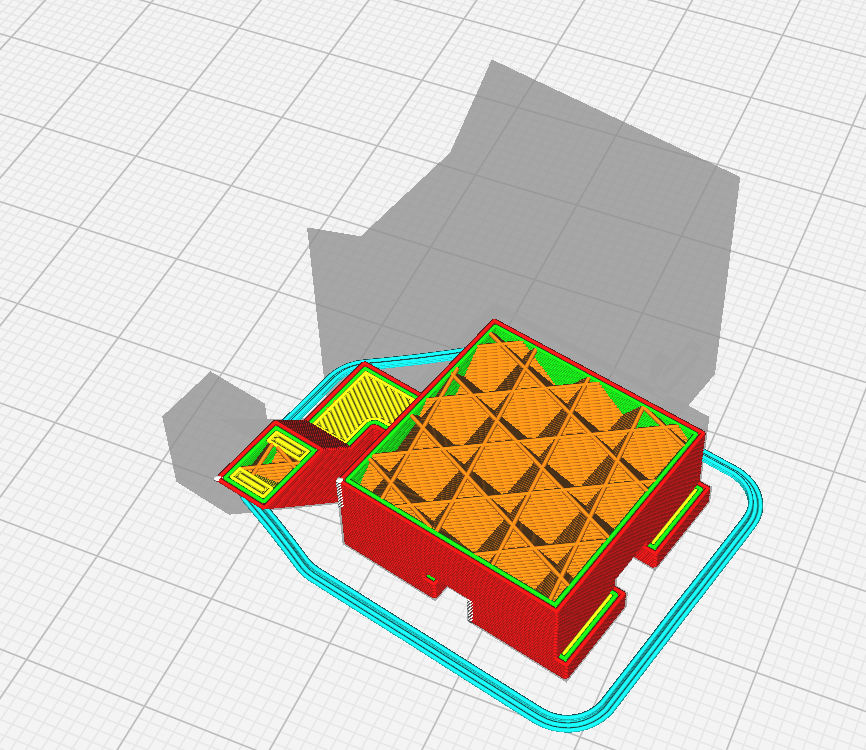
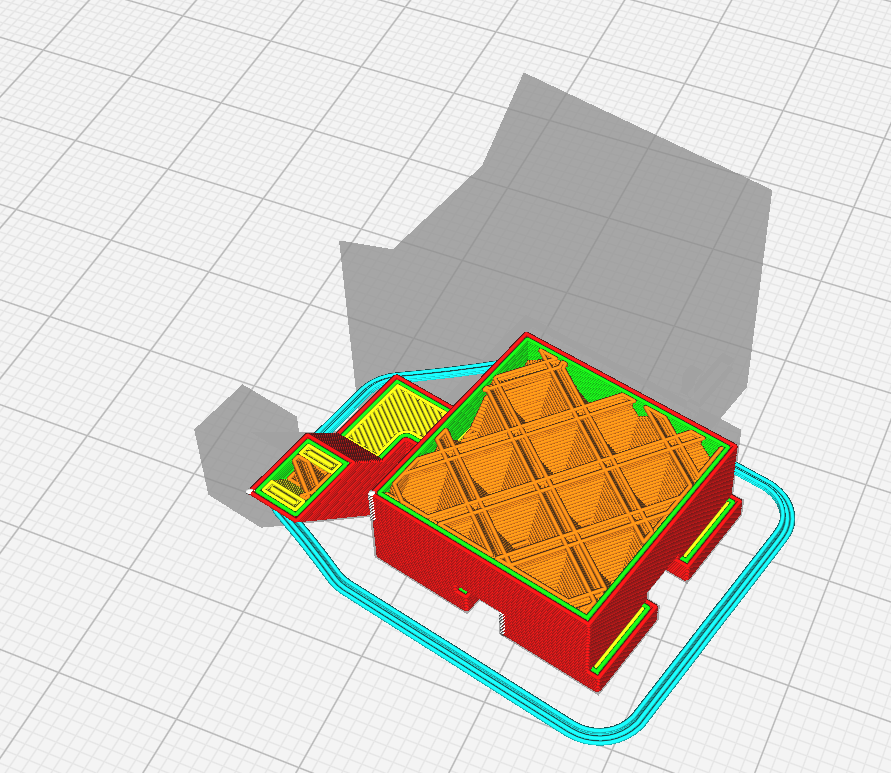
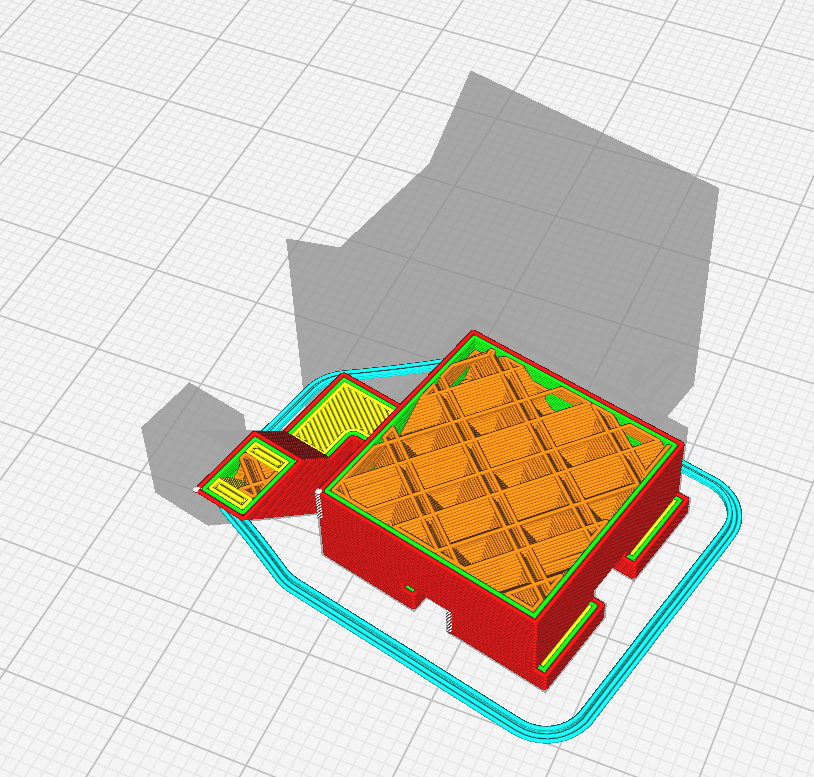
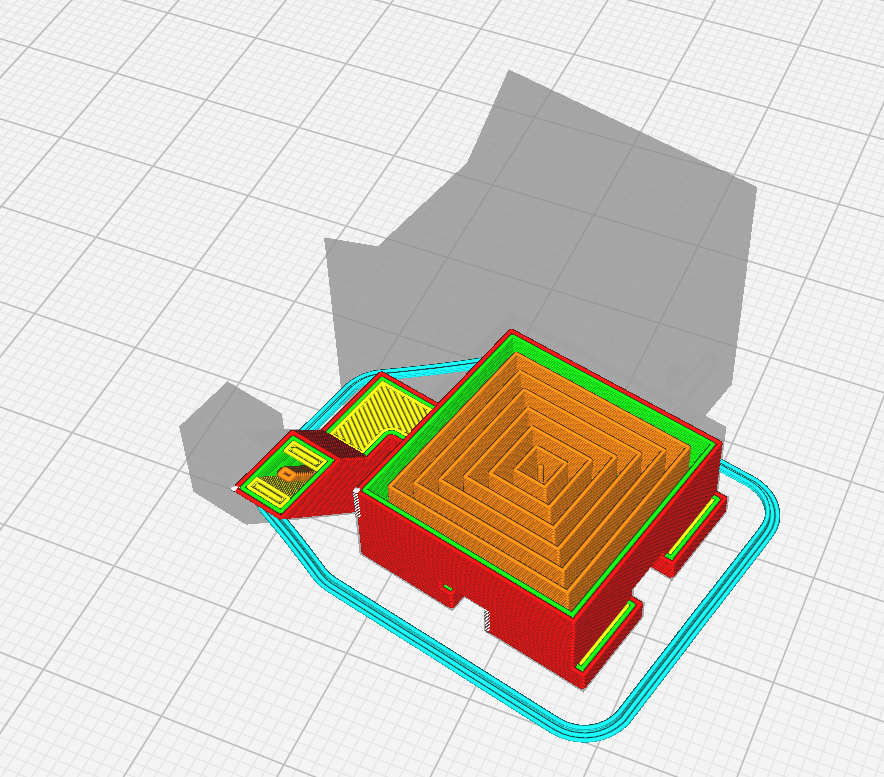
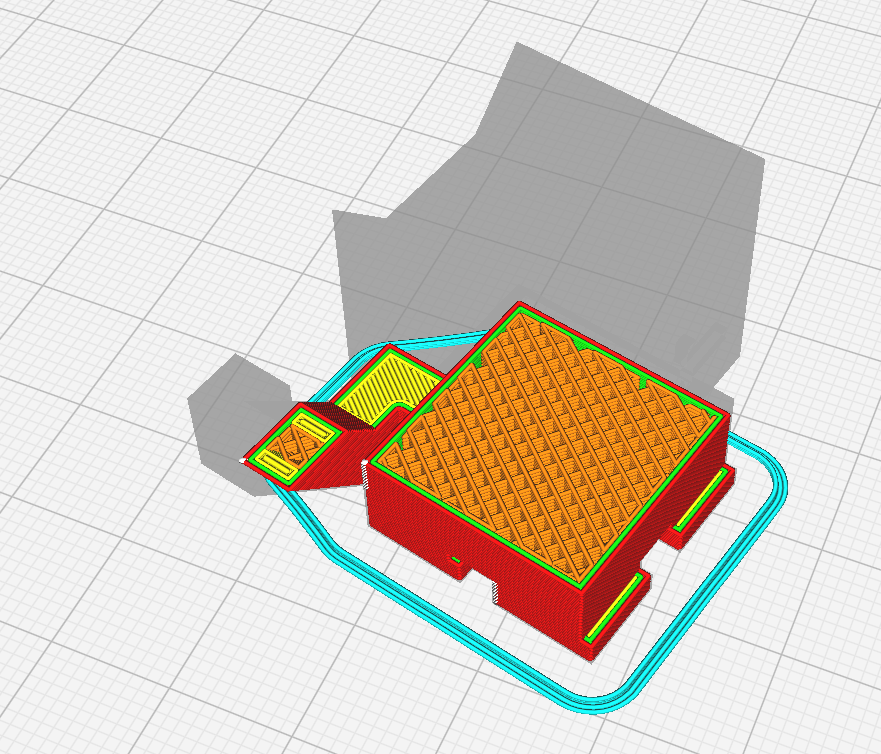
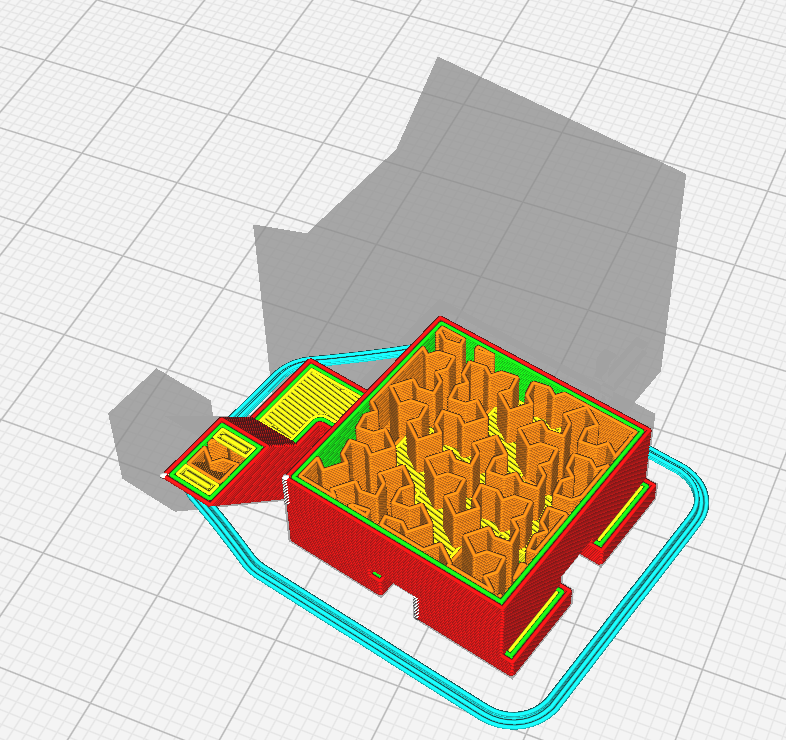
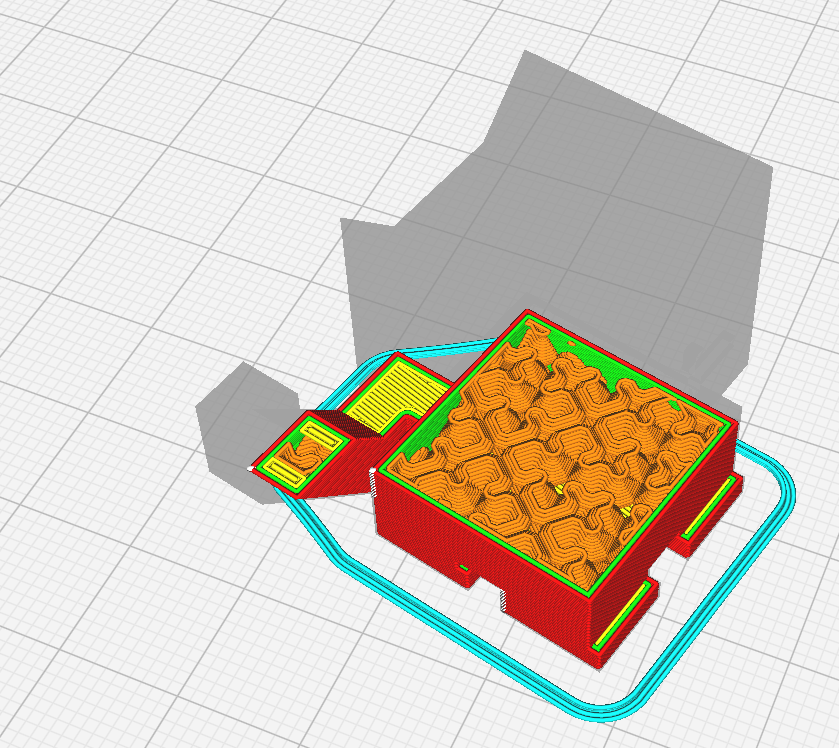
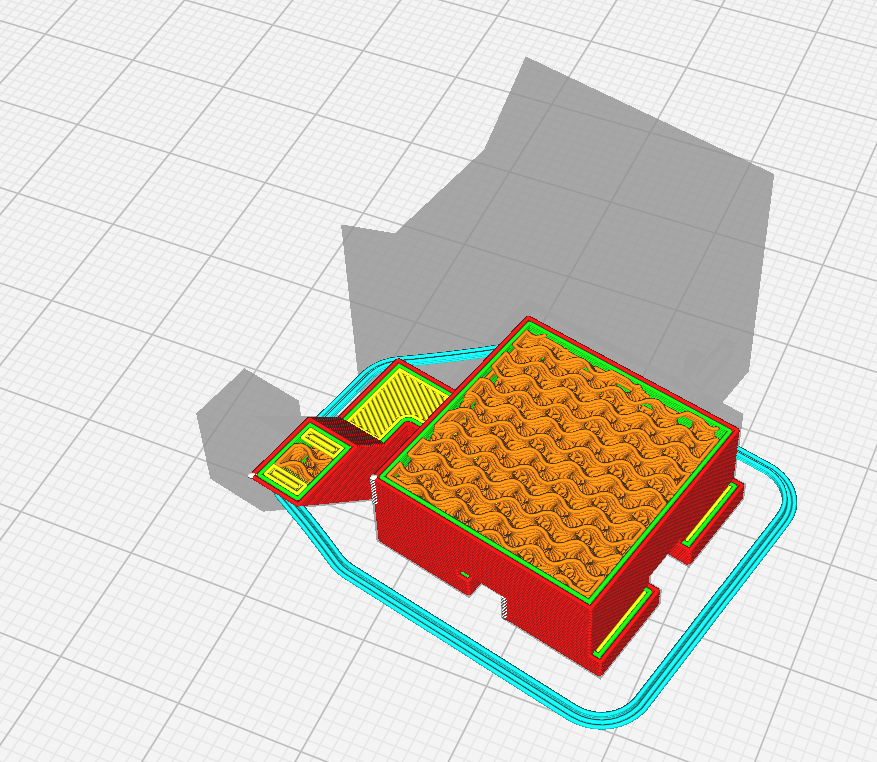
Infill pattern
This allows for a selection of how the infill will be created, and the options are shown below:
Grid
 Lines
Lines
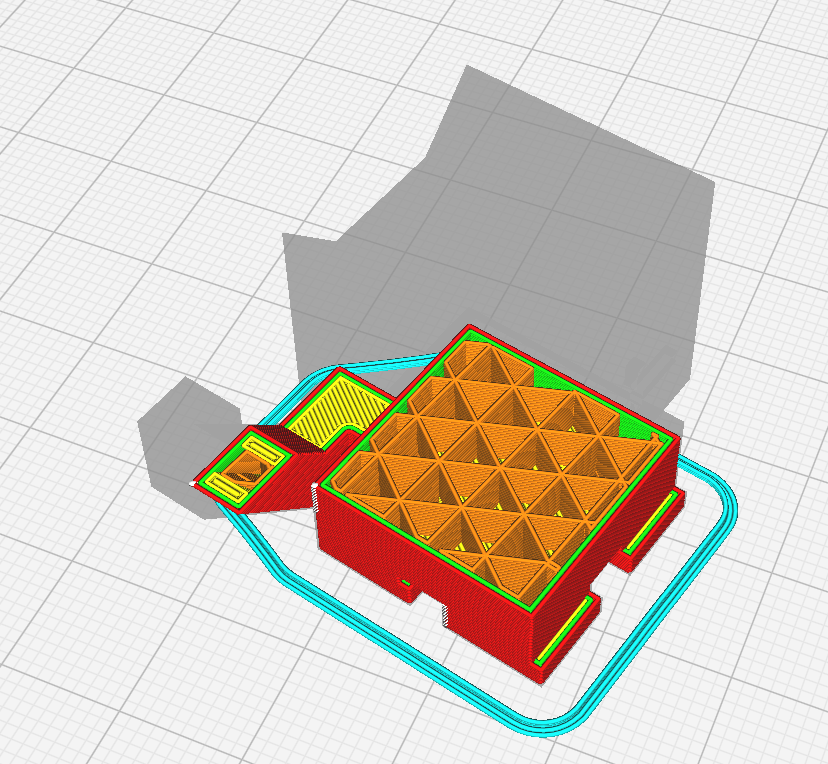
 Triangles
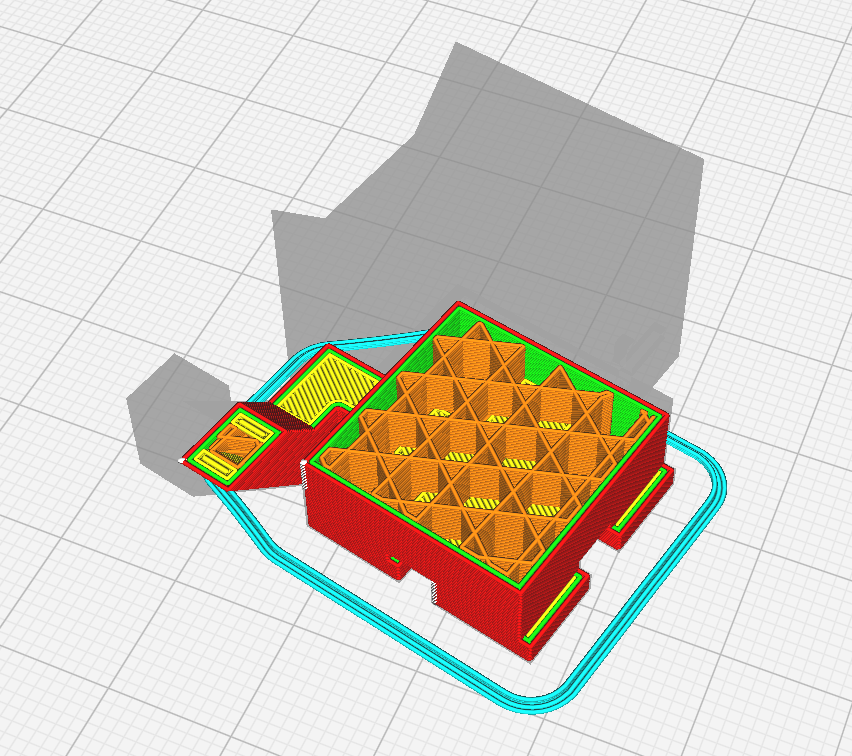
 Trihexagon
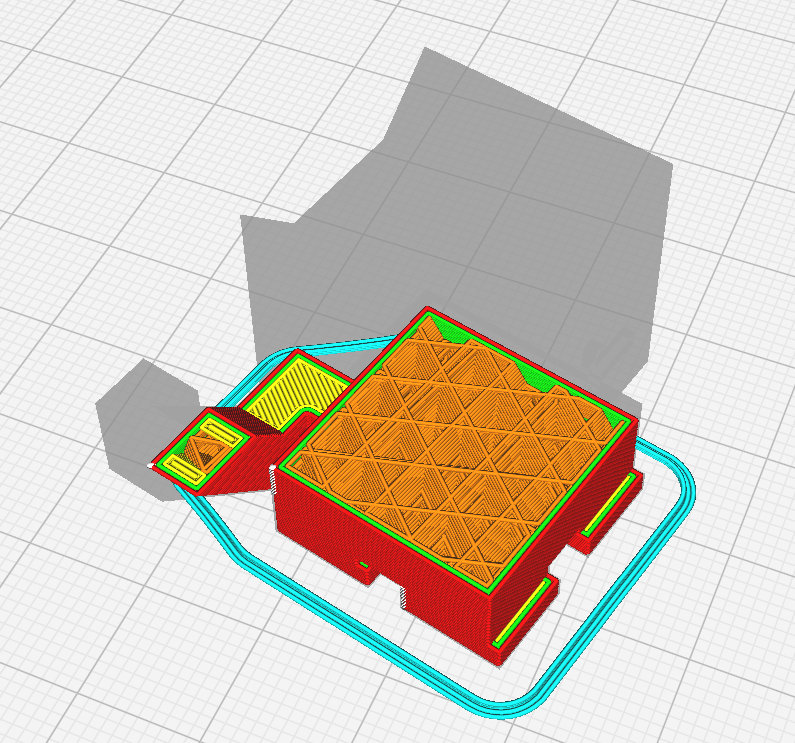
 Cubic
Cubic
 Cubic Subdivision
 Octet
Octet
 Quarter Cubic
 Concentric
 Zig Zag
 Cross
Cross
 Cross 3d
 Gyroid
 Lightning
Triangle is the recommended setting but this choice has little effect on the overall print.
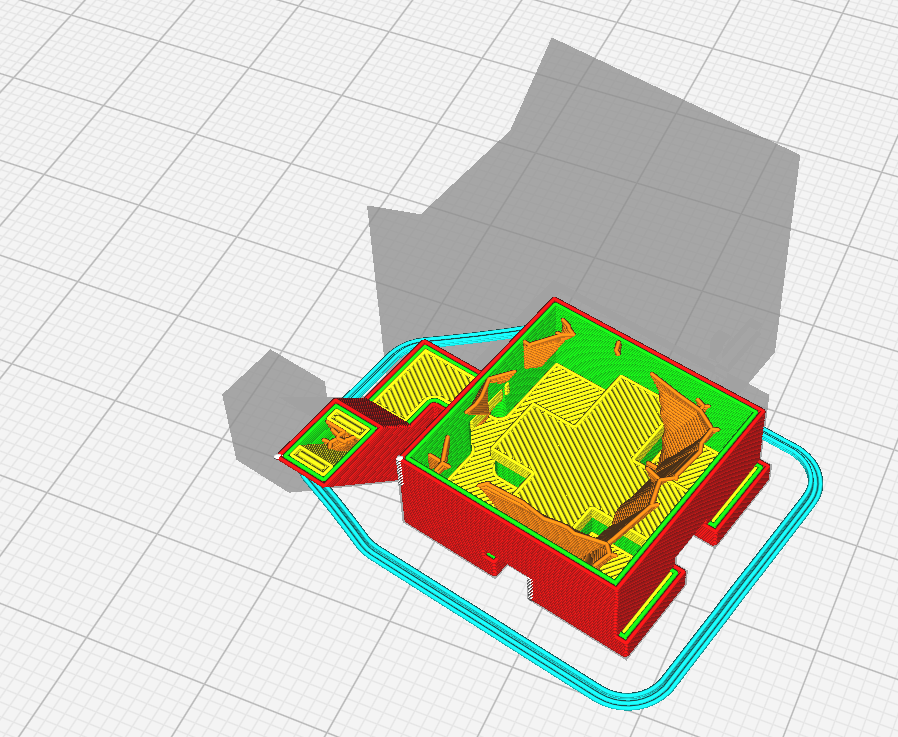
Support
Supports are how the printer helps overhangs print, as the printer must always work from bottom to top and cannot print without a surface to print on. Support can be selected and deselected, but is recommended to use whenever there are overhangs or floating objects in your print.
Adhesion
Adhesion provides a way for you to help the print stick to the print bed better. There are a few options for this.
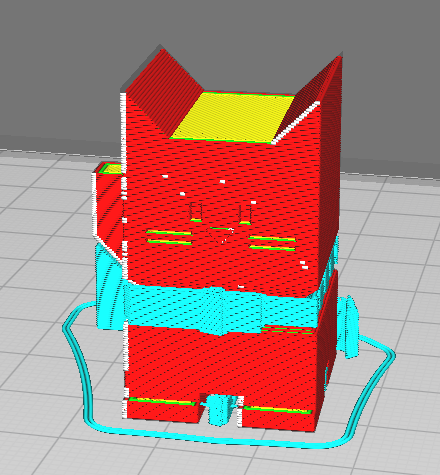
Skirt Simply outlines the shape before printing it, this does not help much with adhesion though.
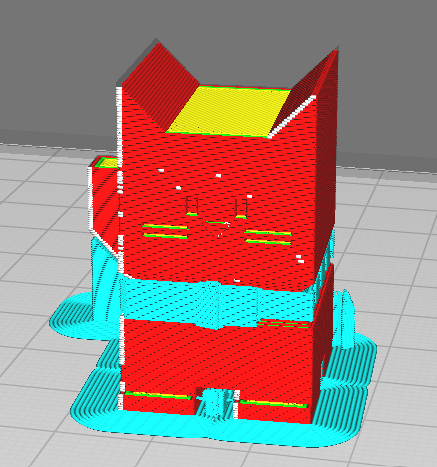
Brim creates a brim of filament around the bottom layer of your print.
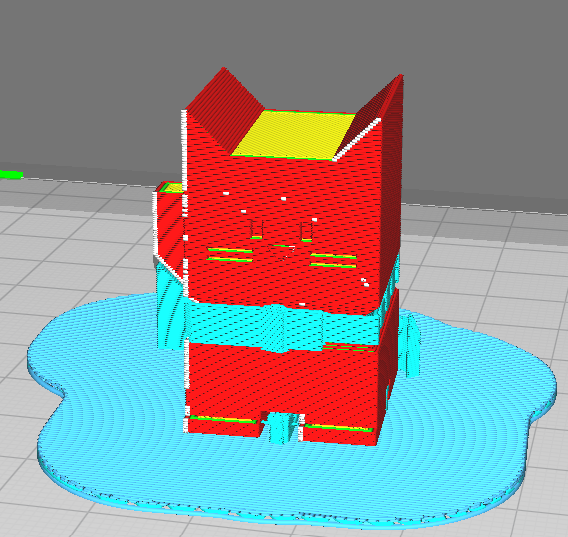
Raft creates a small 3d bubble below your print that is very large.
None generates no adhesion support
It is recommended to select Brim for any print with only a small area touching the bed.
Vase Mode
Vase mode ignores all other settings and prints only the outer wall of your print in a spiral pattern.
Custom settings
Many other specific settings can be tuned however there are far too many to cover in this guide, so look to a more specific guide on the Cura LulzBot Edition Slicer for information on that.
Done?
Once you have your preferred settings set, move to the Slicing Files section.