Lulzbot
The lulzbot is the simplest printer, although has some filament limitations. To use it use these guides:
The lulzbot is the simplest printer, although has some filament limitations. To use it use these guides:
To upload files to the Ultimaker first get the stl, obj, or other 3D file type and open it with Cura LulzBot Edition either through opening through File Explorer or dragging the file into the Cura LulzBot Edition application.
Once the file loads in, you can move it around the buildplate and change it to your likings, or upload more files by dragging them into the application window.
To move the print around the print bed, first click the item you wish to move, then click the (

Once that happens you can either move it on the main axis by dragging those arrows, or just grab and drag the object to wherever you want it.
You can also set it’s exact position with the menu that appears next to the (

there you will also see two checkboxes, Lock Model and two buttons Center and Bottom.
Lock Model makes it so the model cannot move other than by changing the numbers in the menu, dragging the model or arrows will no longer move it.
Center will move the object to the center of the buildplate.
Bottom moves it’s lowest point to be touching the print bed.
It is recommended to keep the Lock Model unselected and hit Bottom before slicing.
To scale your object, select the object, then select the (

You can grab any of the three to stretch the object in the direction of that line, or instead grab the central box to stretch in all directions equally.
Again a menu will pop up with certain options. The text boxes allow you to set the length, width, or height of the object by measured size or percentage of the original model.
there you will also see two checkboxes, Snap Scaling and Uniform Scaling as well as a rewind icon, a (
 ) icon, and a button that says Bottom.
Snap Scaling makes it so the object will snap between set sizes.
Uniform Scaling makes it so all the axis will scale uniformly, meaning any change to one axis will be matched in the other two to keep the proportions of the object the same.
The rewind icon will set the object to it’s original dimensions, and the (
 ) icon will set it to the max size the printer can print.
Bottom moves it’s lowest point to be touching the print bed.
It is recommended to keep the Snap Scaling unselected and Uniform Scaling selected unless you intentionally want a off proportion model.
To rotate your object, select the object, then select the (

You can grab these rings and rotate them to rotate the object how you would like it to print. Keep in mind where the back of the bed is, signified by the lip where it is written Ultimaker S5.
It is recommended to rotate the object so that the least amount of overhang is achieved:
And the maximum amount of the print is touching the build plate, shown by the light blue highlight:
Again a menu with certain options will also appear next to the (

The rewind icon will return the object to it’s original orientation.
the (

the (

Snap Rotation makes it so the print will only rotate in multiples of 15 degrees.
It is recommended to keep Snap Rotation selected unless a particular angle is needed.
When you select the (

Clicking any of these arrows will mirror the object as if there was a mirror that the arrow was pointed directly into.
Clicking the (

The first icon is the default, and will follow the print settings that you set.
The second prints as if is is support for a different model, which will follow the support settings that you set.
The third will deal with overlapping objects, which is much more complicated, and a full description of the options can be found here: https://support.makerbot.com/s/article/1667417981430.
The last will remove all supports in the volume of the object, but will not print the object itself.
To create custom supports, select your object then hit the (
 ) icon.
There you will see some options for how you want the support to generate.
Once you have set your desired shape, click where on the object you want to support and it will automatically support that spot.
The (
 ) icon will block support in a cubic area, similar to the last option of the last tool.
To use this, click the model you want to remove supports from, click the (
 ) icon, and then click where you want the blocker. You can then edit the blocker as if it was any other object, using the tools above. The print will not generate any supports in the area of this block.
To duplicate your object, select the object and then hit the (
 ) icon.
A menu will appear and allow you to set how many copies you want. Hit the Multiply button once you have set the desired number.
To add a pause or filament change to your print, select the object and hit the (
 ) icon.
There a menu will pop up, with a box to specify what layer you want the filament change at. If instead you just want to pause the print, select the Pause Only box.
Once you are happy with the object’s placement, move to the Print Settings section.
Once you have your object oriented as desired, select your material.
At the top of the display there will be a dropdown menu to select material type.
Click to show the options for material selection and select the one currently loaded in the printer.
Now move to the print settings menu. There you will see lots of options, which I will briefly review here.
Firstly you will see a list of Profiles. These are the easiest way to select your settings.
High Detail prioritizes details and functionality. Use this for projects that need to look good or mechanically function.
Standard Is a mix of detail and speed. Use this for general printing.
High Speed is for quickly printing models that are prototypes or not particularly valuable. Use this for testing and quick prints.
There are lots of other settings that can be adapted, we will briefly review the most important.
Int the infill section, the Infill Density dropdown will allow you to dictate how much of the interior of the print is filled in, with 0 meaning no fill, and 100 meaning completely full.
anything down to 10% will be self supporting enough, although 20% is recommended for nearly every print. 70% is the absolute maximum you need to go for a high strength print, however this should only be used if extreme strength is needed.
This allows for a selection of how the infill will be created, and the options are shown below:
Grid
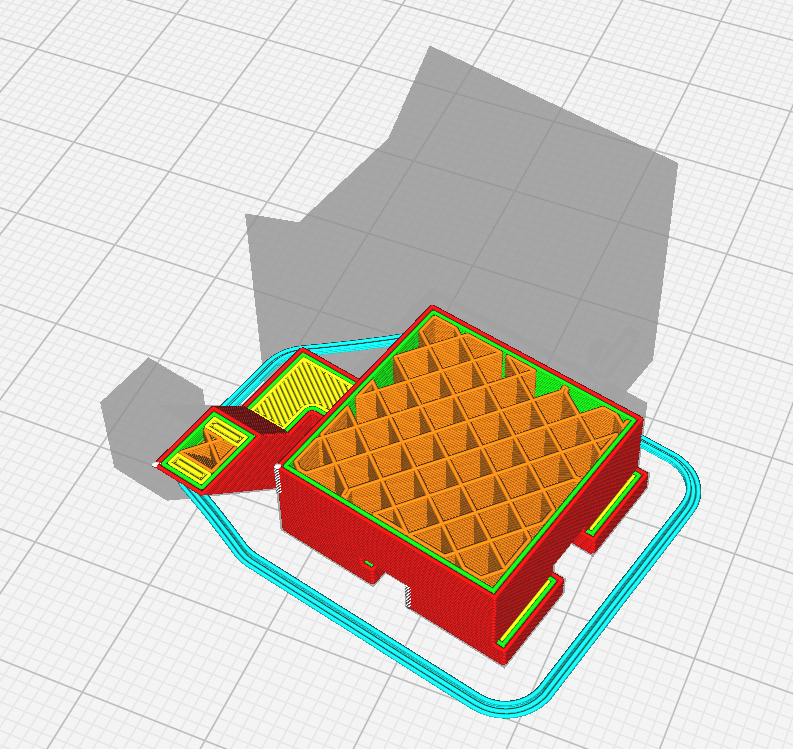

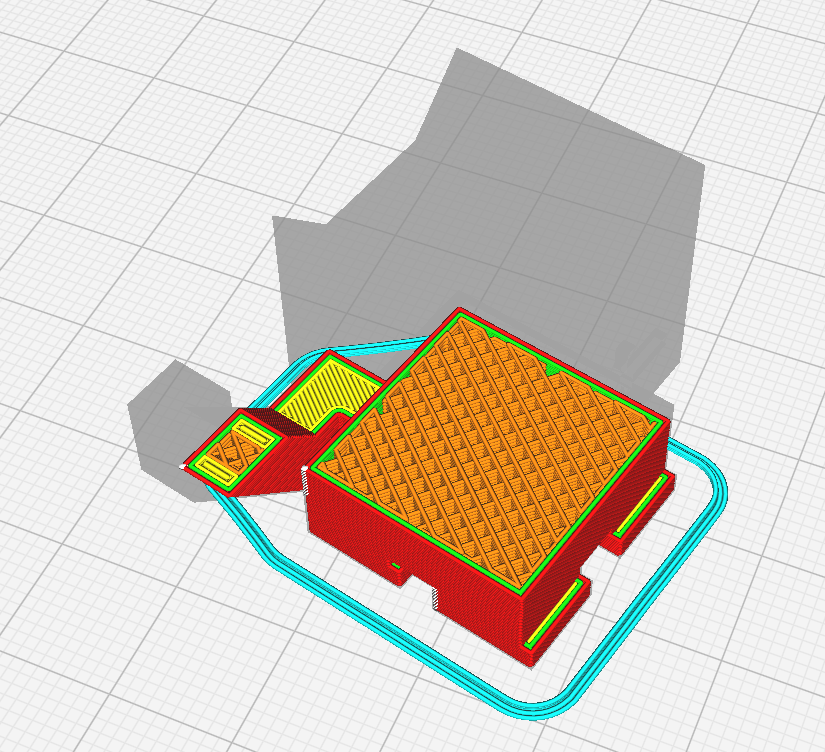

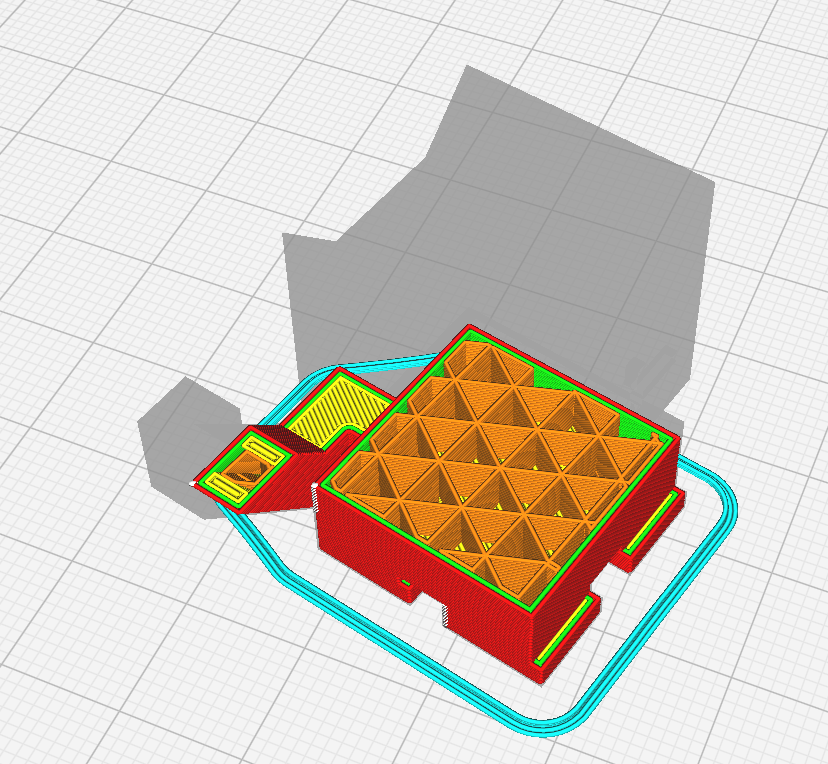

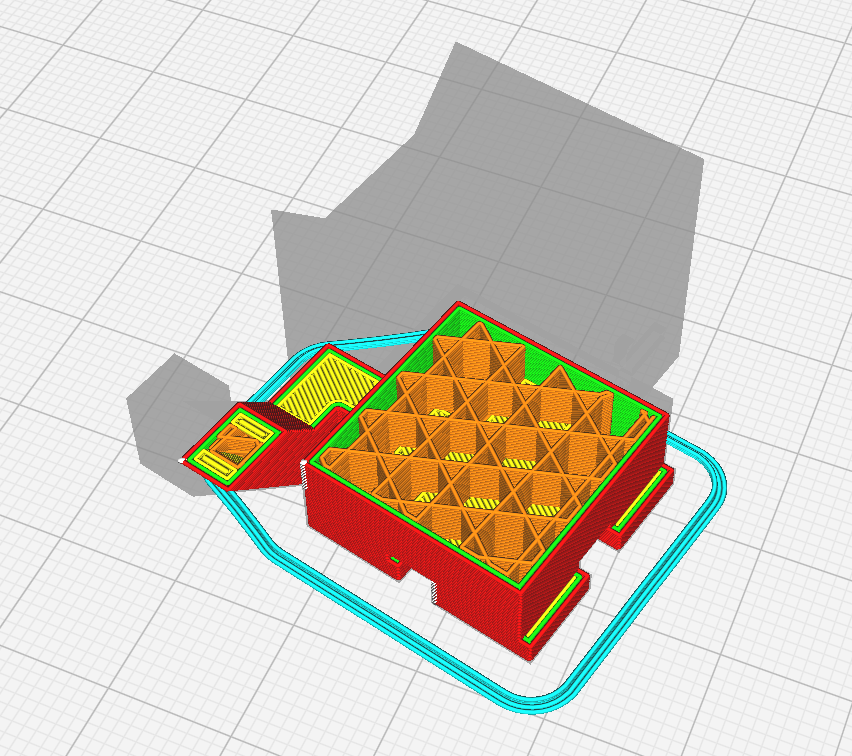

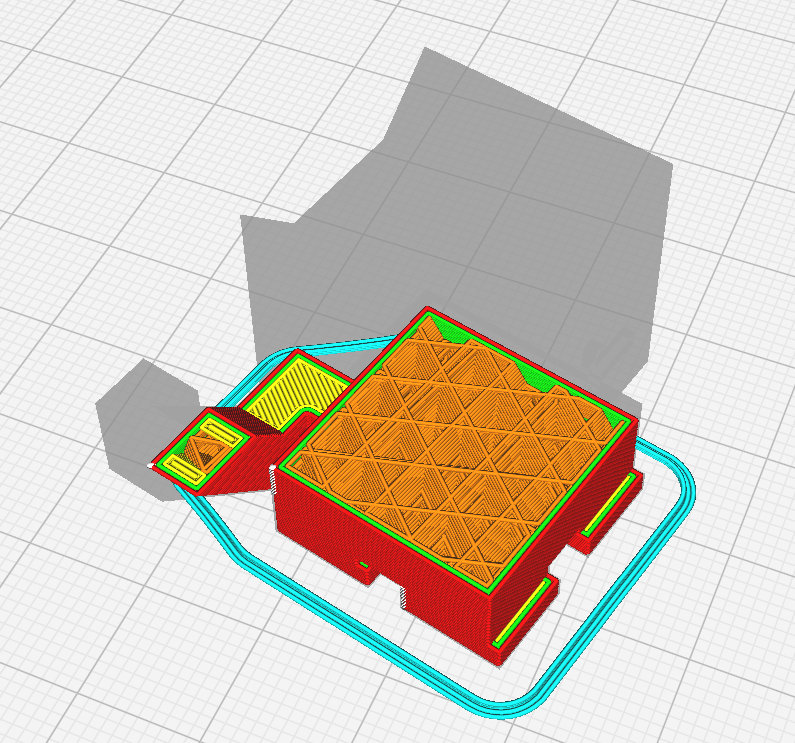

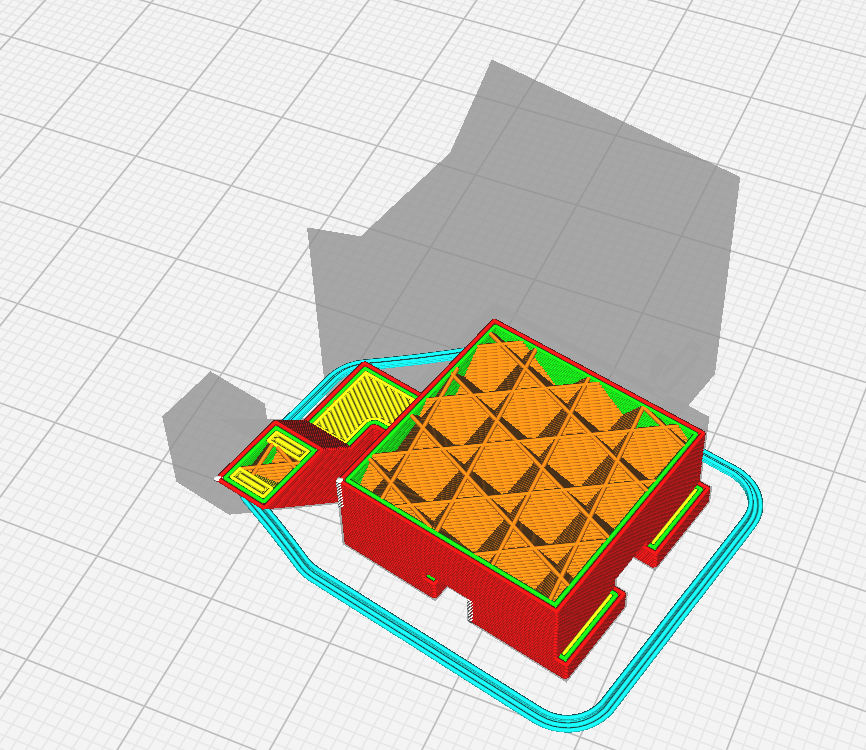

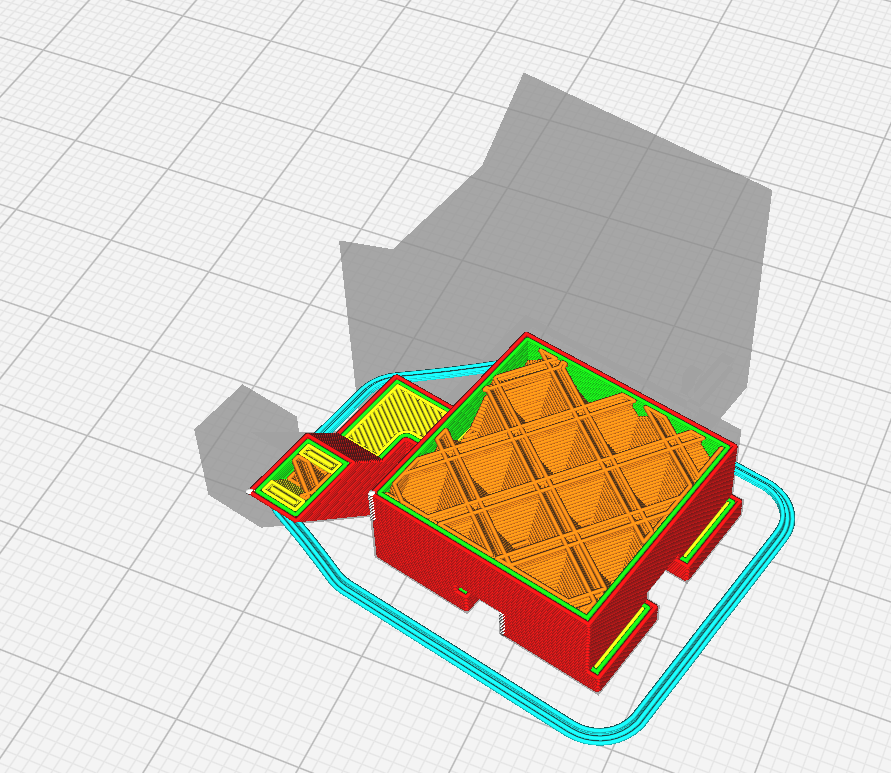

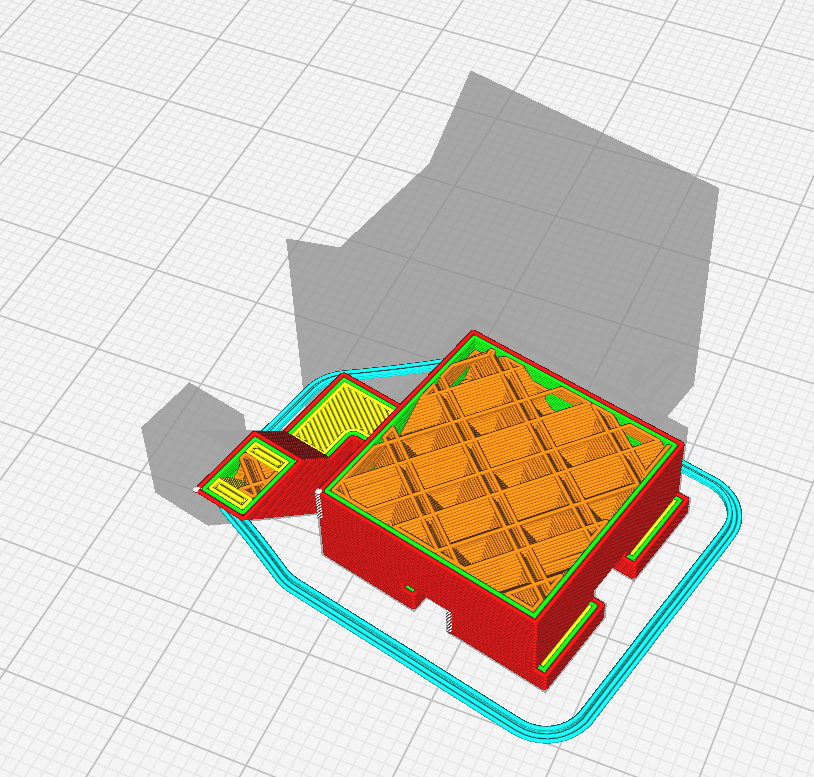

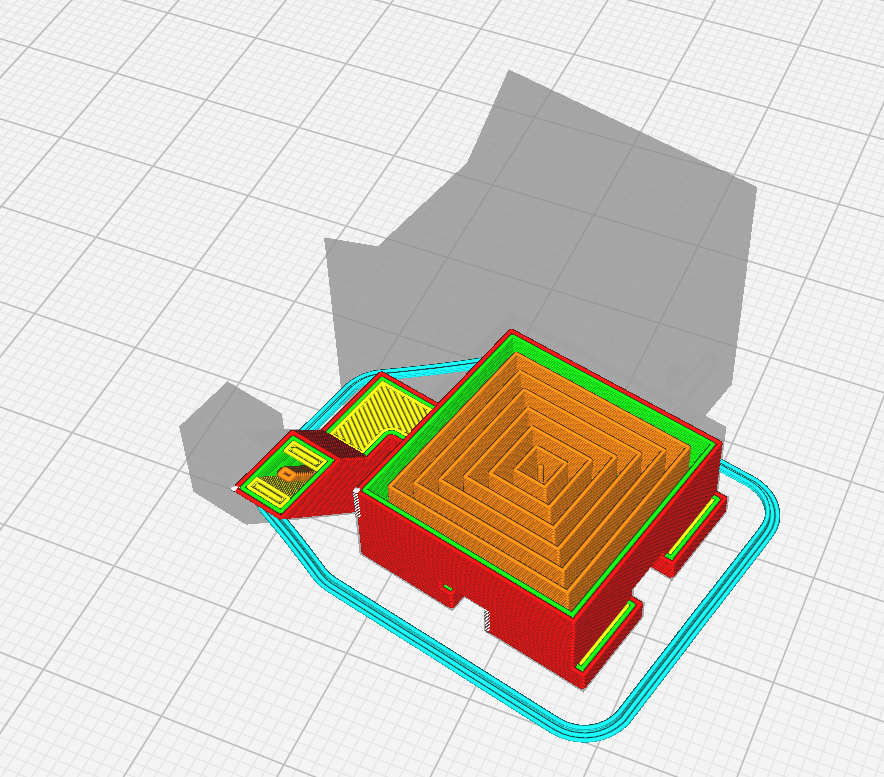

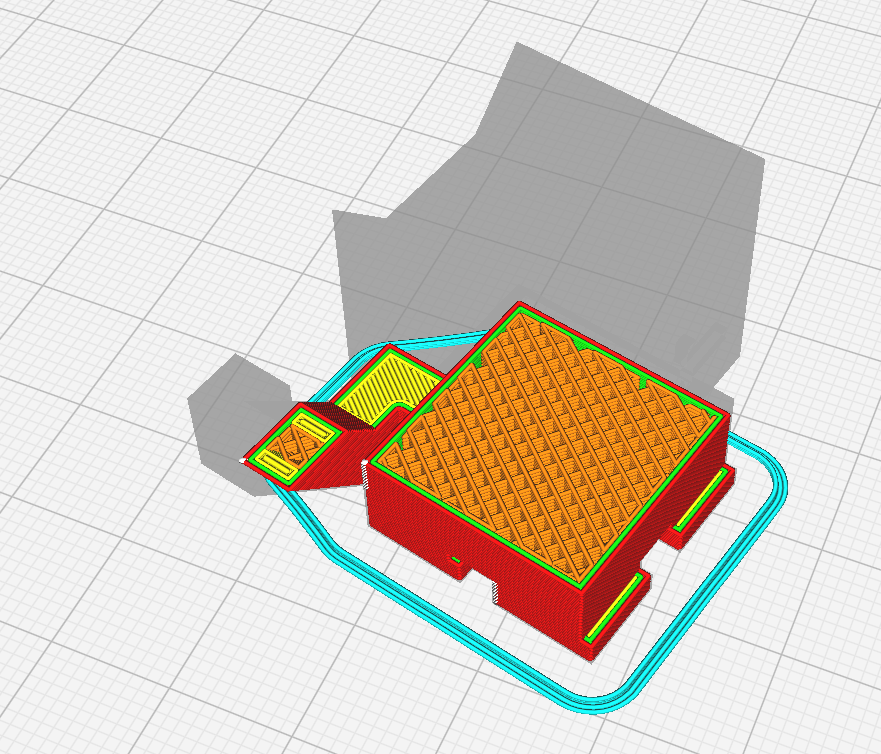

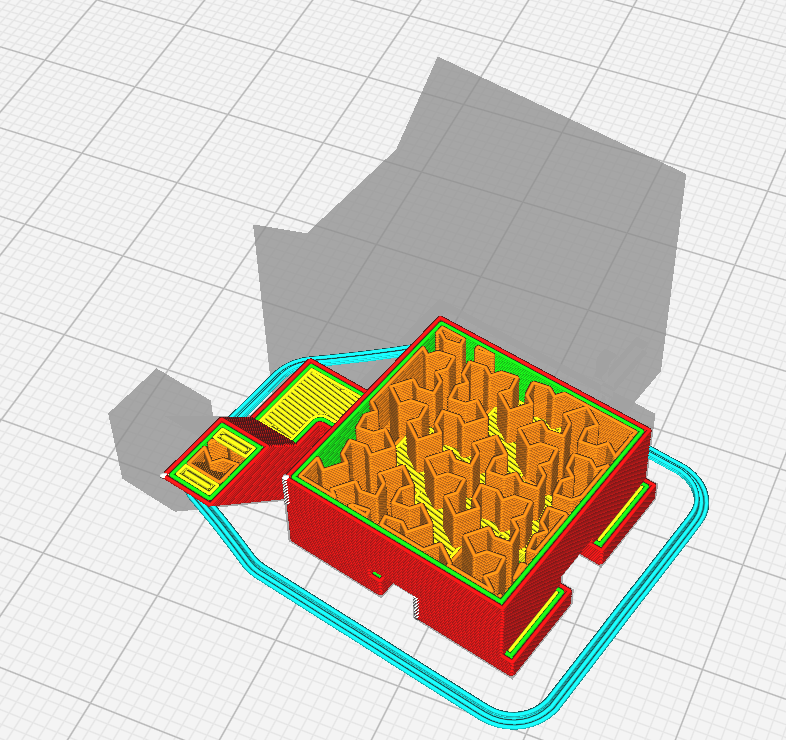

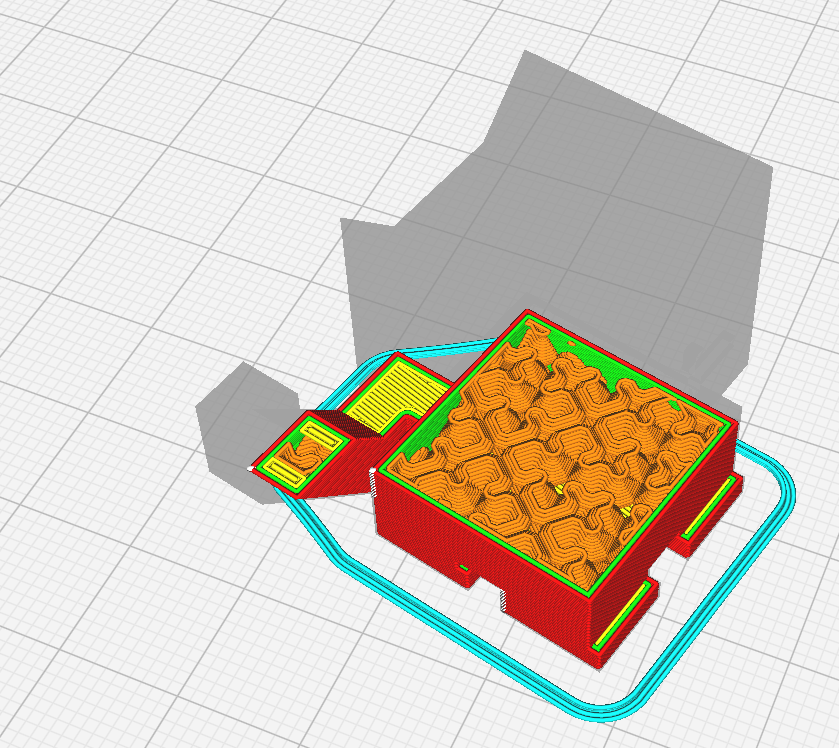

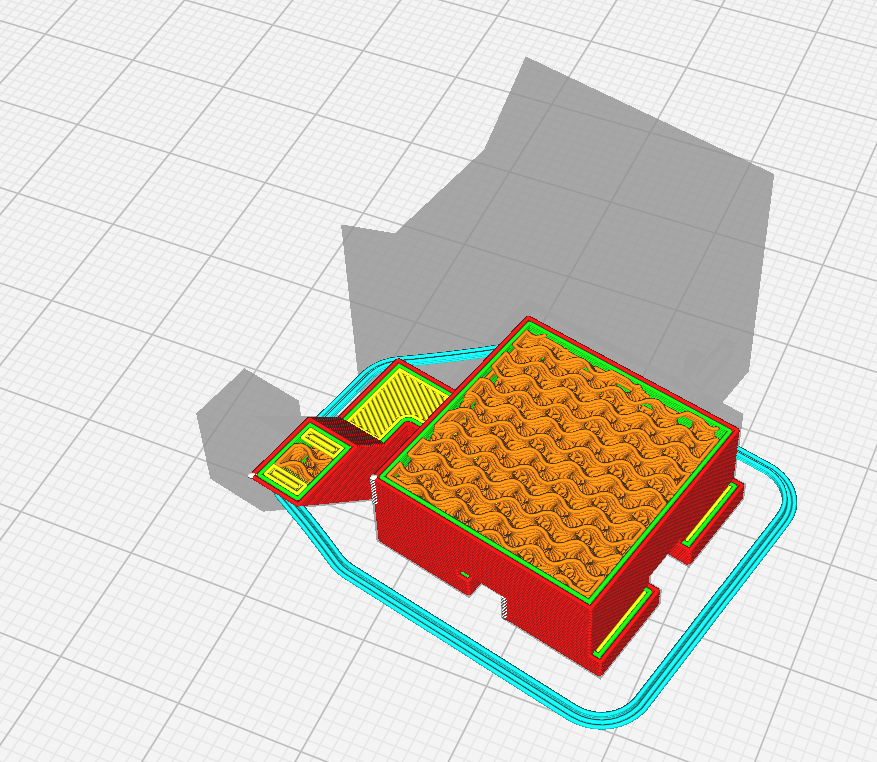

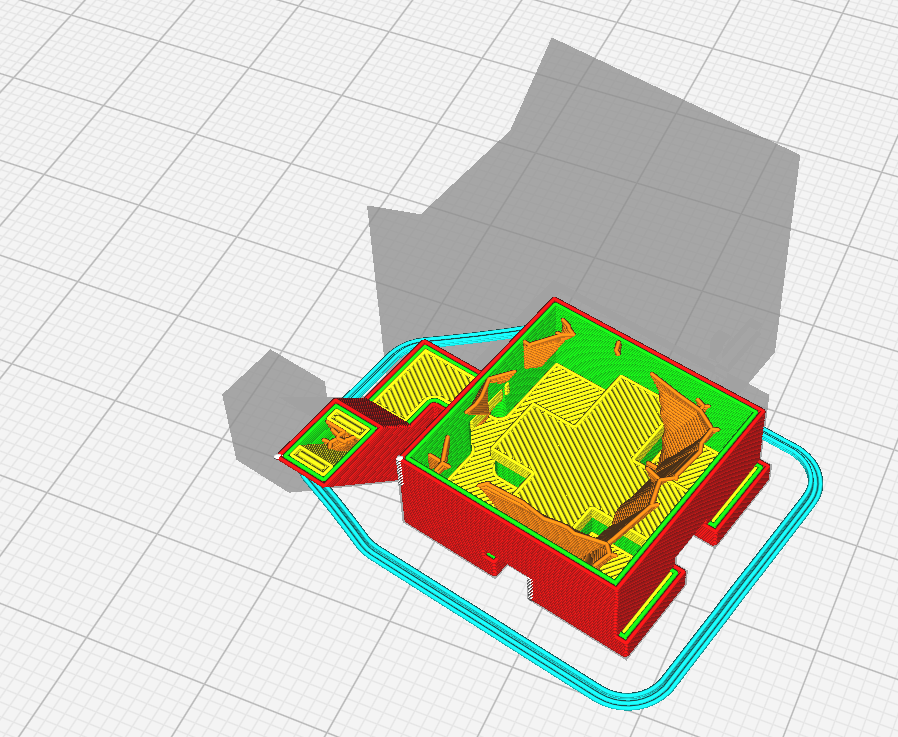
Triangle is the recommended setting but this choice has little effect on the overall print.
Supports are how the printer helps overhangs print, as the printer must always work from bottom to top and cannot print without a surface to print on. Support can be selected and deselected, but is recommended to use whenever there are overhangs or floating objects in your print.
Adhesion provides a way for you to help the print stick to the print bed better. There are a few options for this.
Skirt Simply outlines the shape before printing it, this does not help much with adhesion though.
Brim creates a brim of filament around the bottom layer of your print.
Raft creates a small 3d bubble below your print that is very large.
None generates no adhesion support
It is recommended to select Brim for any print with only a small area touching the bed.
Vase mode ignores all other settings and prints only the outer wall of your print in a spiral pattern.
Many other specific settings can be tuned however there are far too many to cover in this guide, so look to a more specific guide on the Cura LulzBot Edition Slicer for information on that.
Once you have your preferred settings set, move to the Slicing Files section.
Once you have set up your print how you want it, press the slice button in the bottom right.
Once you do this, you will see a new tab appear, Preview. This allows you to look at the exact printing path of the printer.
Here you can use the slider on the right to move up and down the layers, showing each layer path individually, and then use the bottom slider to watch the exact movement path for that layer.
Once you have done this, move to the Transferring and Printing section.
To transfer your print to the printer, first make sure the computer is connected to the printer by USB cable, and the printer is on. Then press Print via USB in the box in the bottom right and a new menu will appear with the print settings.
Click the Connect button and wait a few seconds. Eventually the box at the top will read Connected to Printer.
Once that happens move back to the right menu. Click the Pre-Heat buttons in the Hot End and Build Plate Sections.
Once the printer is heated, hit the Start Print button to begin the print.
To change filament on the LulzBot, first open the Cura LulzBot application, and navigate to the monitor tab.
Click the Connect button and wait a few seconds. Eventually the box at the top will read Connected to Printer.
Once that happens move back to the right menu. Click the Pre-Heat buttons on the Hot End section only.
Then wait until the larger black number changes to match the smaller grey number.
Now scroll down to the Manual Printer Control section.
Change the number in Extrude Amount to 100, then hit the Retract button. Then gently pull upwards on the filament.
To load filament, use the same process as above, but set the number to 80 instead of 100 and hit the Extrude button while gently pushing the filament in.